Star Wars Jedi: Survivor contains plenty of cosmetic items for players to dig into, allowing them to customize the appearance of many in-game aspects for a truly unique visual experience. These items are found scattered throughout Star Wars Jedi: Survivor’s game world in chests that can be opened and accessed through a variety of special powers.
This guide will cover where to locate all chests in the Rambler’s Reach area of Koboh, including key locations like Rambler’s Reach Outpost, the Untamed Downs, and Phon’Qi Caverns.
Southern Reach
The opening area of Ramblers Reach has three chests.
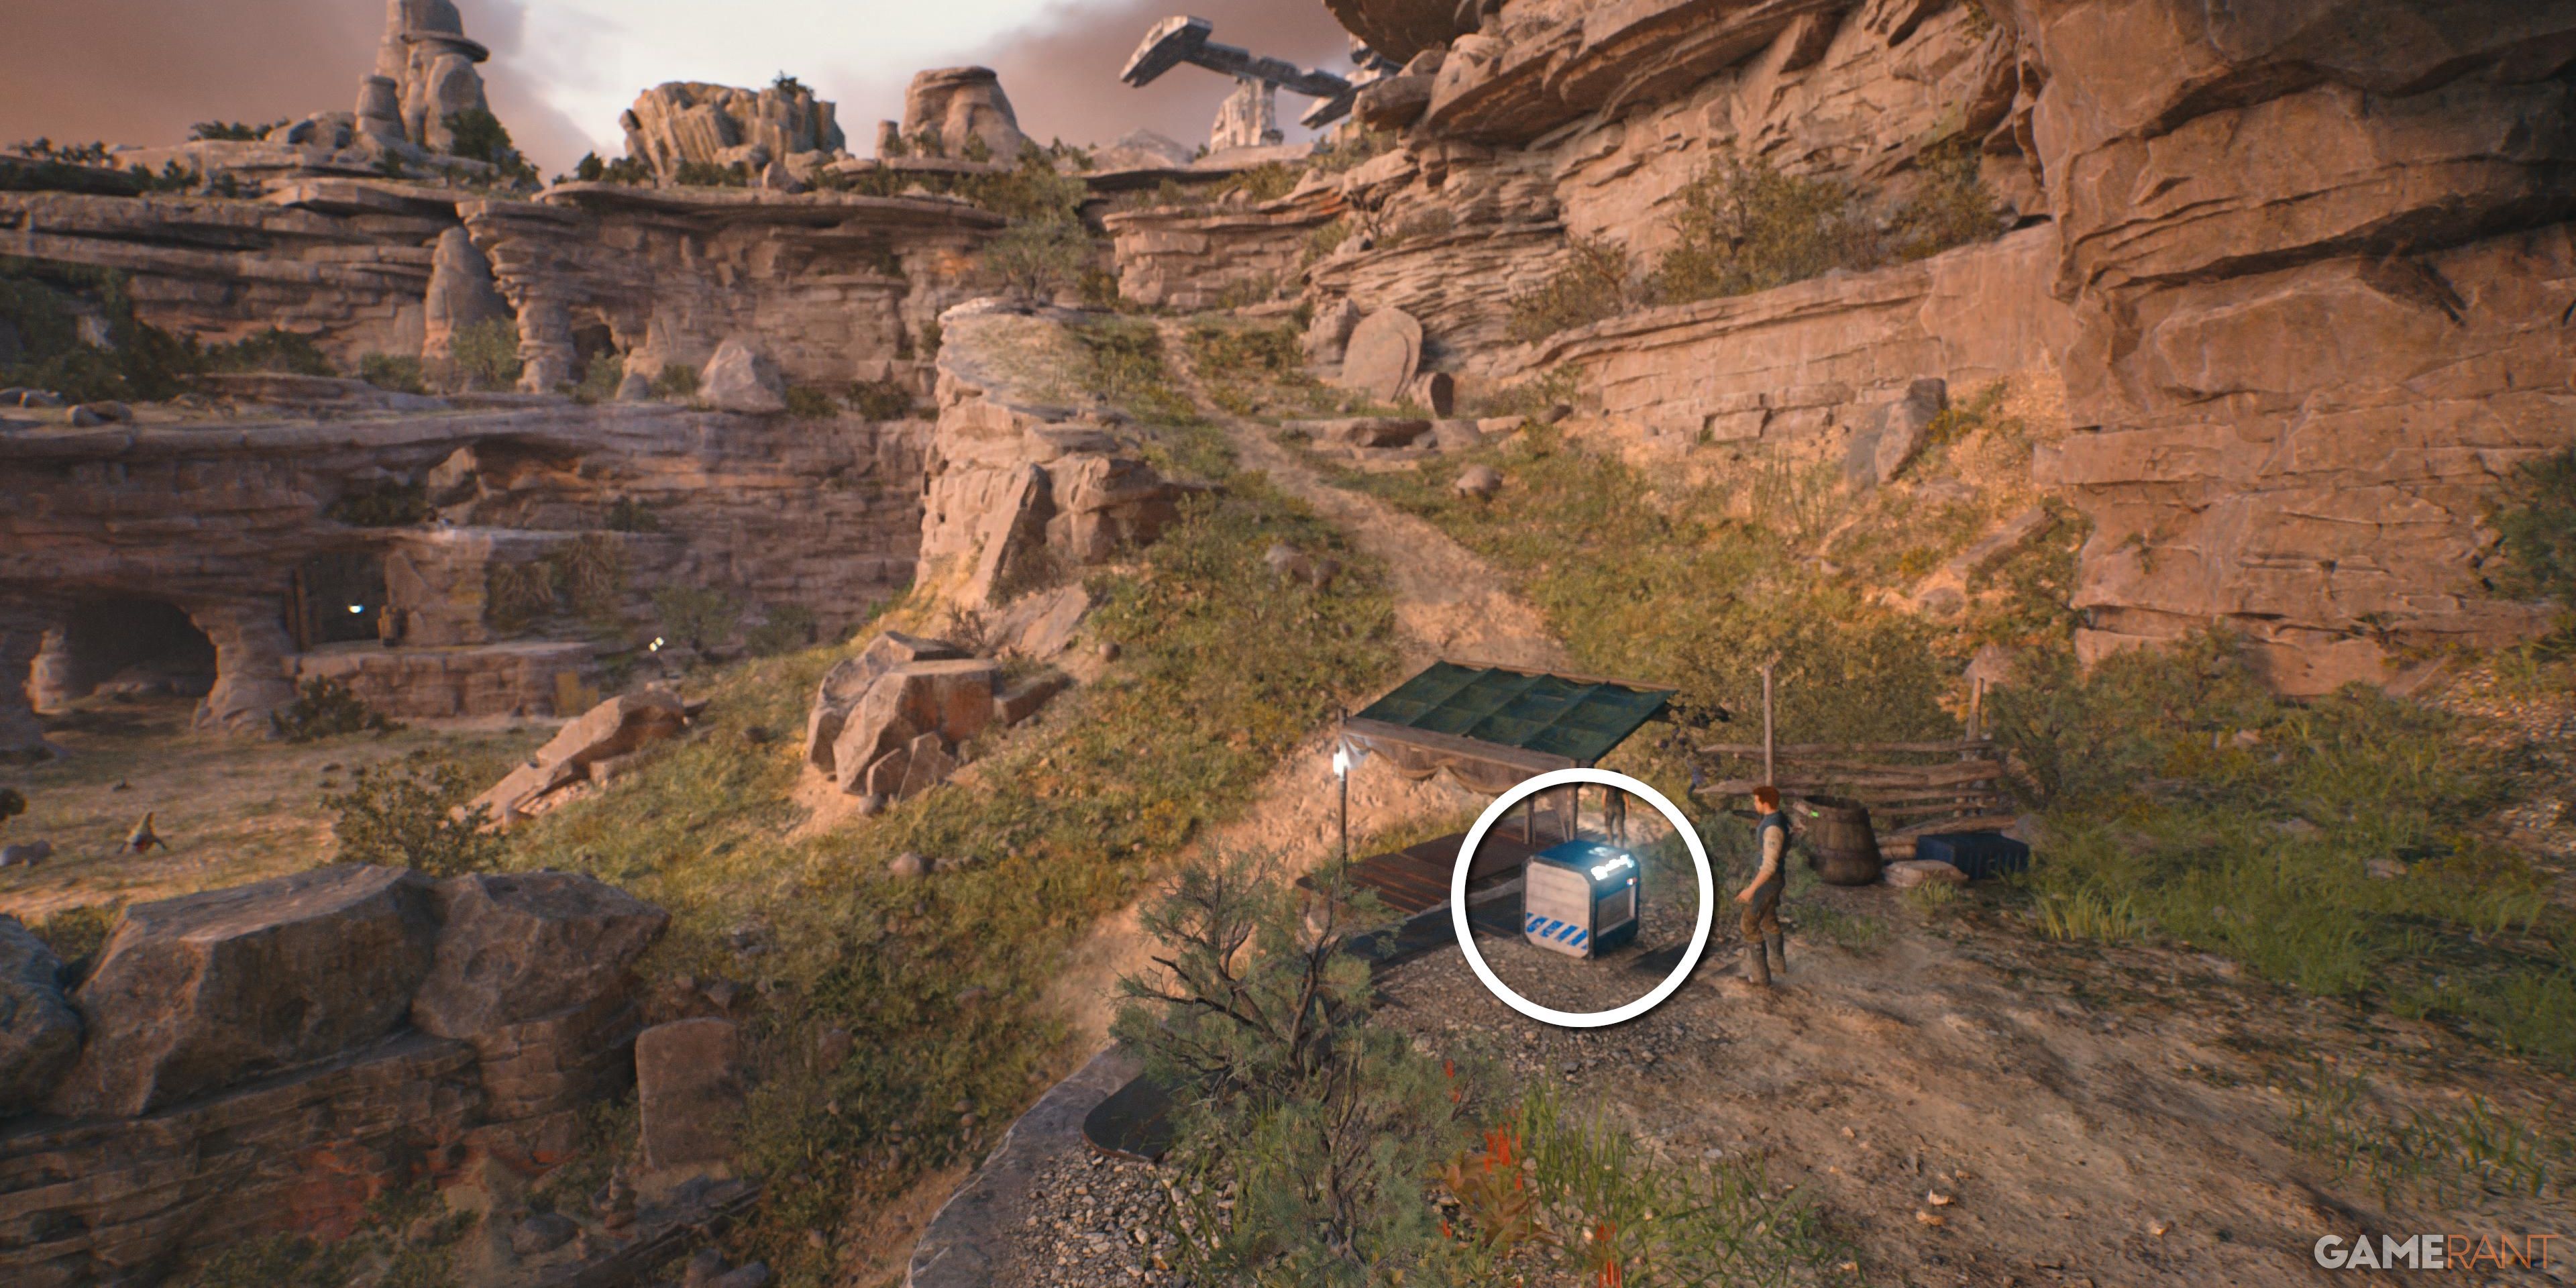
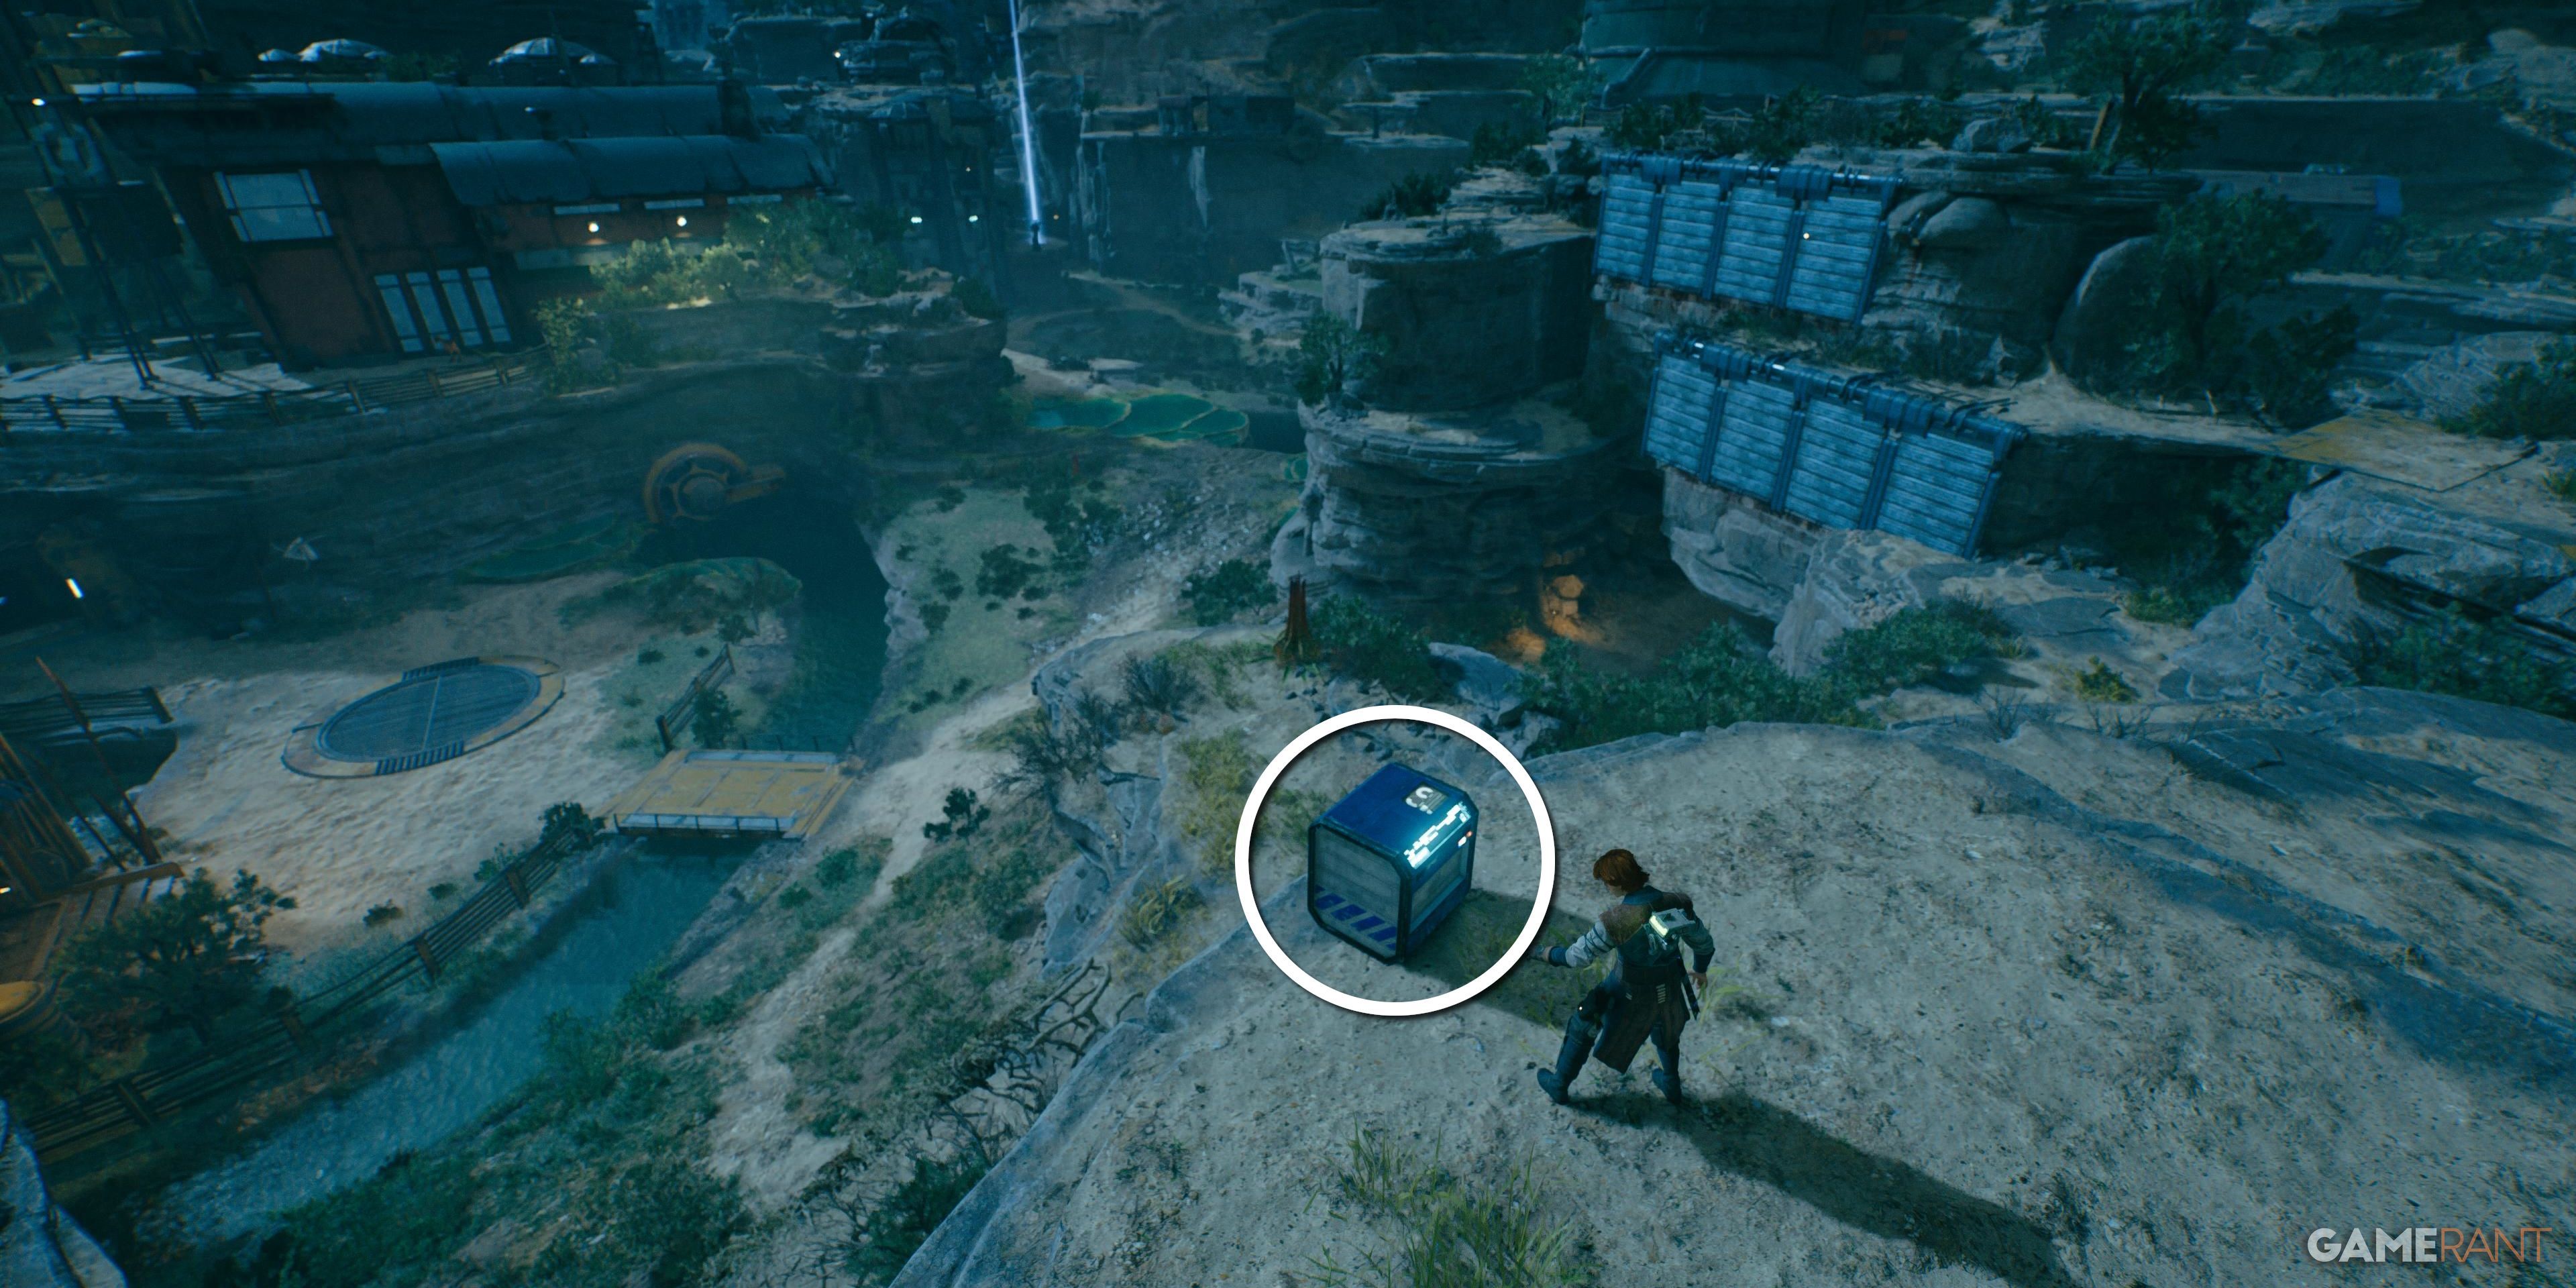
Chest 1 of 3 – Beard: Full
From the Southern Reach Meditation Point, head up the ramp and around until Cal is overlooking the valley. Following the path down, climb the ledge to the left of Mosey’s camp to find a chest containing a Full Beard customization option for Cal.
Chest 2 of 3 – Weapon Materials: Kashyyyk Paint
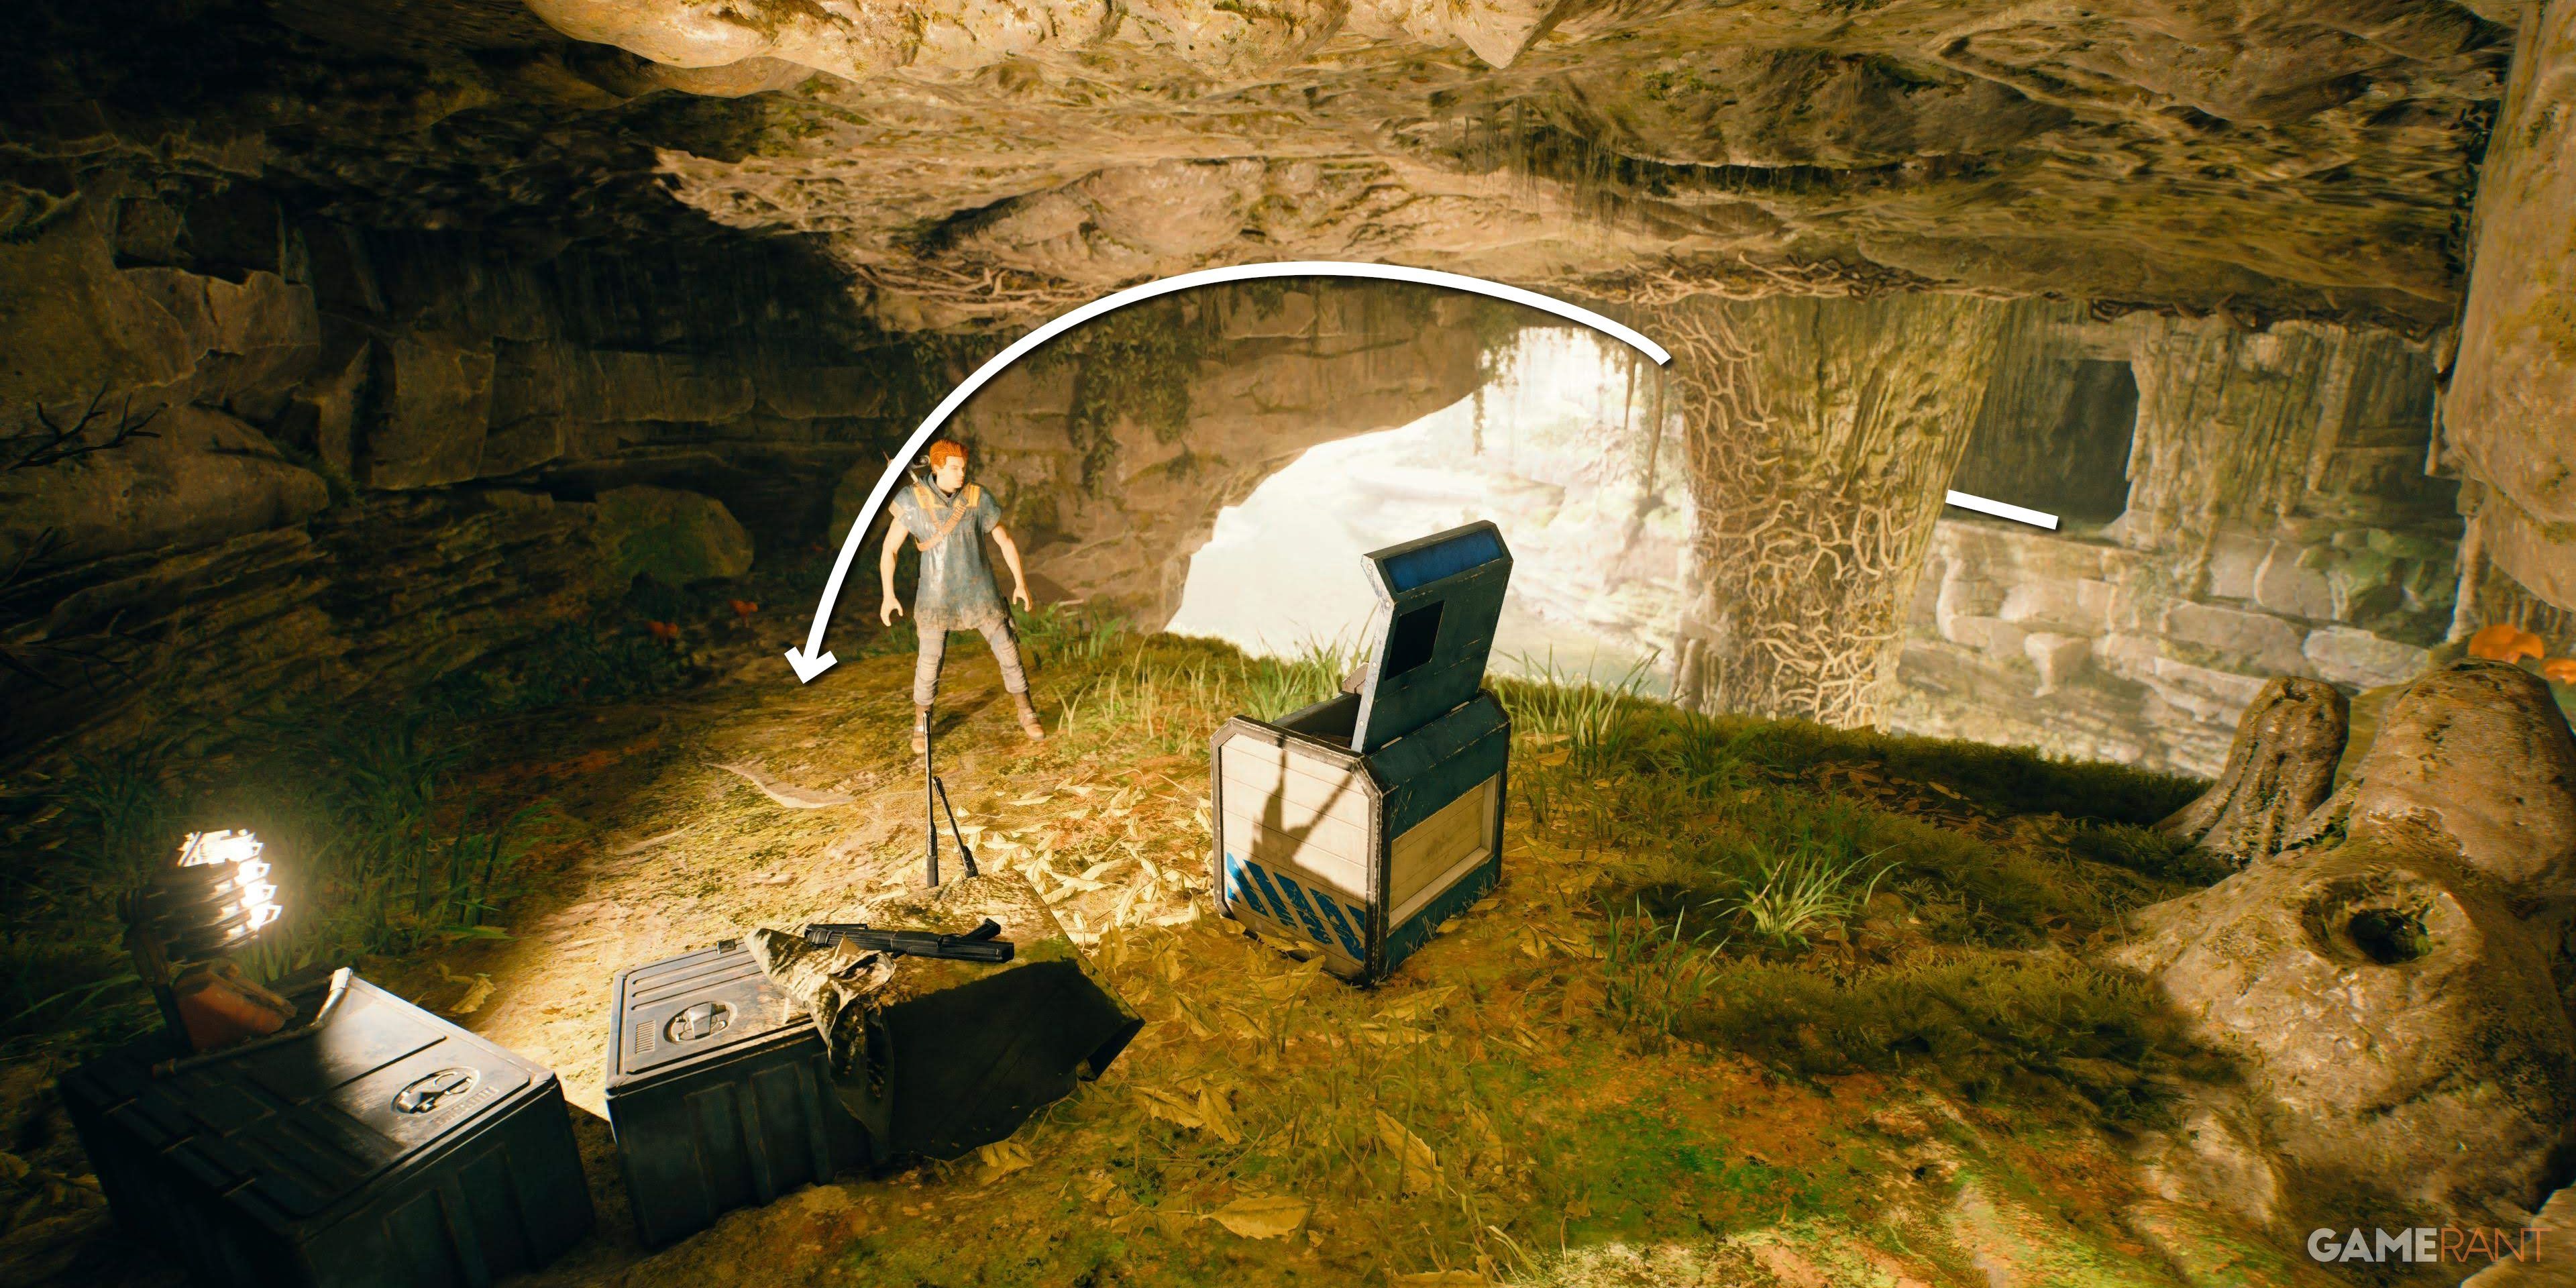
From Mosey’s Camp, head up the vines near the waterfall on the left and swing across the poles jutting from the rock, taking a right upon landing, and cutting the vines obstructing the path into the cave. Inside, kill the Bramliks and use the pole to swing out onto another platform. Follow the path around to the left and drop down at the end to find a chest guarded by a Shiverpede.
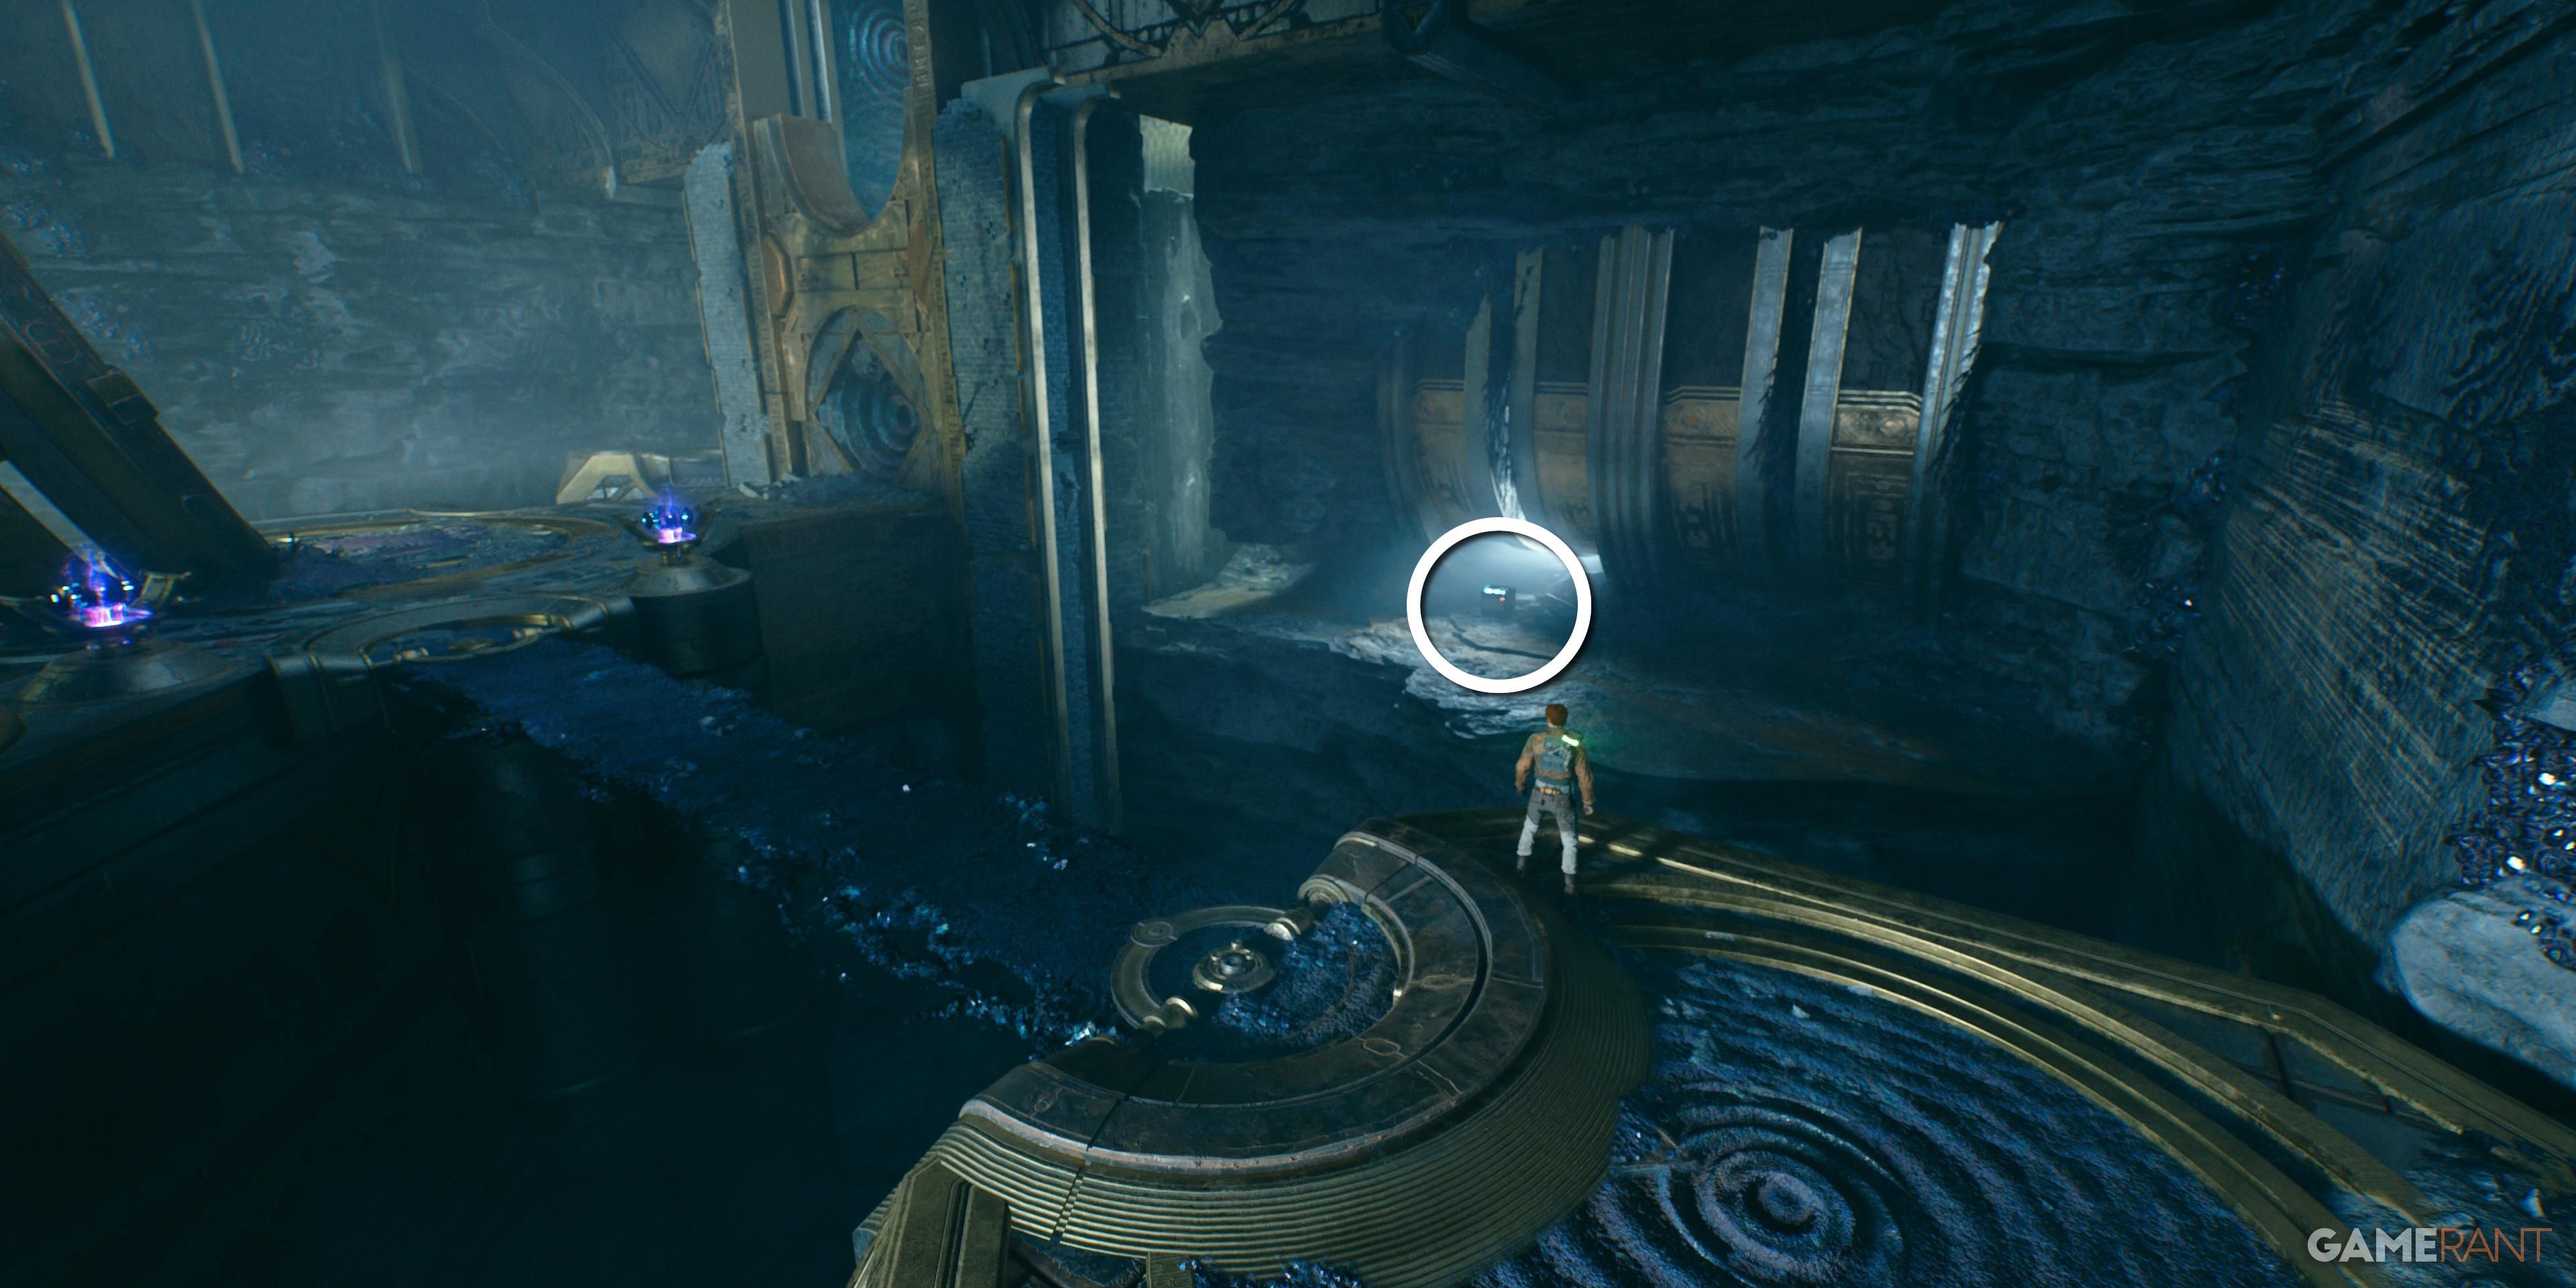
Chest 3 of 3 – Blaster: Quickdraw (Requires Force Lift)
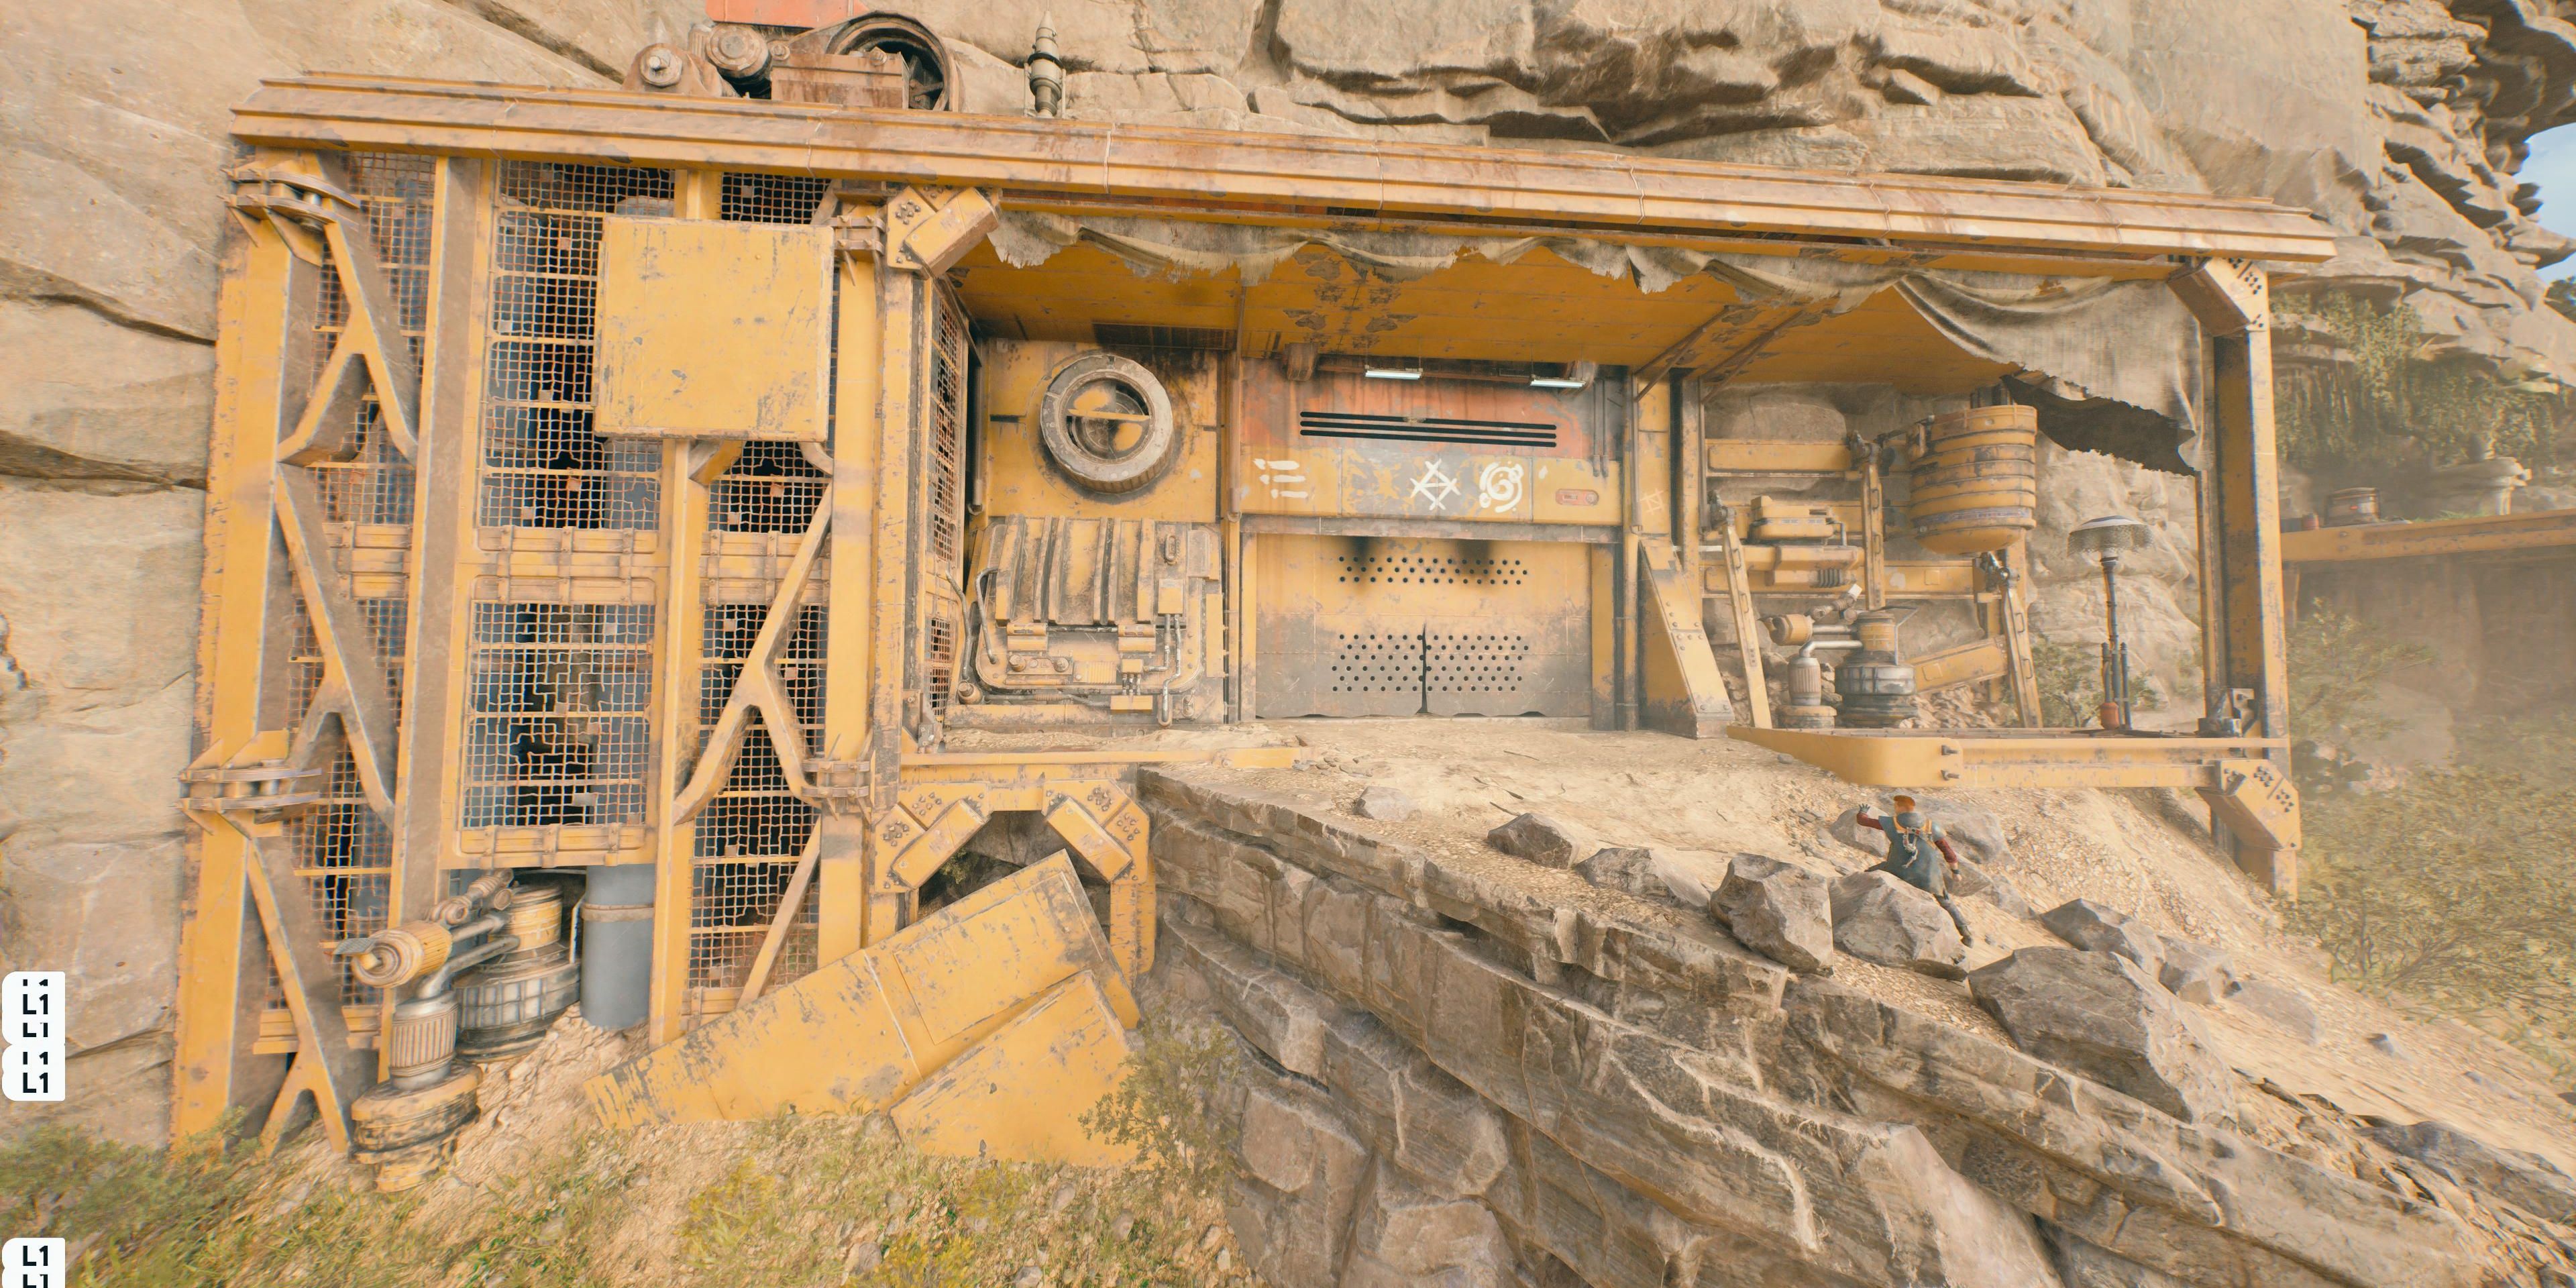
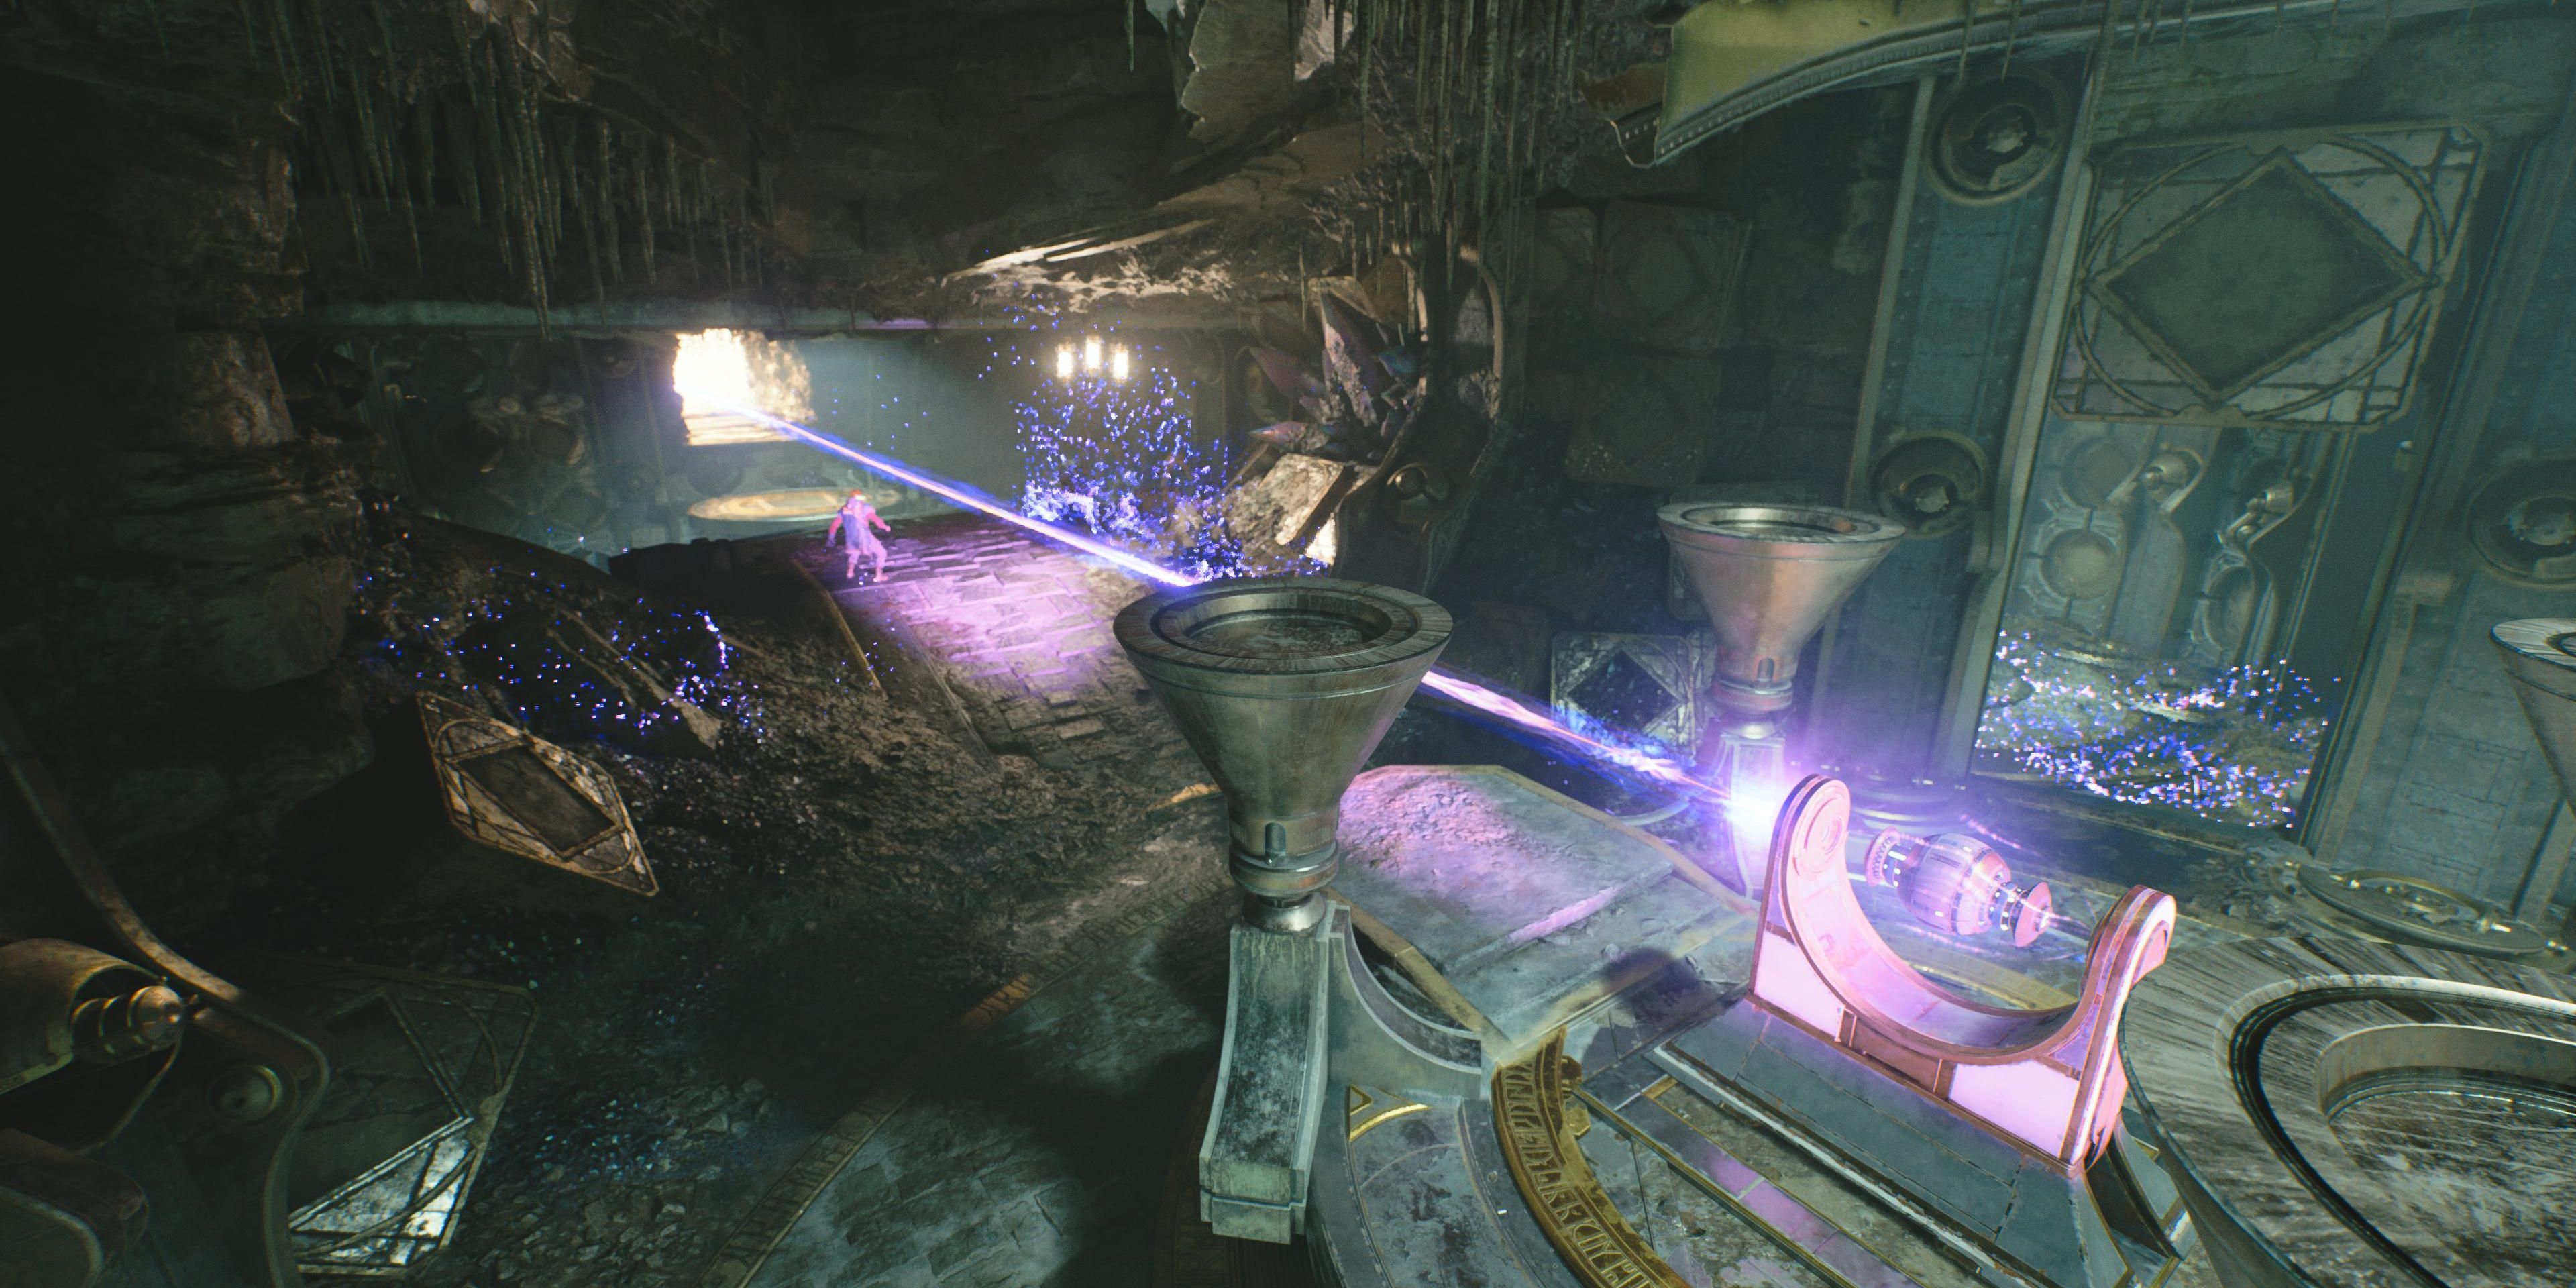
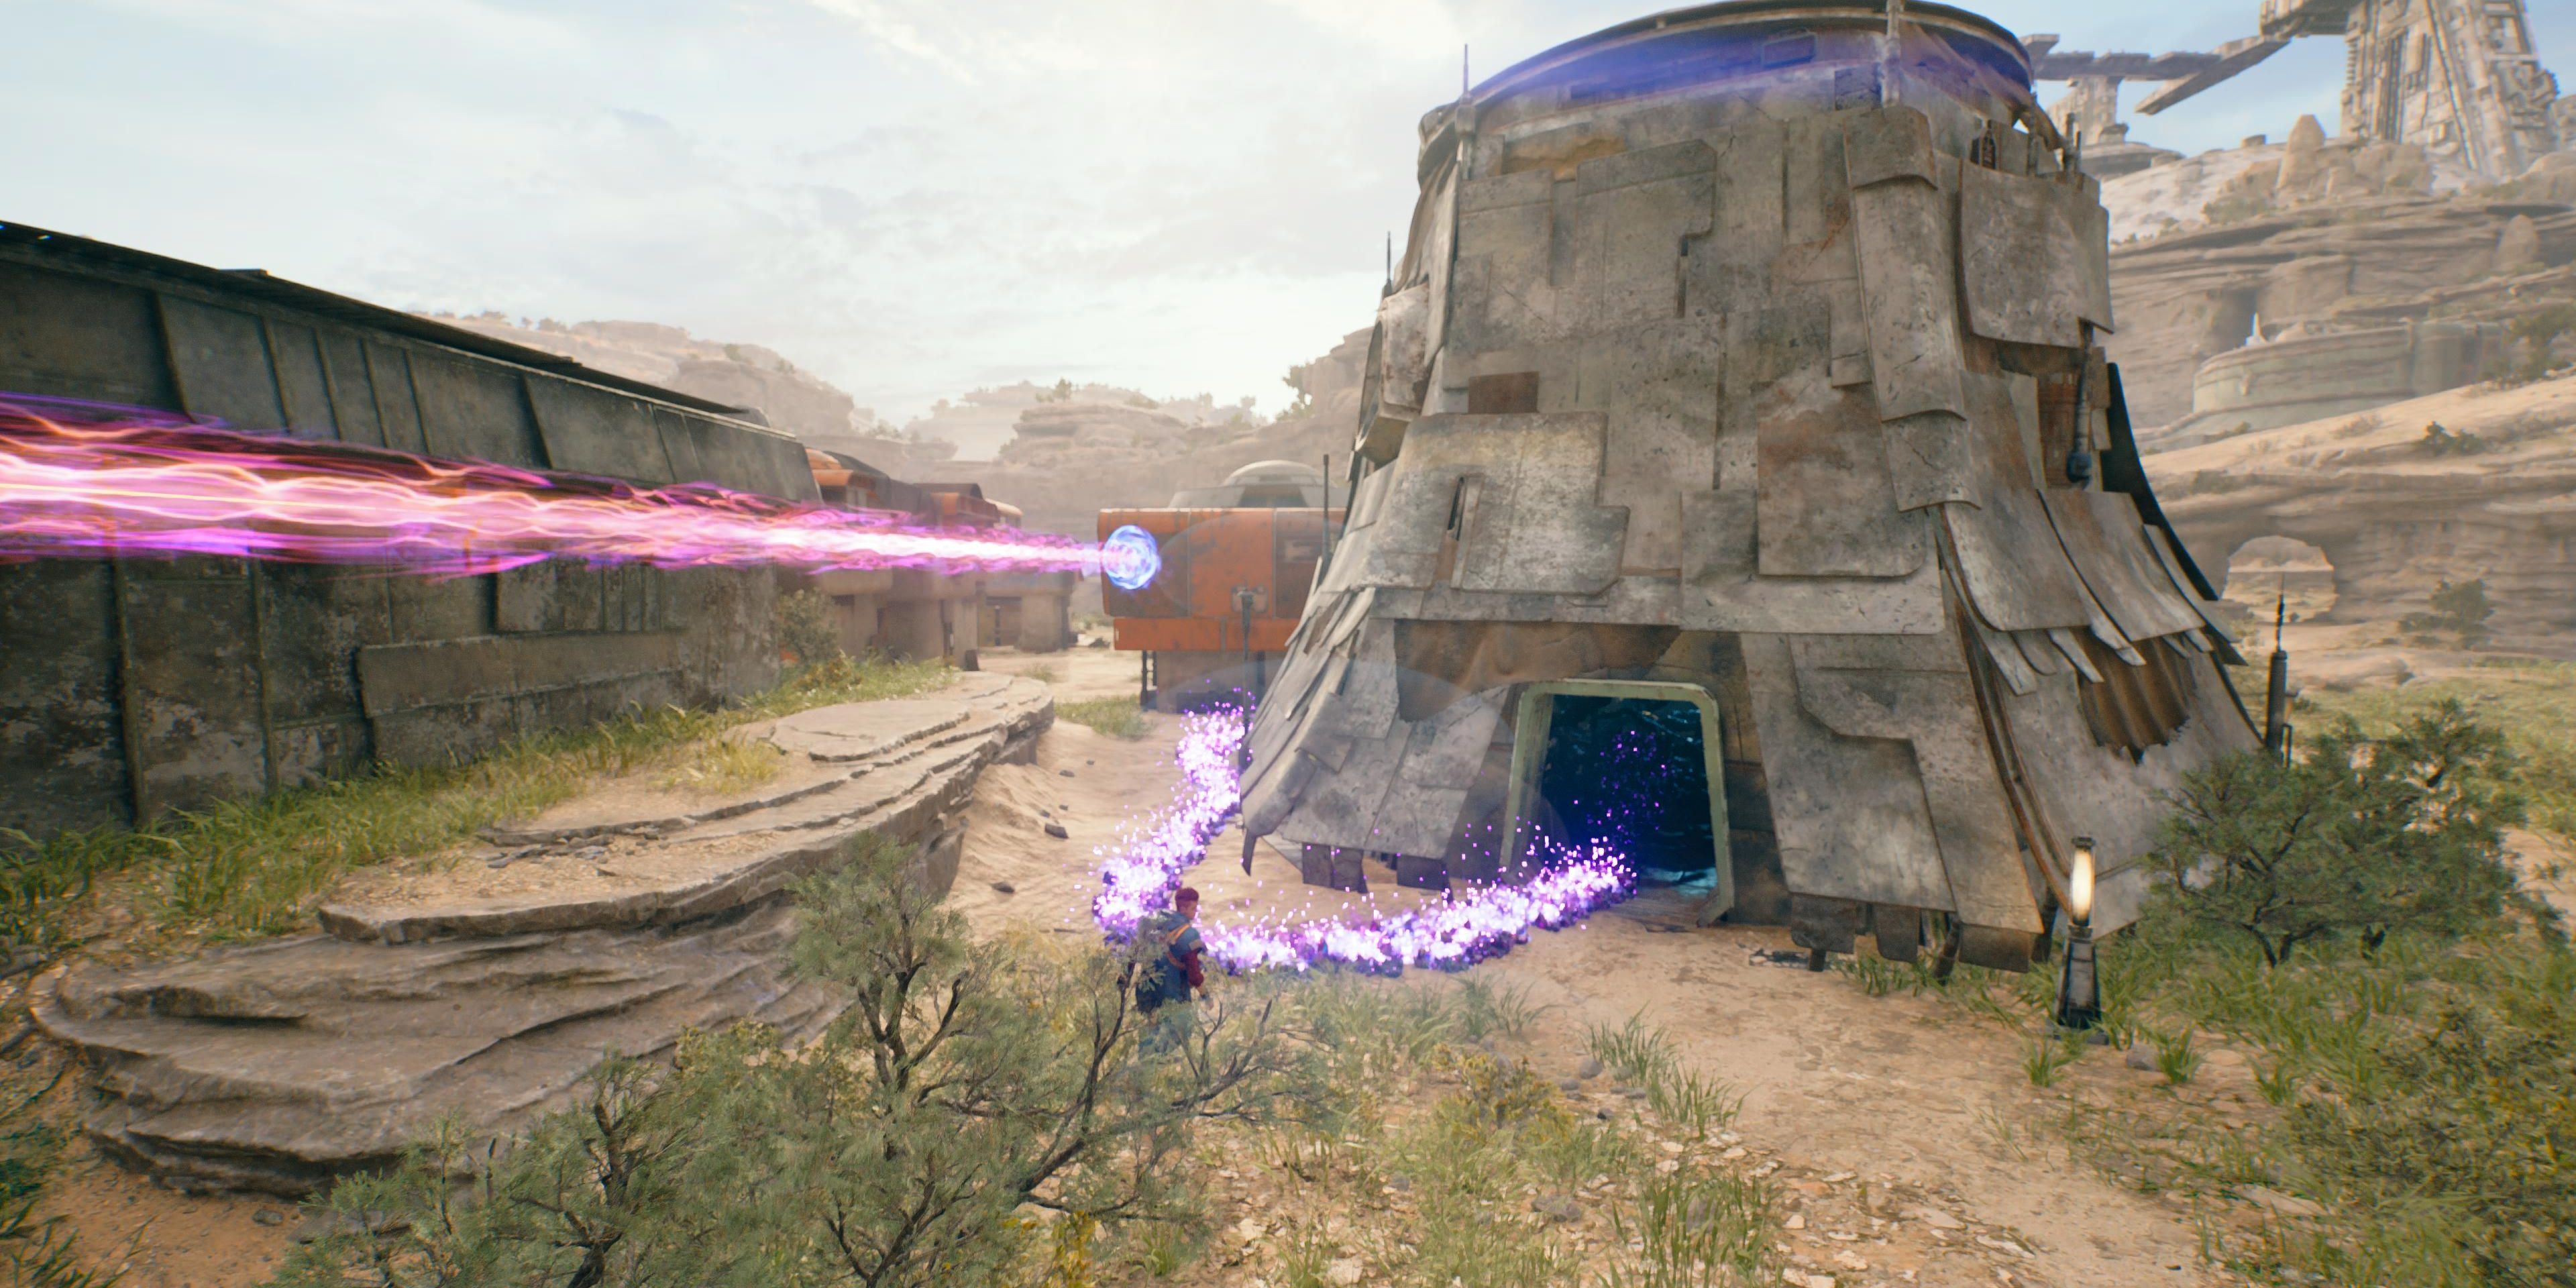
Using Force Lift on the yellow gate in Hunter’s Quarry, drop down and find the orb in an alcove, placing it in the central coupler. With the beam cutting out of the cave, travel to where it hits the wall in Rambler’s Reach Outpost and use BD’s Koboh Grinder to draw a path to the vines in the nearby building
Hunter’s Quarry
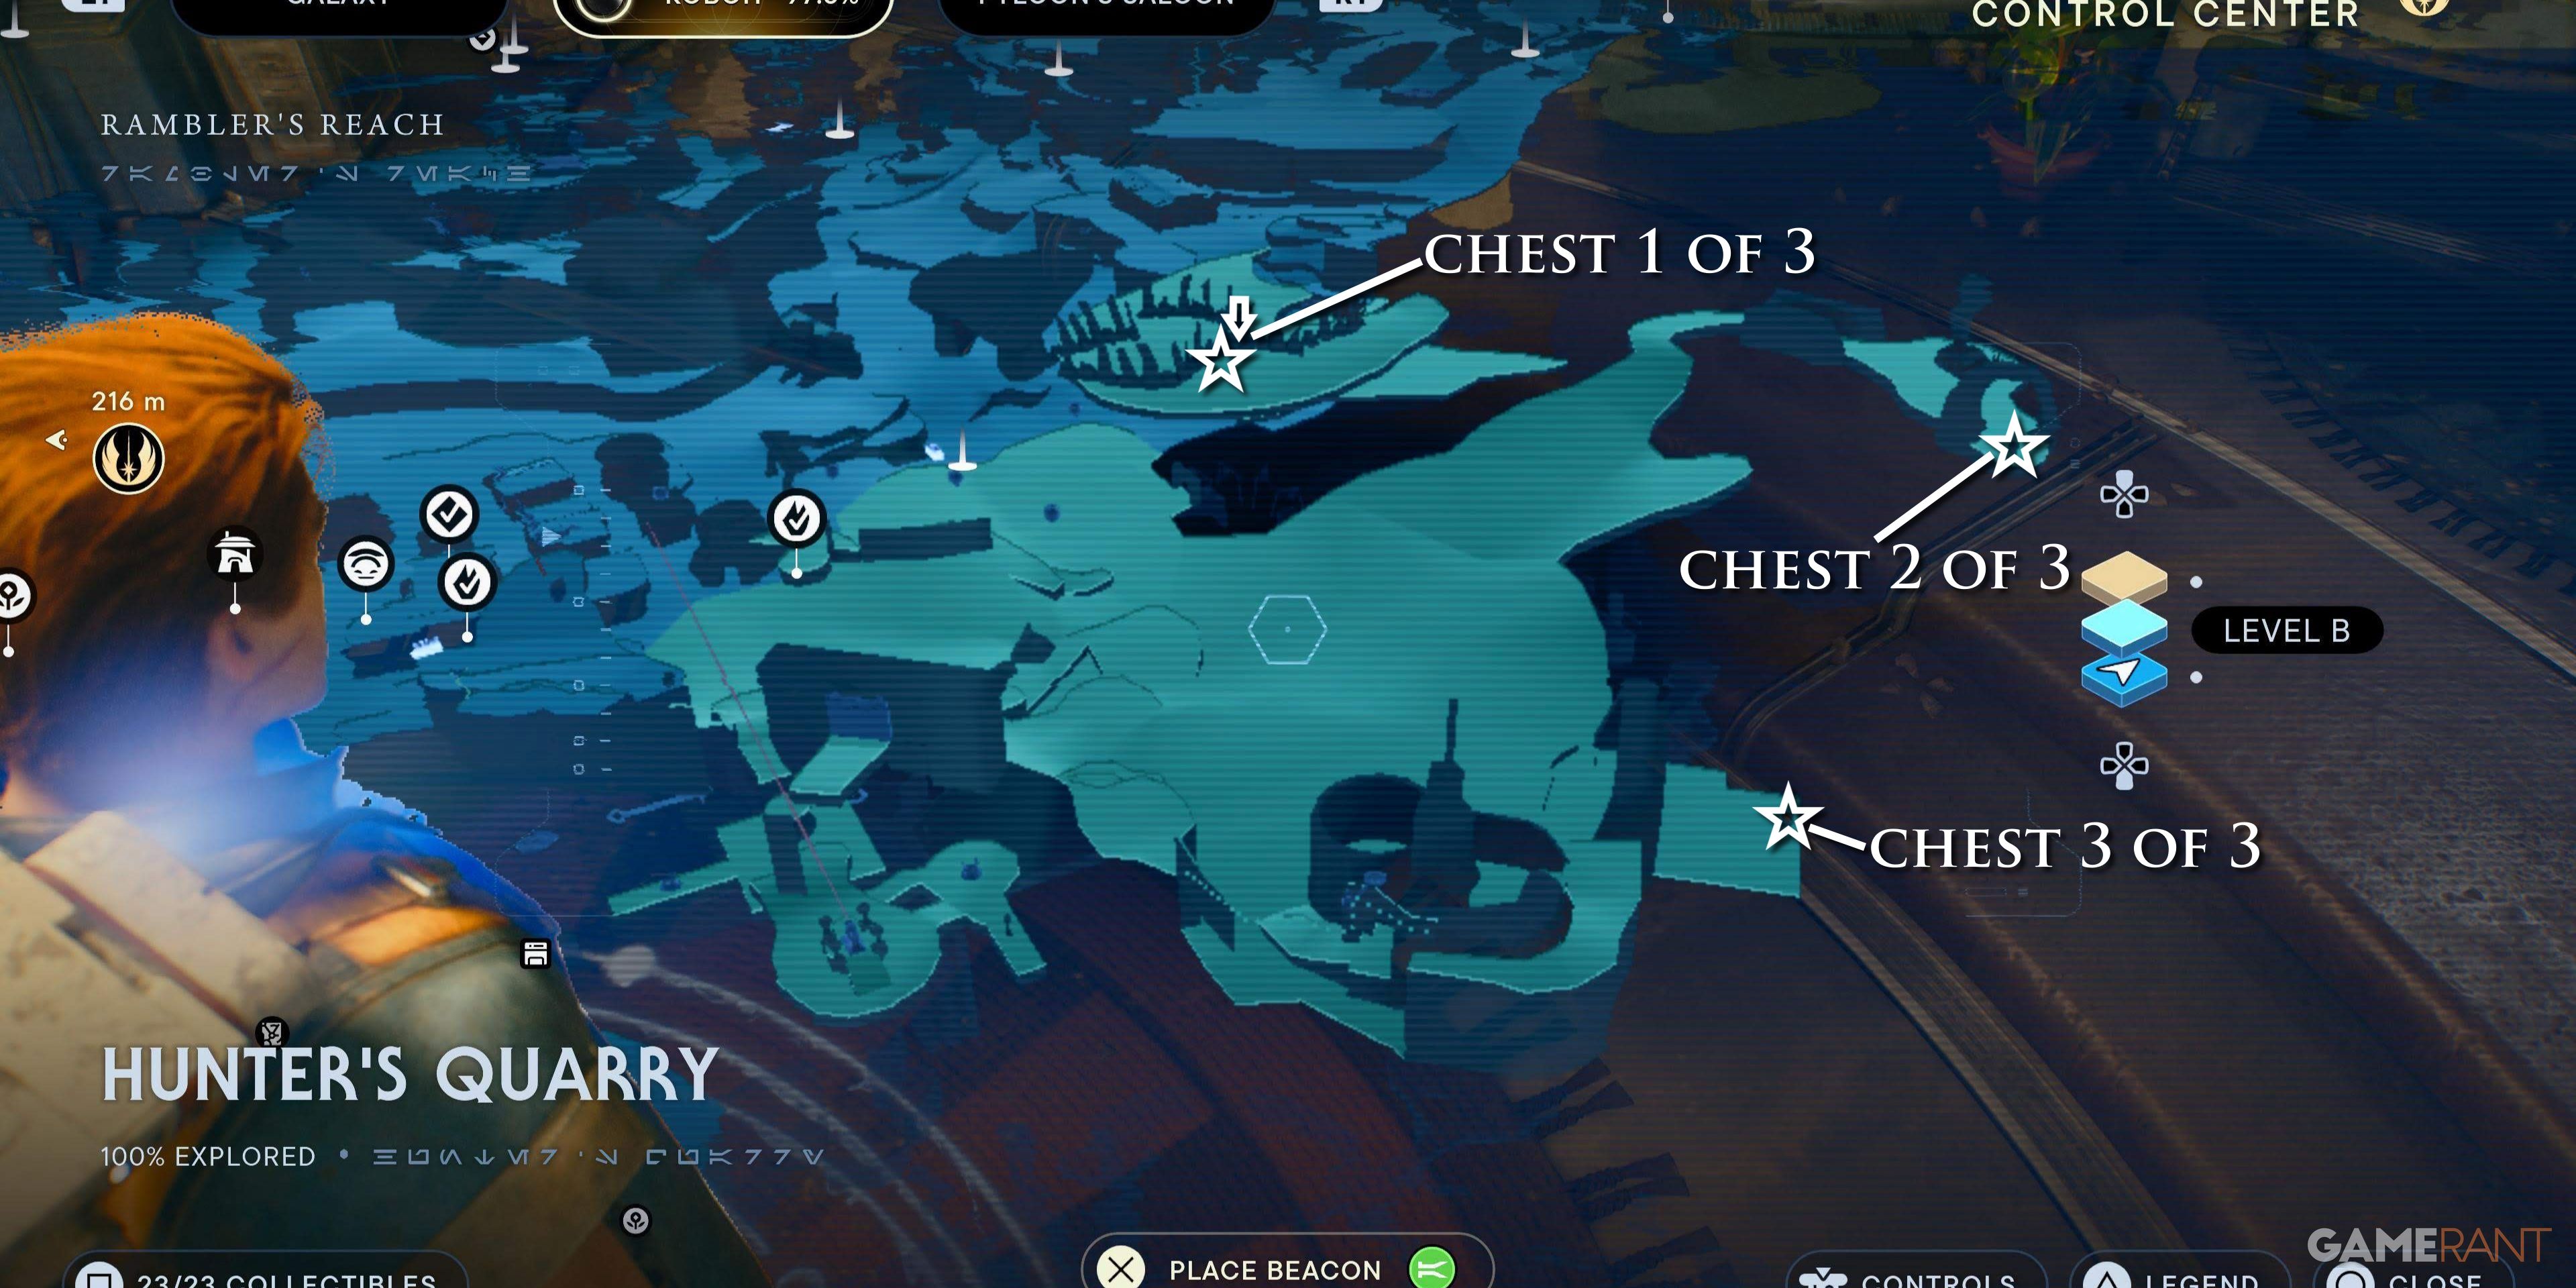
This area, near the Rambler’s Reach Outpost Meditation Point, has three chests.
Chest 1 of 3 – Jacket: Hunter
Head down the dirt road in Hunter’s Quarry, hanging left until Cal sees two Gorgers run into a canyon. Before following them, take a left and climb up the ledge, and head towards the giant skull on the rocks. In the shaded area beneath the skull, a Gorocco will attack; kill it, and ask BD to slice the chest it was guarding.
Chest 2 of 3 – Jacket: Bomber
Heading into the Gorger den, in the canyon between the hangar and the Gorocco den, enter the cave beneath the giant skeleton to find this chest containing the Bomber Jacket.
Chest 3 of 3 – BD-1 Materials: Light Metal
In the large hangar deep in the quarry, players can find this chest behind a group of enemies.
Sodden Grotto
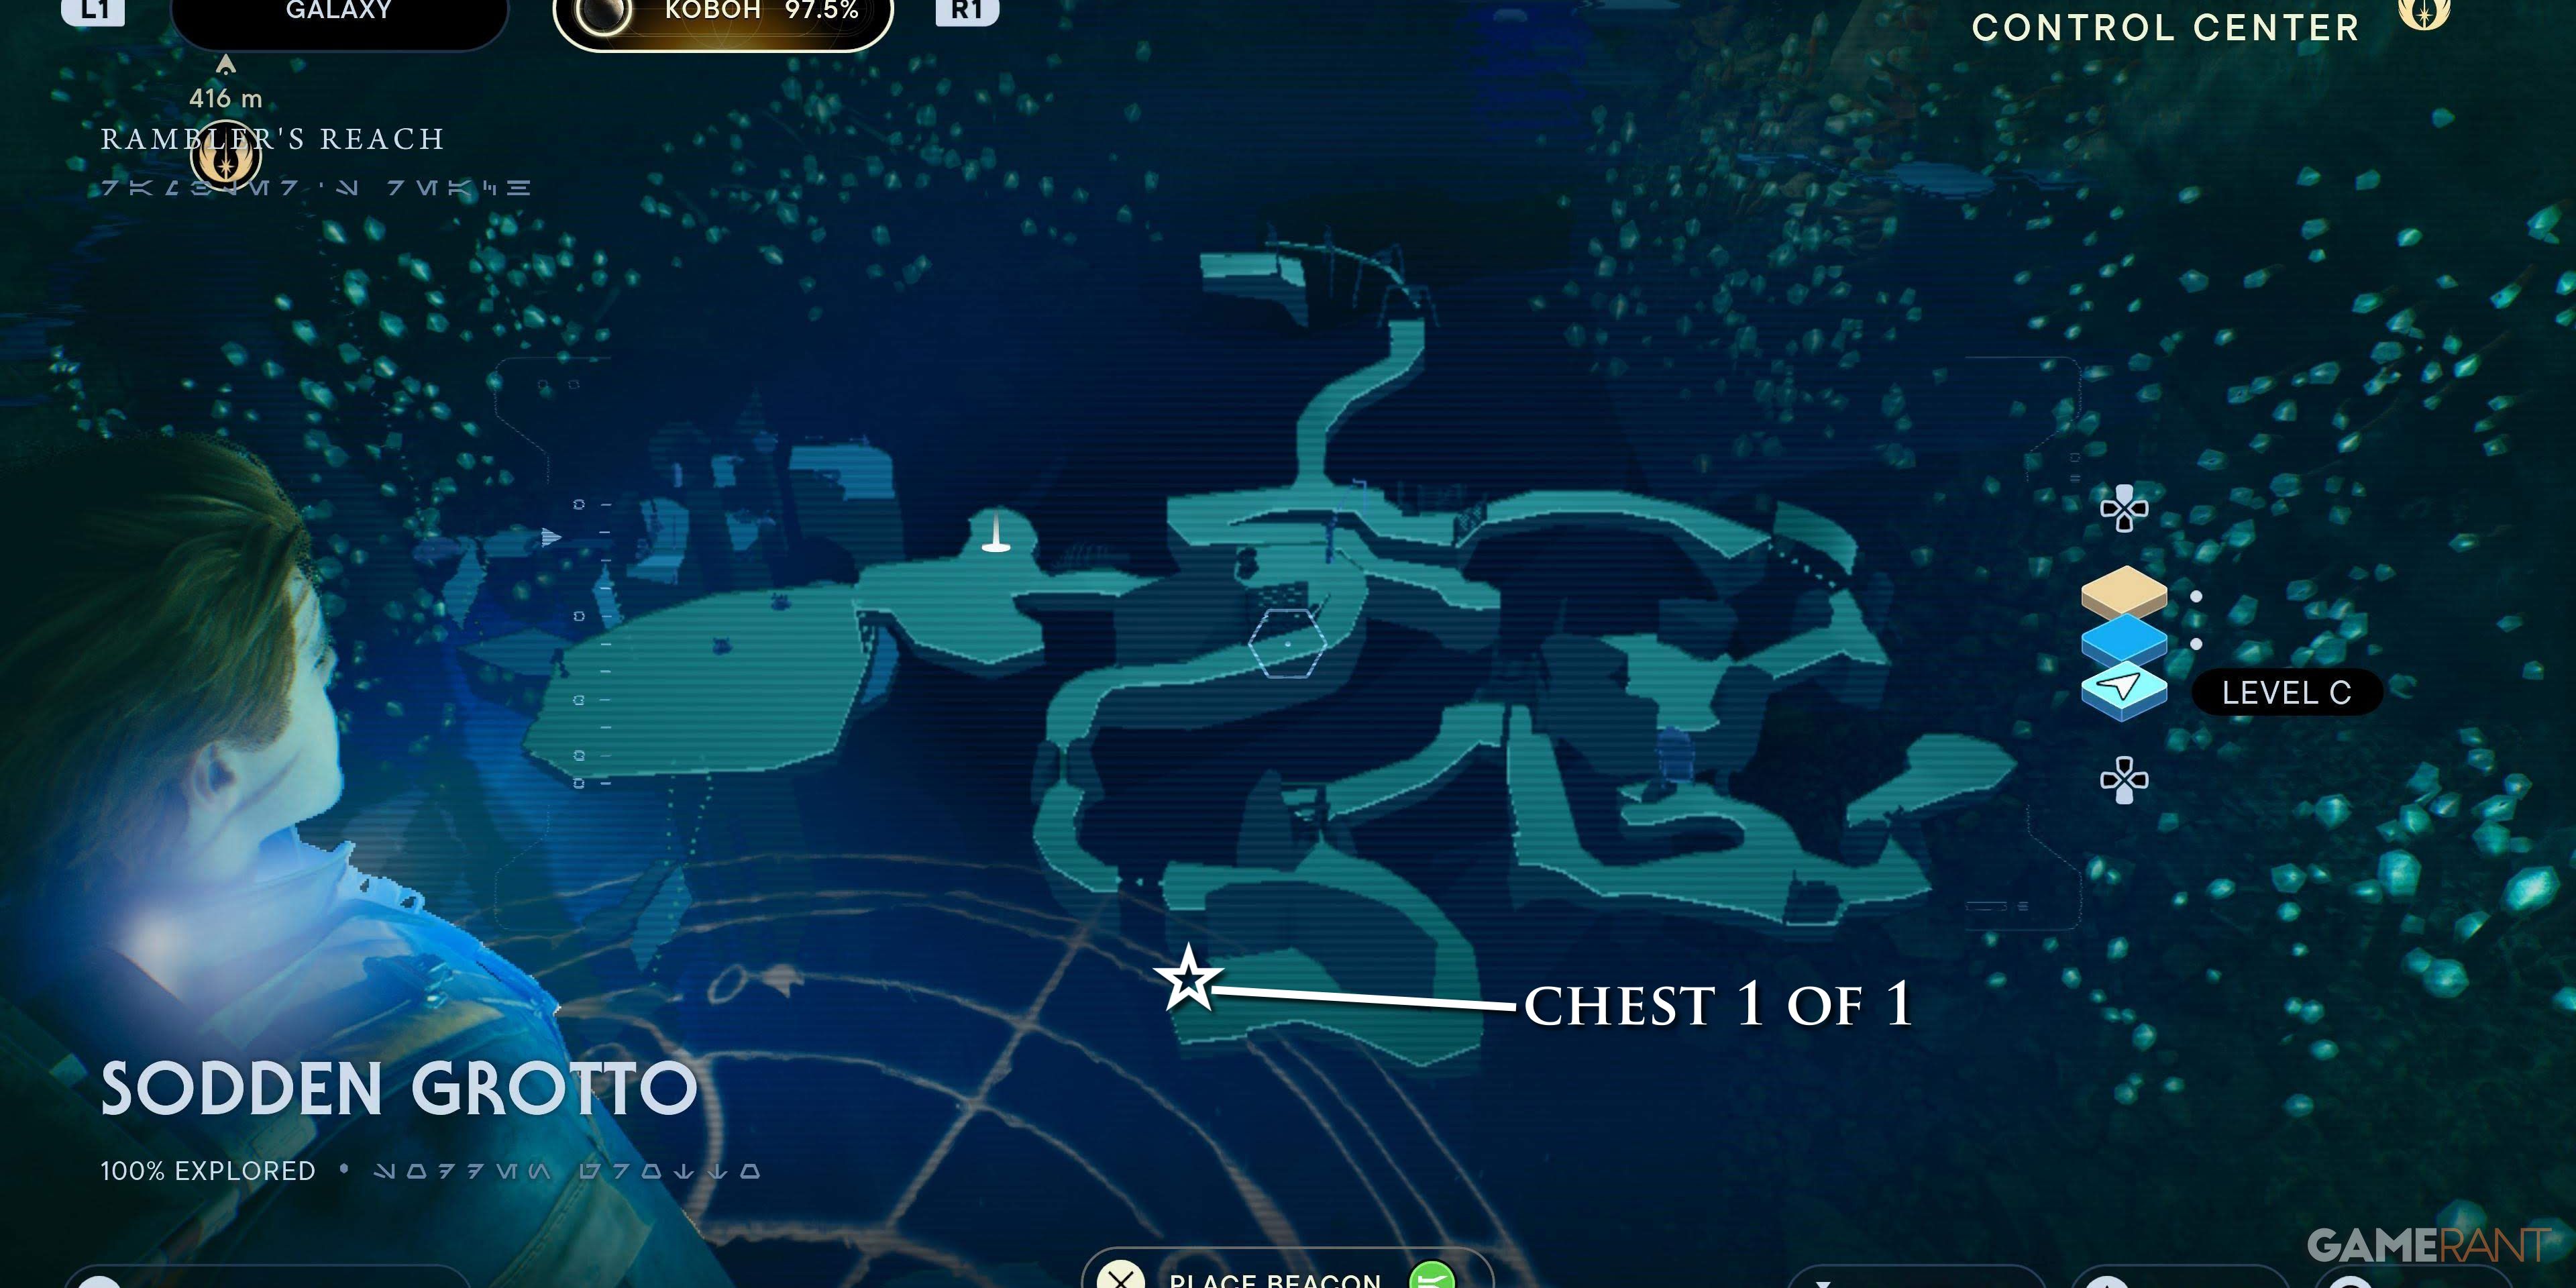
One chest may be found in the grotto, accessed from Hunter’s Quarry.
Chest 1 of 1 – BD-1 Legs: Scrapyard
After squeezing through a gap and encountering a Scavenger Droid, instead of going right, press onwards and head around the darkened corner. Kill some Bramliks down here and open the chest at the end to get some customization options for Cal’s Droid companion.
Riverbed Watch
The Riverbed Watch has only one chest.
Chest 1 of 1 – Hair: Bun
Climb the central structure atop the Raider Watchtower and hang left to find this chest.
Rambler’s Reach Outpost
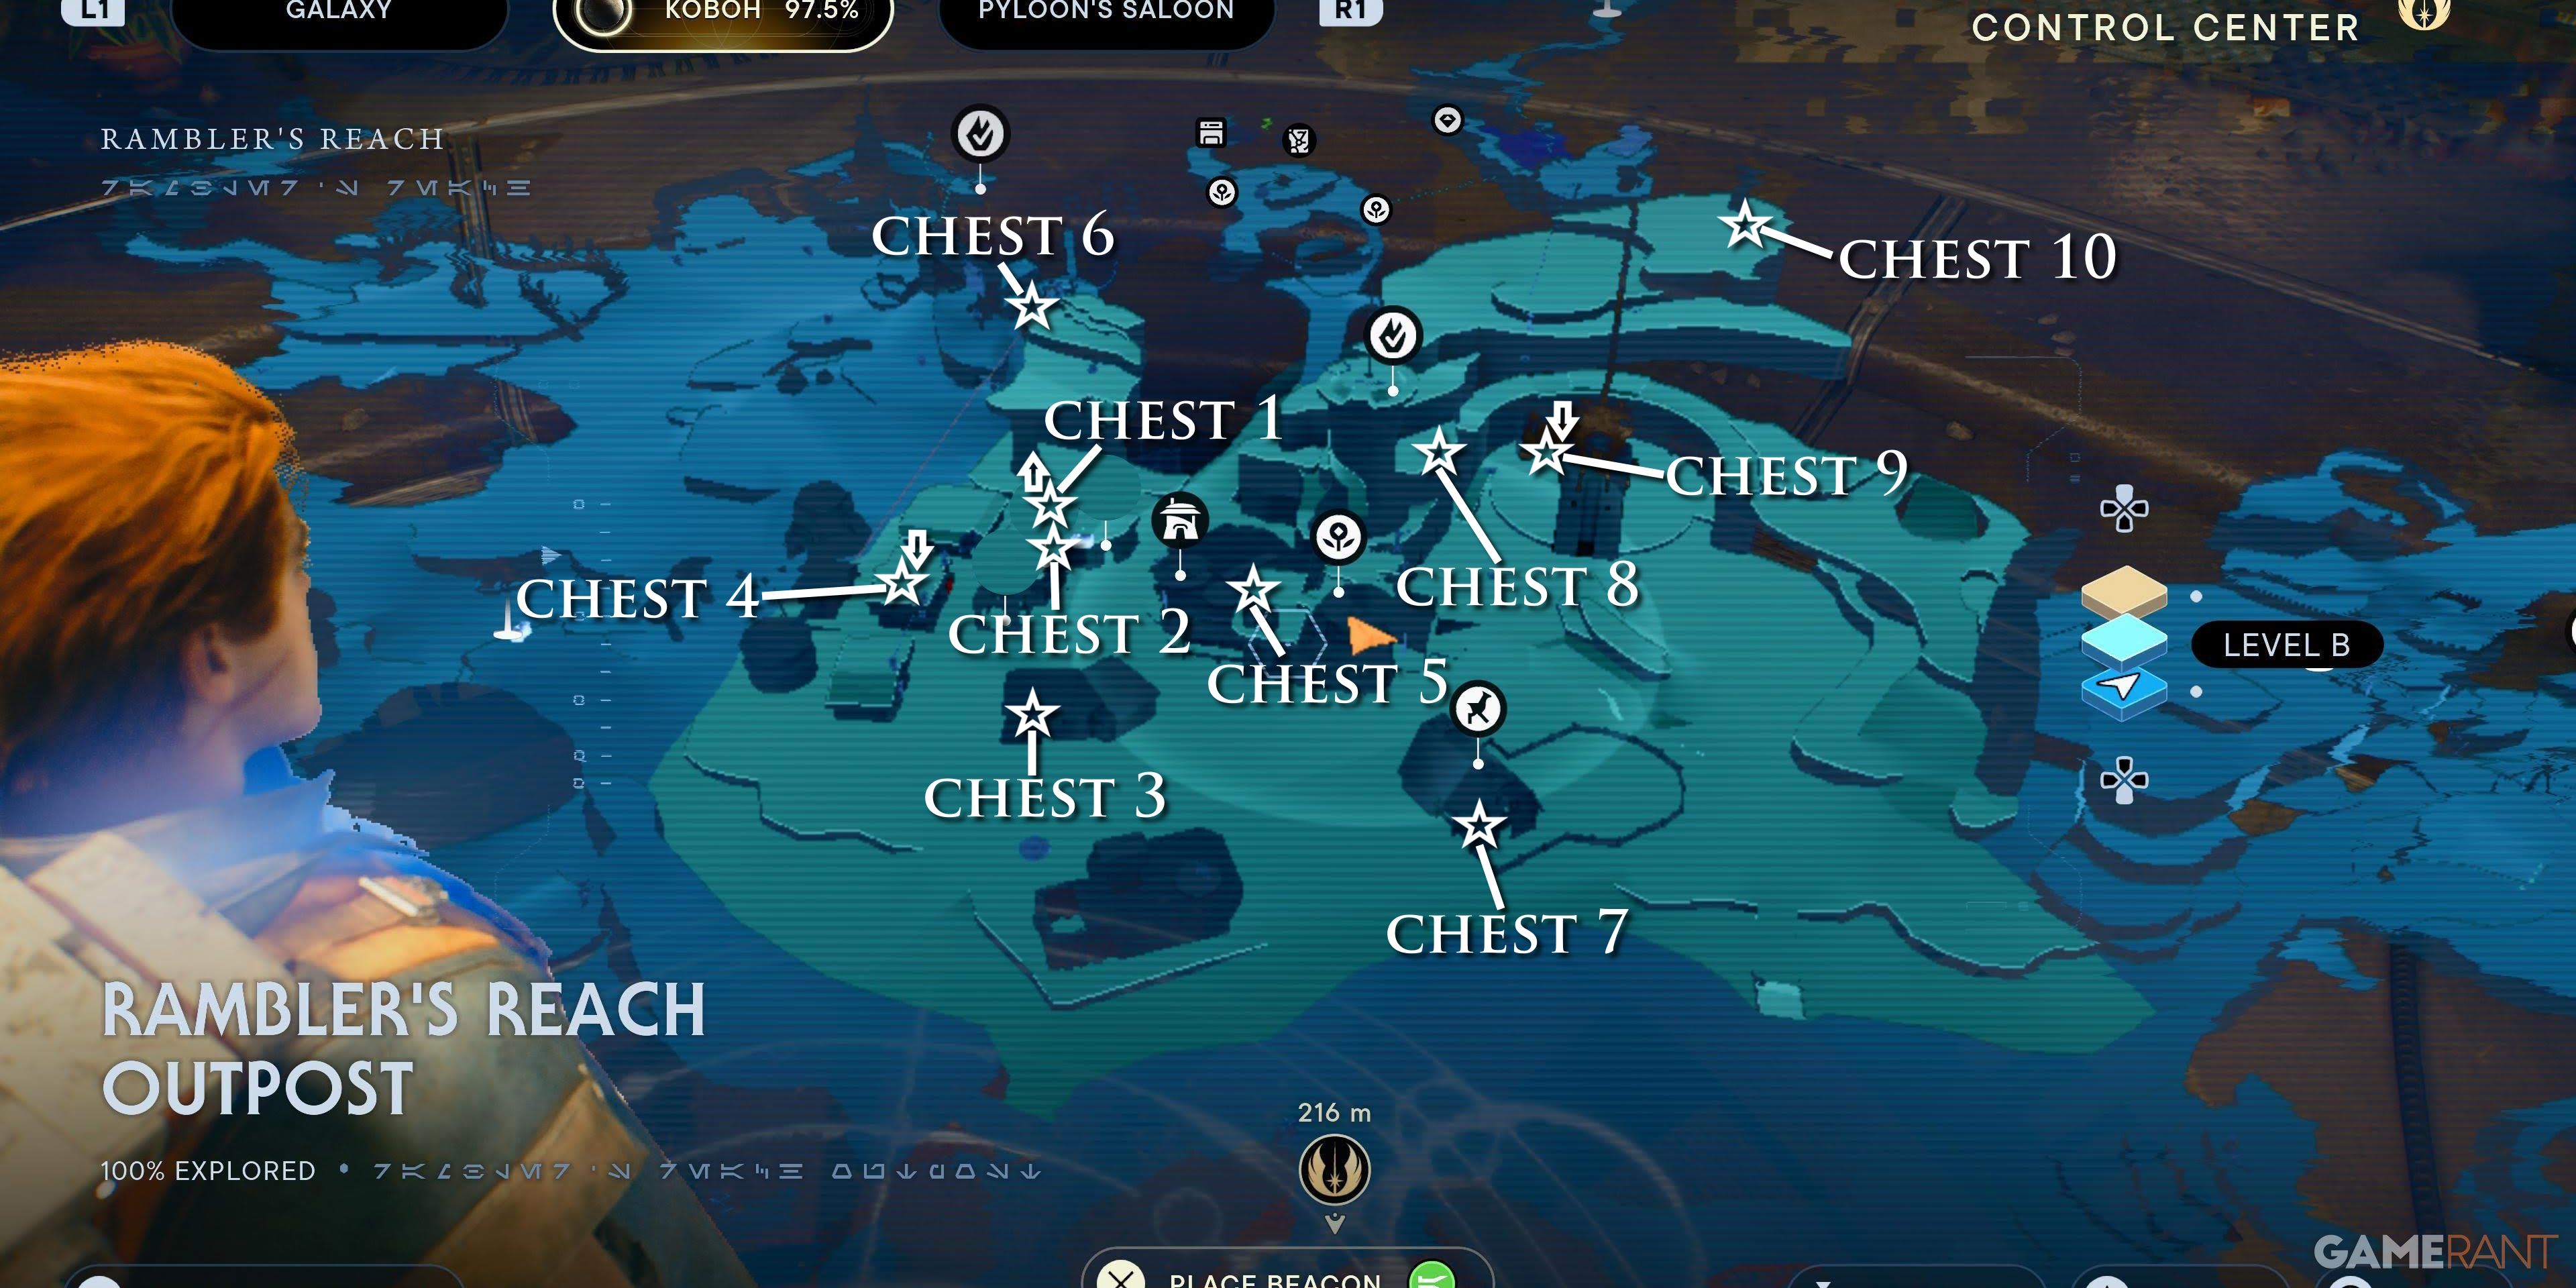
Koboh’s central hub, the frontier town of Rambler’s Reach Outpost, has ten chests.
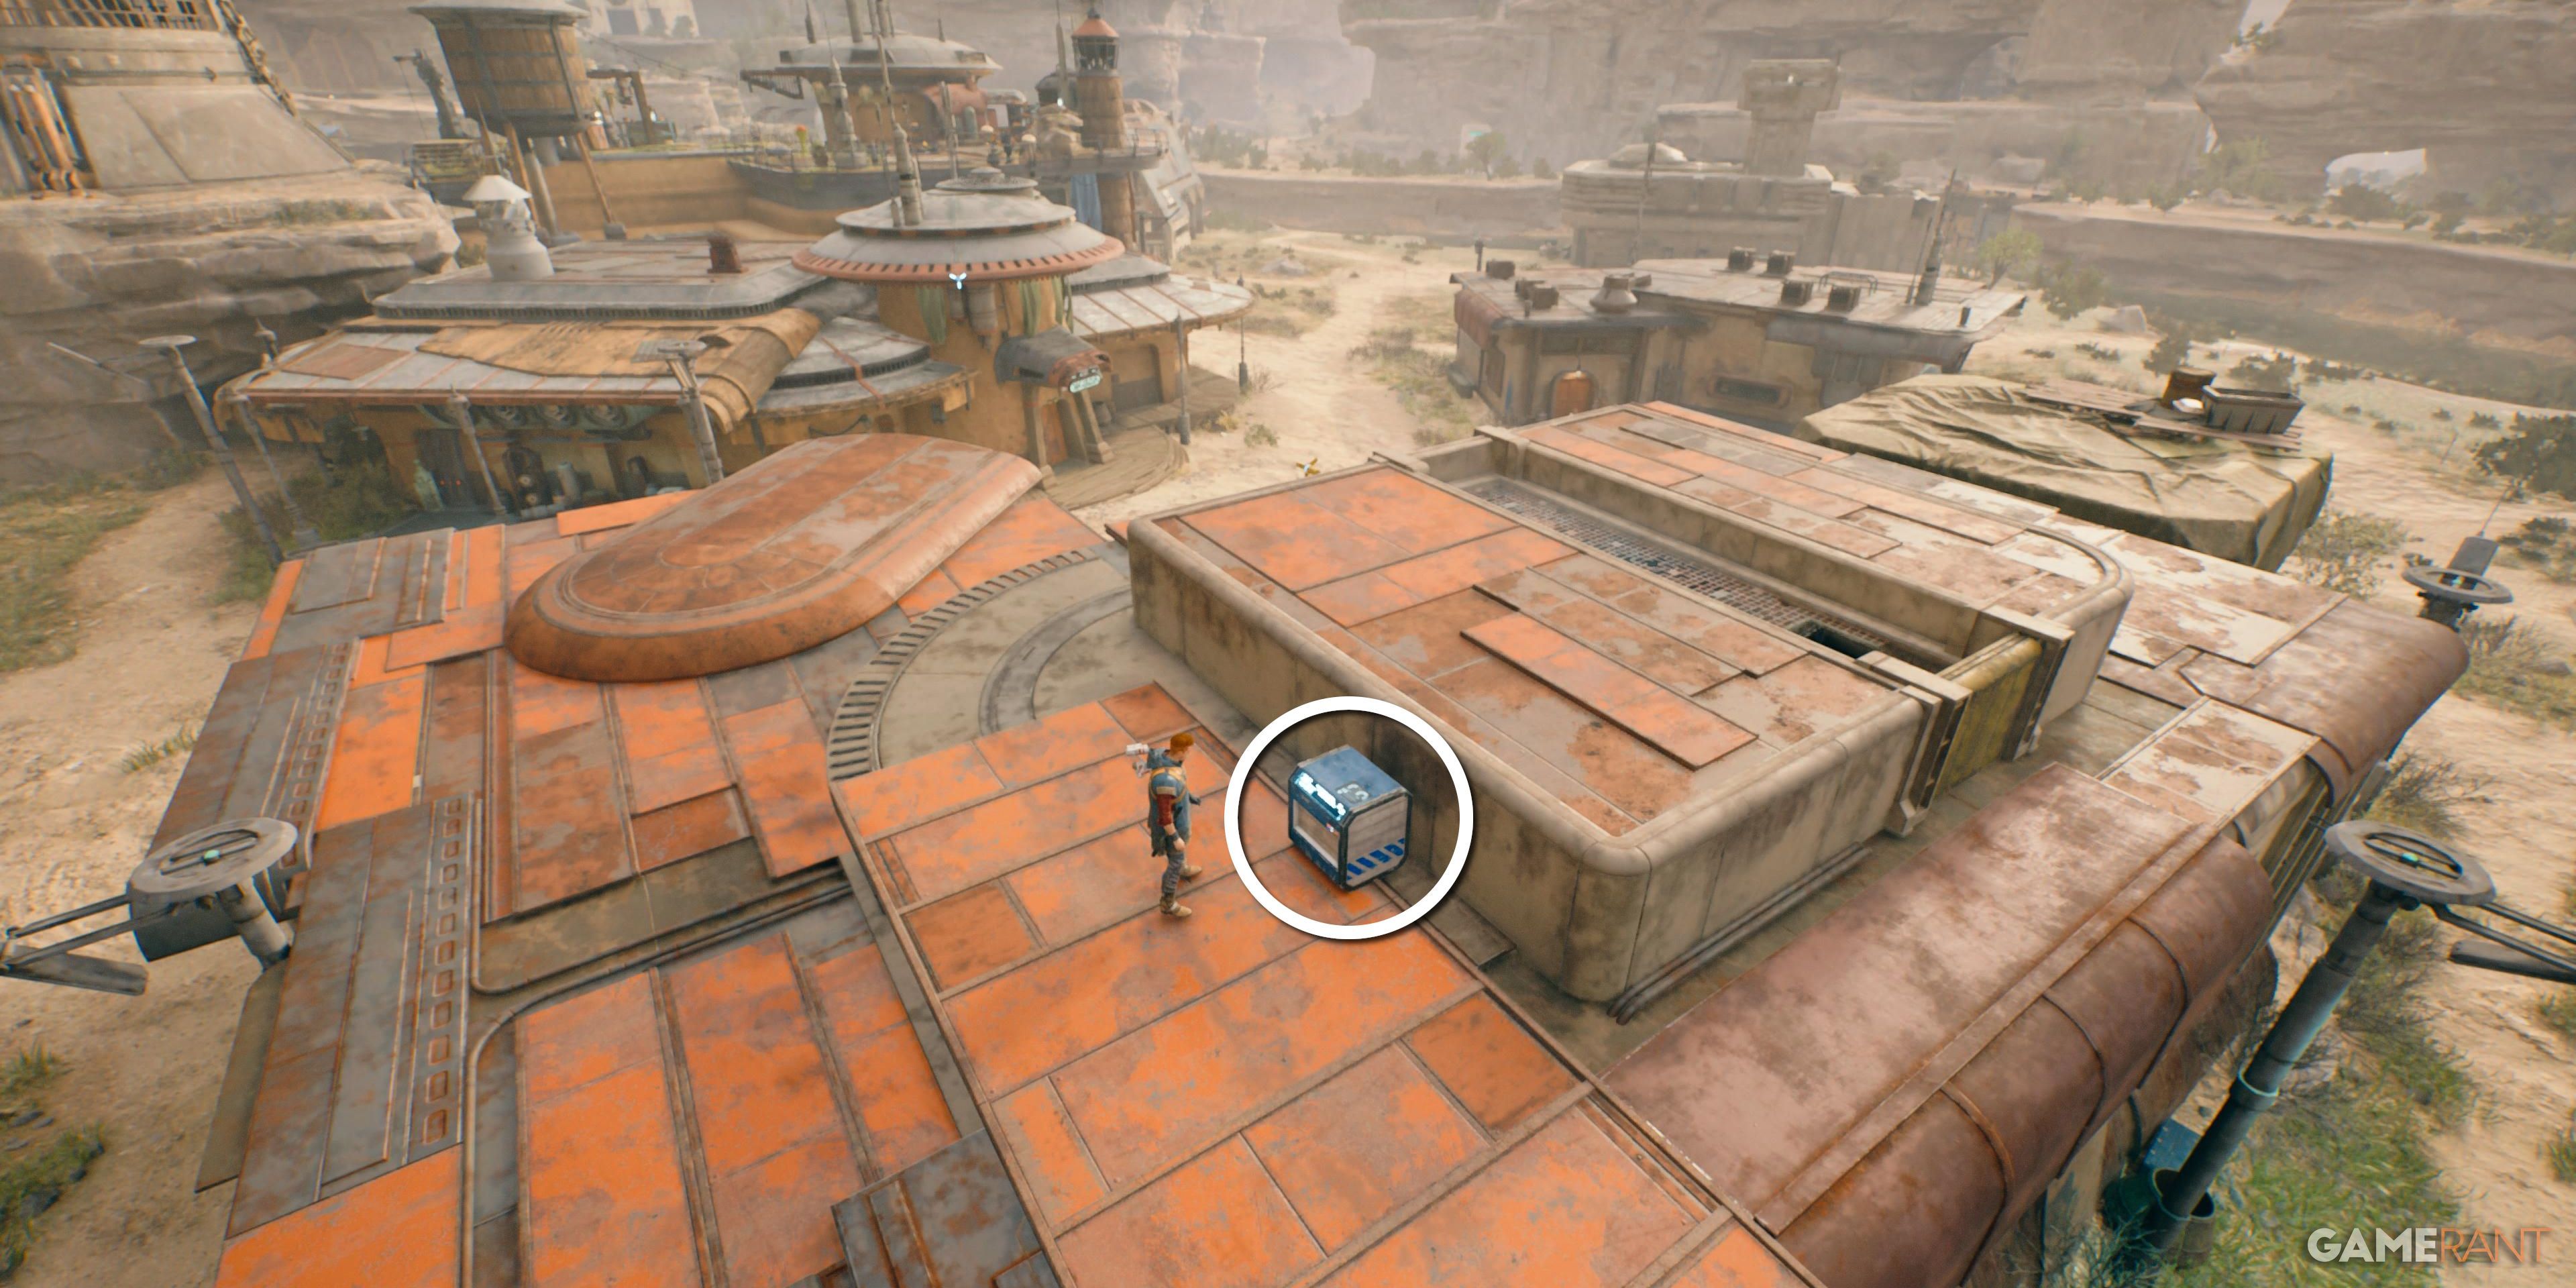
Chest 1 of 10 – Material: Tactical
On the roof of Doma’s Shop.
Chest 2 of 10 – Upgrade: Sim Canister (Requires 10 Priorite Shards)
In Doma Donda’s Shop, purchase the Mysterious Keycode for ten Priorite Shards to open the locked door to the left of the counter. Inside is a chest containing a Stim Canister.
Chest 3 of 10 – Jacket: Dualist (Requires T-1N8 Recruited)
After saving this droid from Phon’qi Caverns, talk to her in the settlement to gain access to her house and this chest.
Chest 4 of 10 – Blaster: Swoop (Requires Jawa Recruited)
After checking on the Jawas in the Bygone Settlement, return to Rambler’s Reach Outpost and visit the central row of houses. Fire an Electro Dart at the newly exposed power cell and head to the roof of that house. Place the power coupler in the rightmost slot to open the door to this chest.
Chest 5 of 10 – Seed Pods Map Upgrade (Requires Pili Recruited)
Once players have fully grown one of each seed type on the rooftop garden of Pyloon’s Saloon, Pili will grant access to a terminal that shows the location of all seed pods on Cal’s map.
Chest 6 of 10 – Blaster Barrel: Arakyd Heavy (Requires Force Lift and Slam)
Grapple up to the ridge on the left of town and smash open this crate.
Chest 7 of 10 – BD-1 Materials: Unique Metal (Requires Force Lift)


At the stables, mount a Nekko and jump from its back to reach the rafters. Up here, use Force Lift on a hatch and drop down to get this chest.
Chest 8 of 10 – BD-1 Materials: Rebel Paint (Requires Force Lift and Slam)
Taking the path up behind the Mantis, head around the dock to find this crate on a ledge.
Chest 9 of 10 – Material: Bomber (Requires Force Lift)
Behind a heavy door beneath the Mantis dock.
Chest 10 of 10 – Lightsaber Pommel: Edgehawk (Requires Upgraded Ascension Cable)
Use the Upgraded Ascension Cable on the weather balloons between the Mantis Dock and Pyloon’s Saloon to reach a ledge. This crate is on a ledge by a cave.
Pyloon’s Saloon
Greez Dritus’ infamous watering hole, Pyloon’s Saloon has two chests.
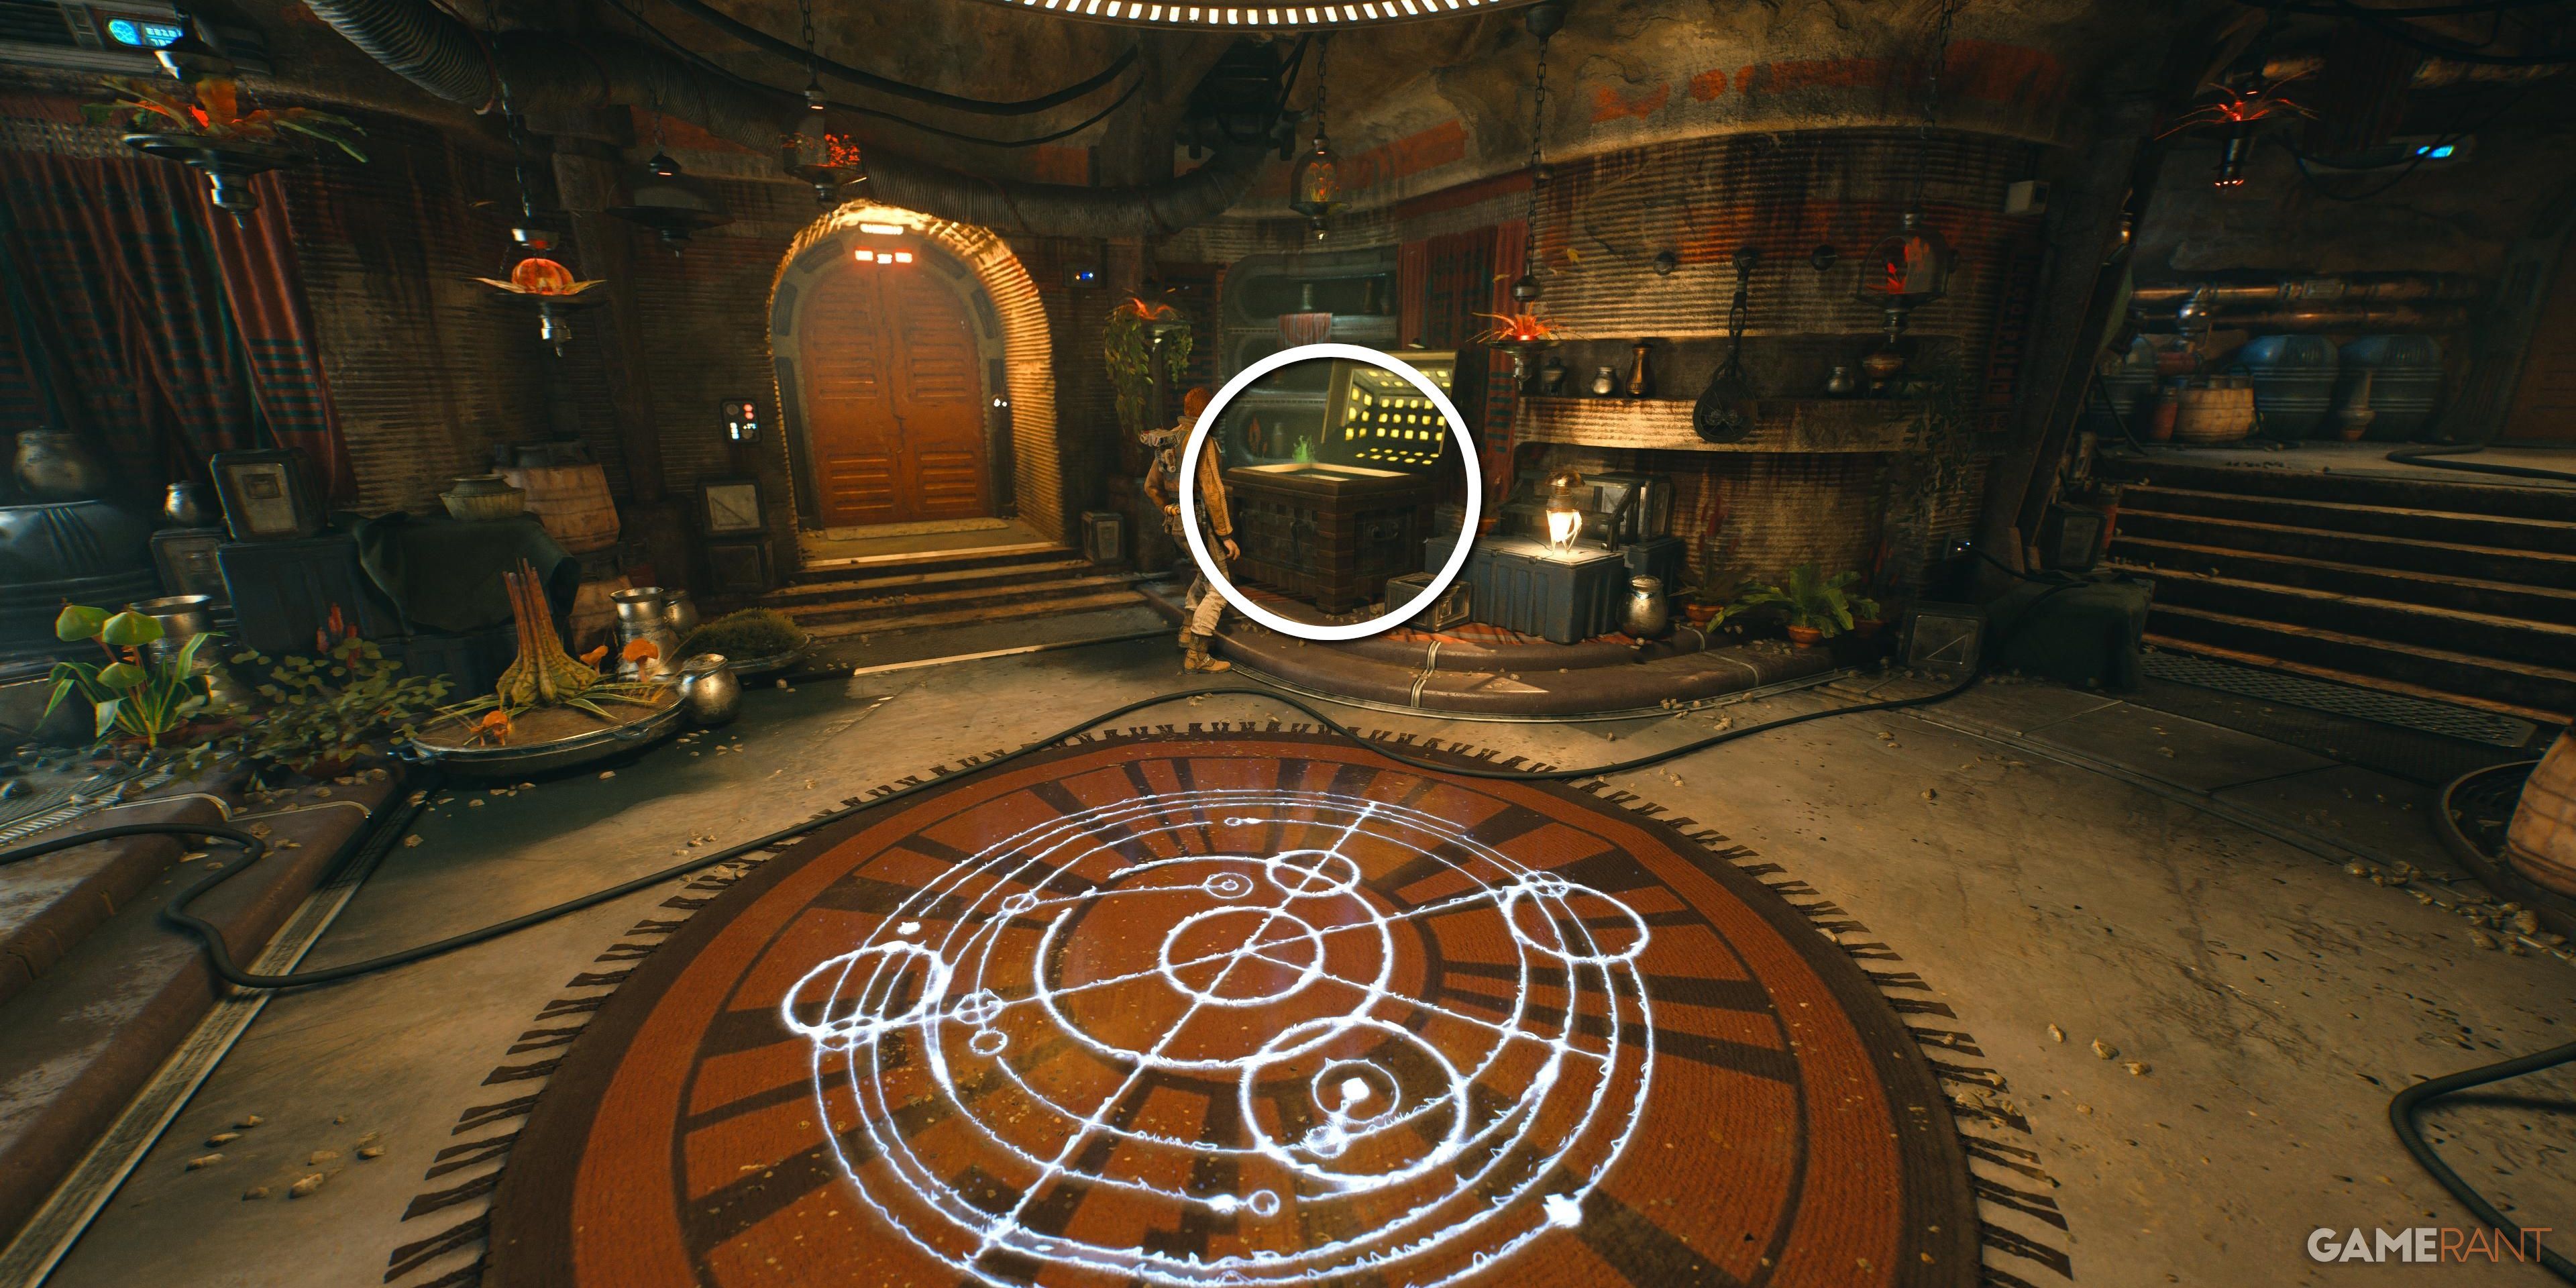
Chest 1 of 2 – Scrapper Set
Left of Cere’s Hallikset is a golden glowing chest, in which Cal can find his outfit from Star Wars Jedi: Fallen Order.
Chest 2 of 2 – Music: Eerin Siinaa
After exhausting Moran’s dialogue at the bar, open the back door of Pyloon’s Saloon to get this chest.
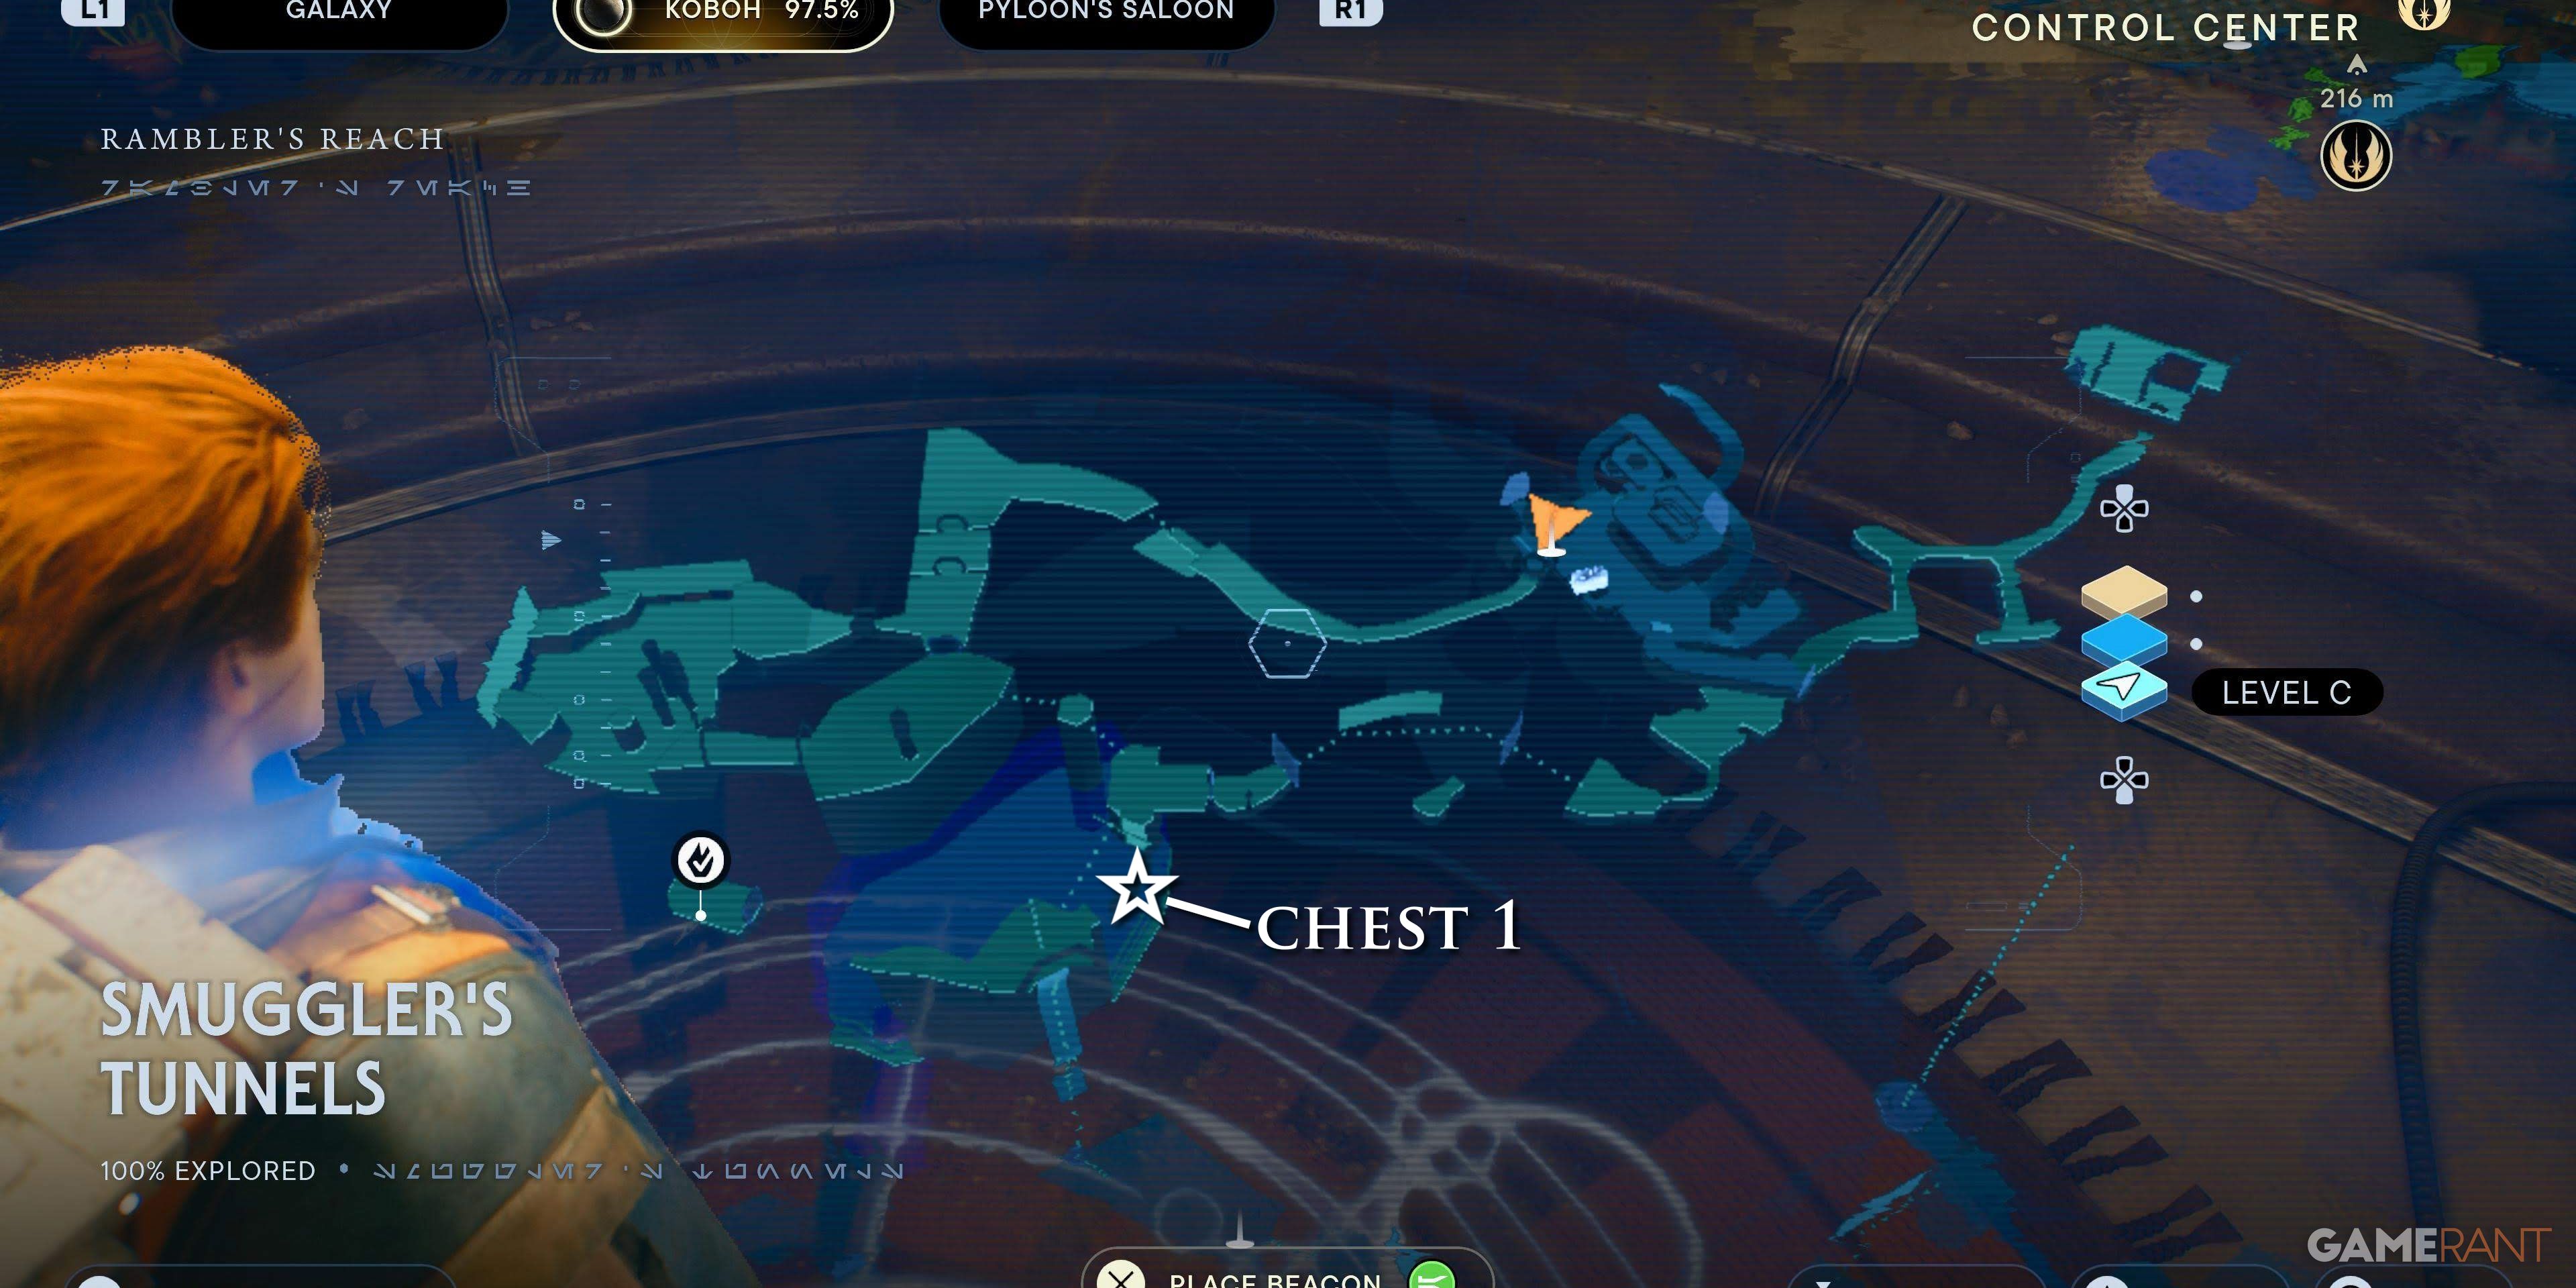
Smuggler’s Tunnels (Requires Main Quest: The Key to Tanalorr)
In the basement of the Saloon, opened during the Main Quest, these hidden tunnels have one chest.
Chest 1 of 1 – Material: Tactical Pants
In the water, at the bottom of the cavern.
Chamber of Duality (Requires Main Quest: The Key to Tanalorr)
Deep in the Smuggler’s Tunnels, this Meditation Chamber houses a key Star Wars Jedi: Survivor character and one chest.
Chest 1 of 1 – Weapon Materials: Jedi Paint
After obtaining both orbs, use them to create a third bridge and cross it. Wall run to the left to reach a chest.
Harvest Ridge
This location harbors only two chests.
Chest 1 of 2 – Wanderer Pants (Requires Nekko Mount)
Using a tame Nekko, jump to the top of a plateau opposite Ashe Javi’s camp.
Chest 2 of 2 – Music: Shortpaw’s Dance (Requires Nekko Mount)
Using a tame Nekko at the barn, jump up the crate above and wall run to reach the upper ledge. This chest is on the roof of the barn.
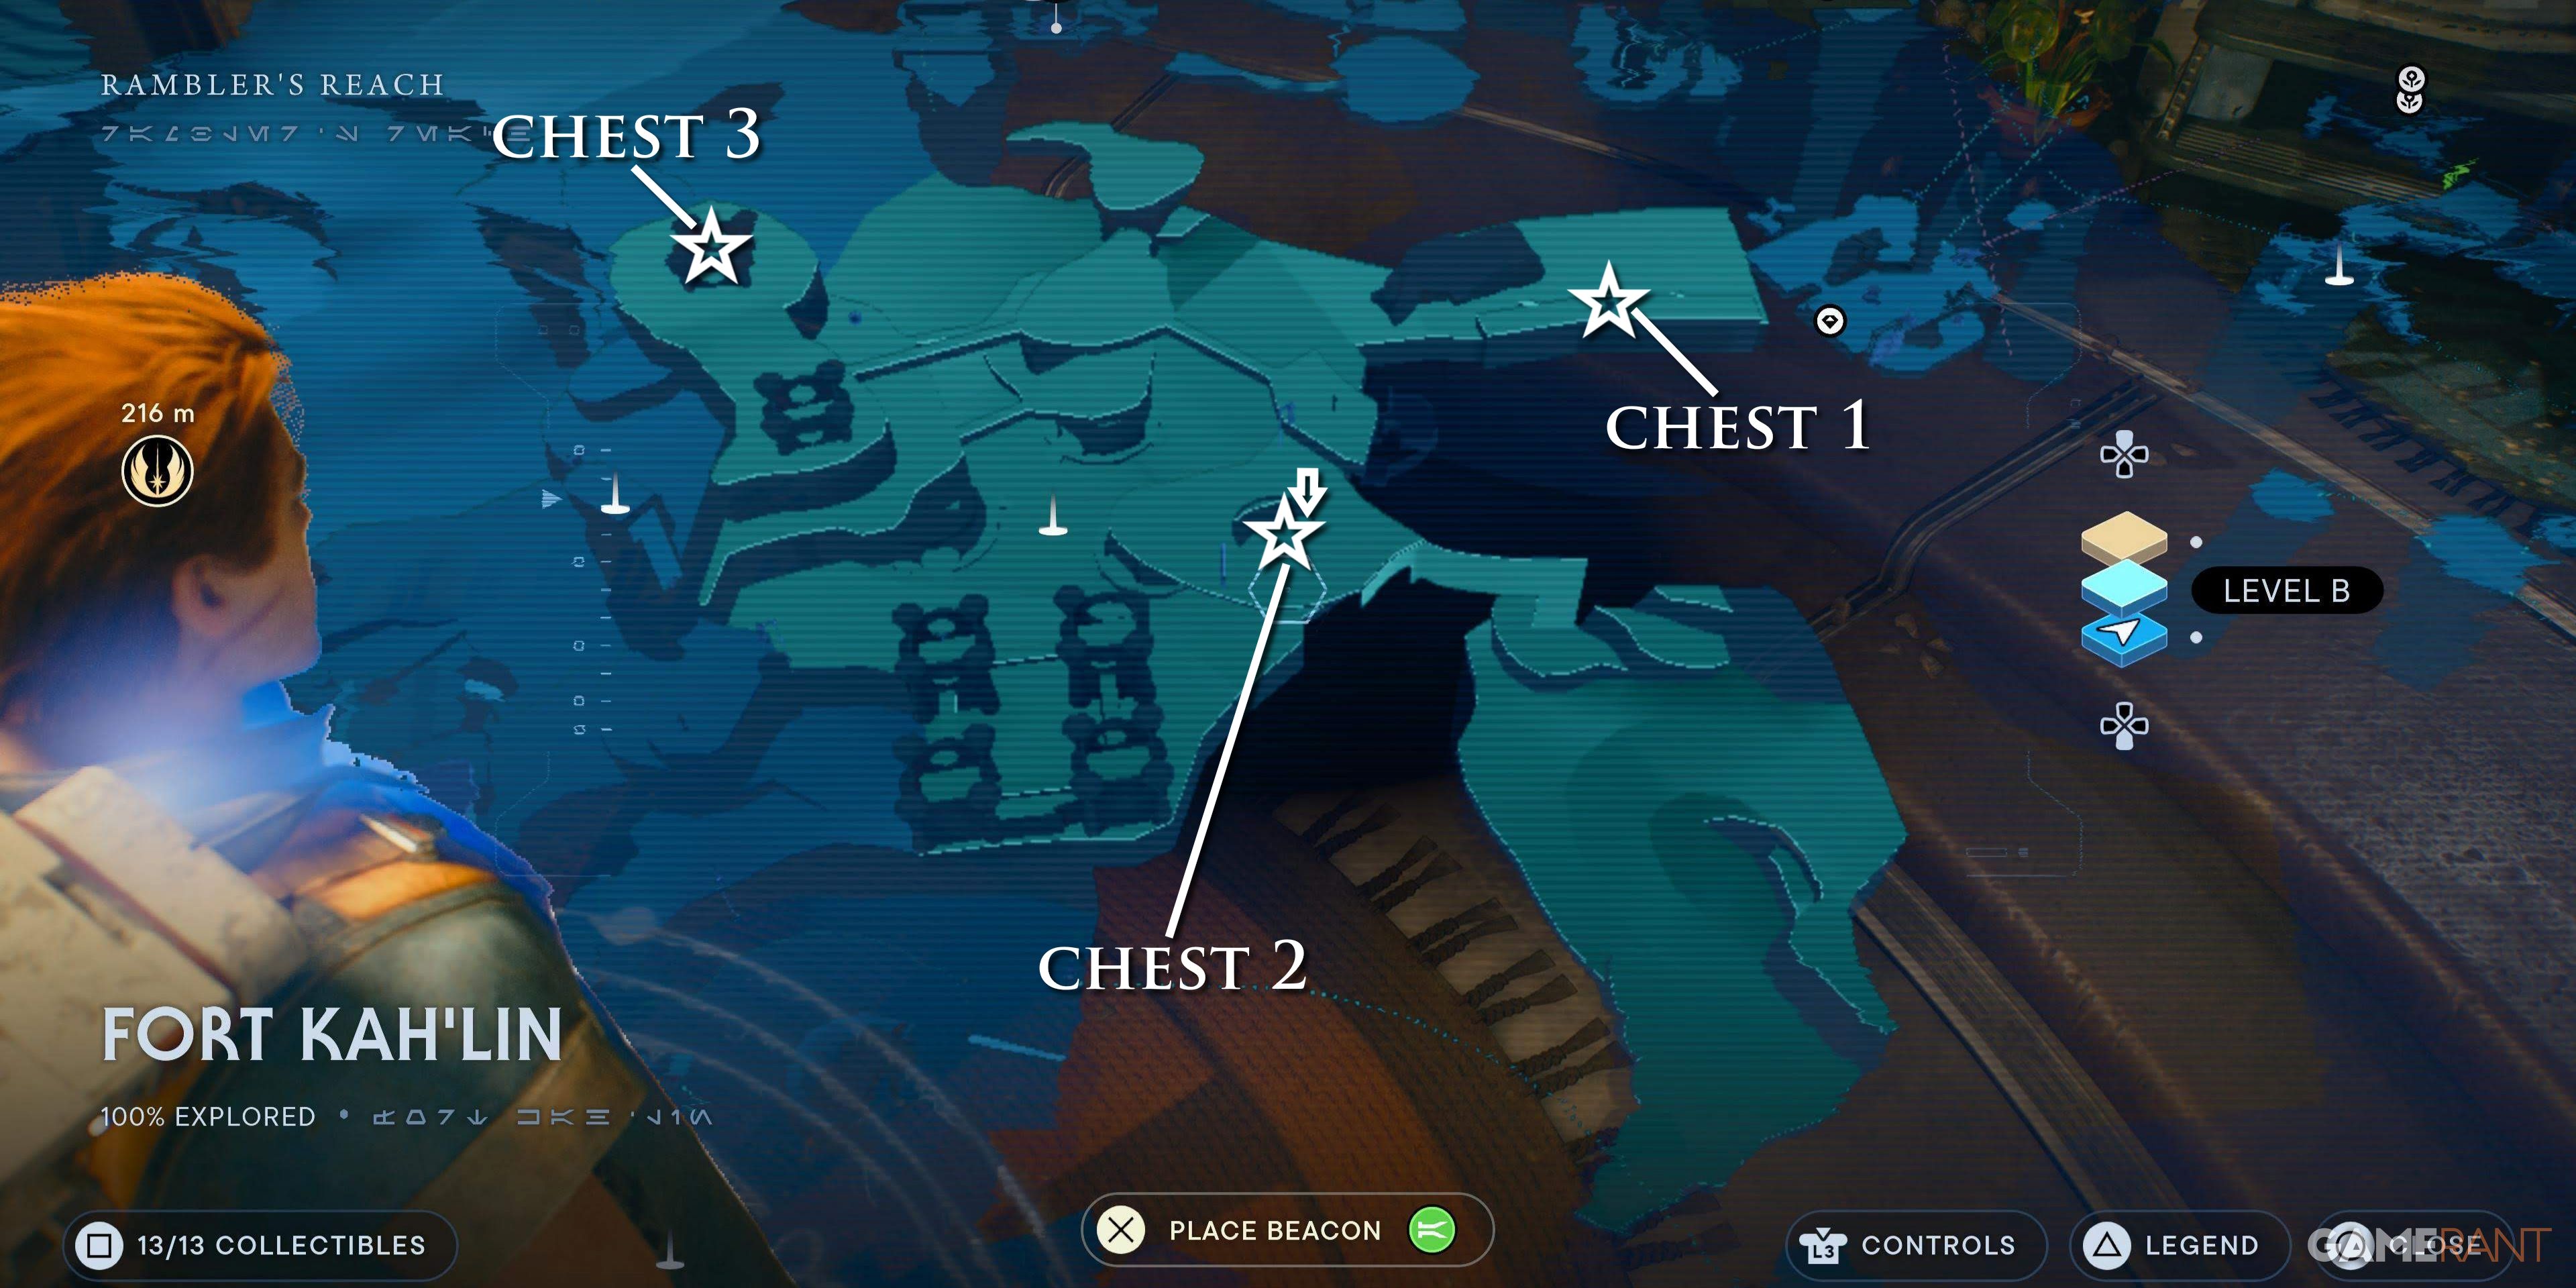
Fort Kah’Lin
The dangerous and Droid-infested Fort, accessed from the Harvest Ridge or the Untamed Downs, has three chests.
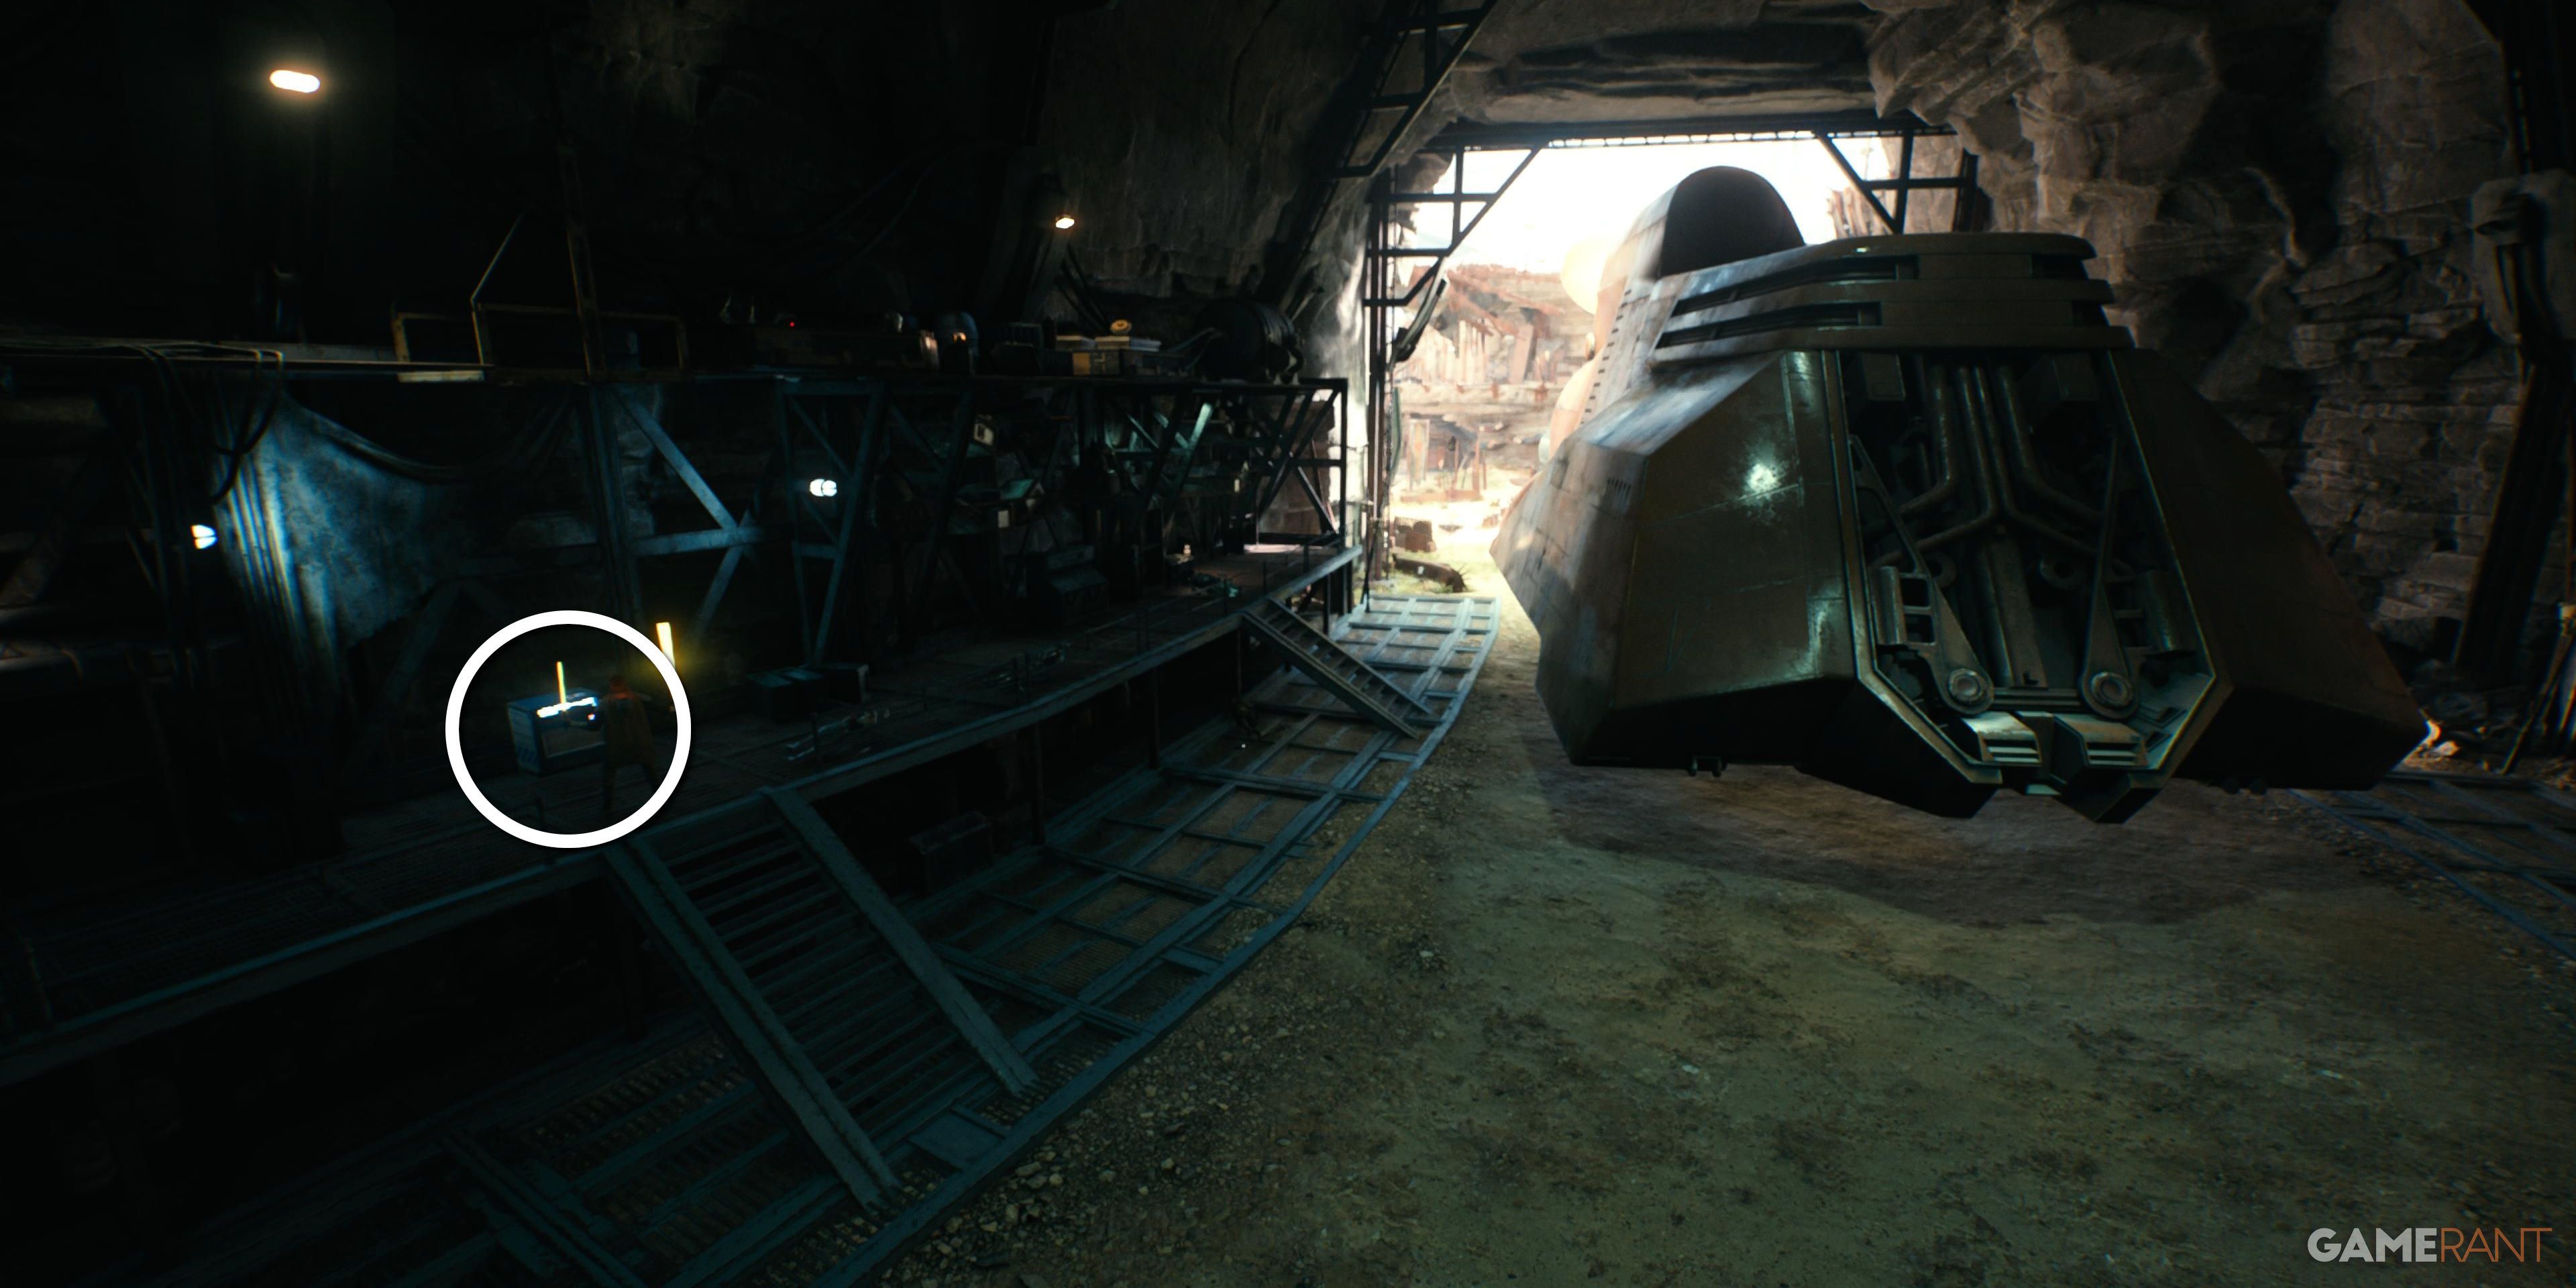
Chest 1 of 3 – Shirt: Bomber
On the right side of a dropship hangar, guarded by a number of enemies.
Chest 2 of 3 – Jacket: Poncho
Cal’s iconic poncho can be found in the arena where players fight the Spawn of Oggdo.
Chest 3 of 3 – Material: Mountaineer (Requires Upgraded Ascension Cable)
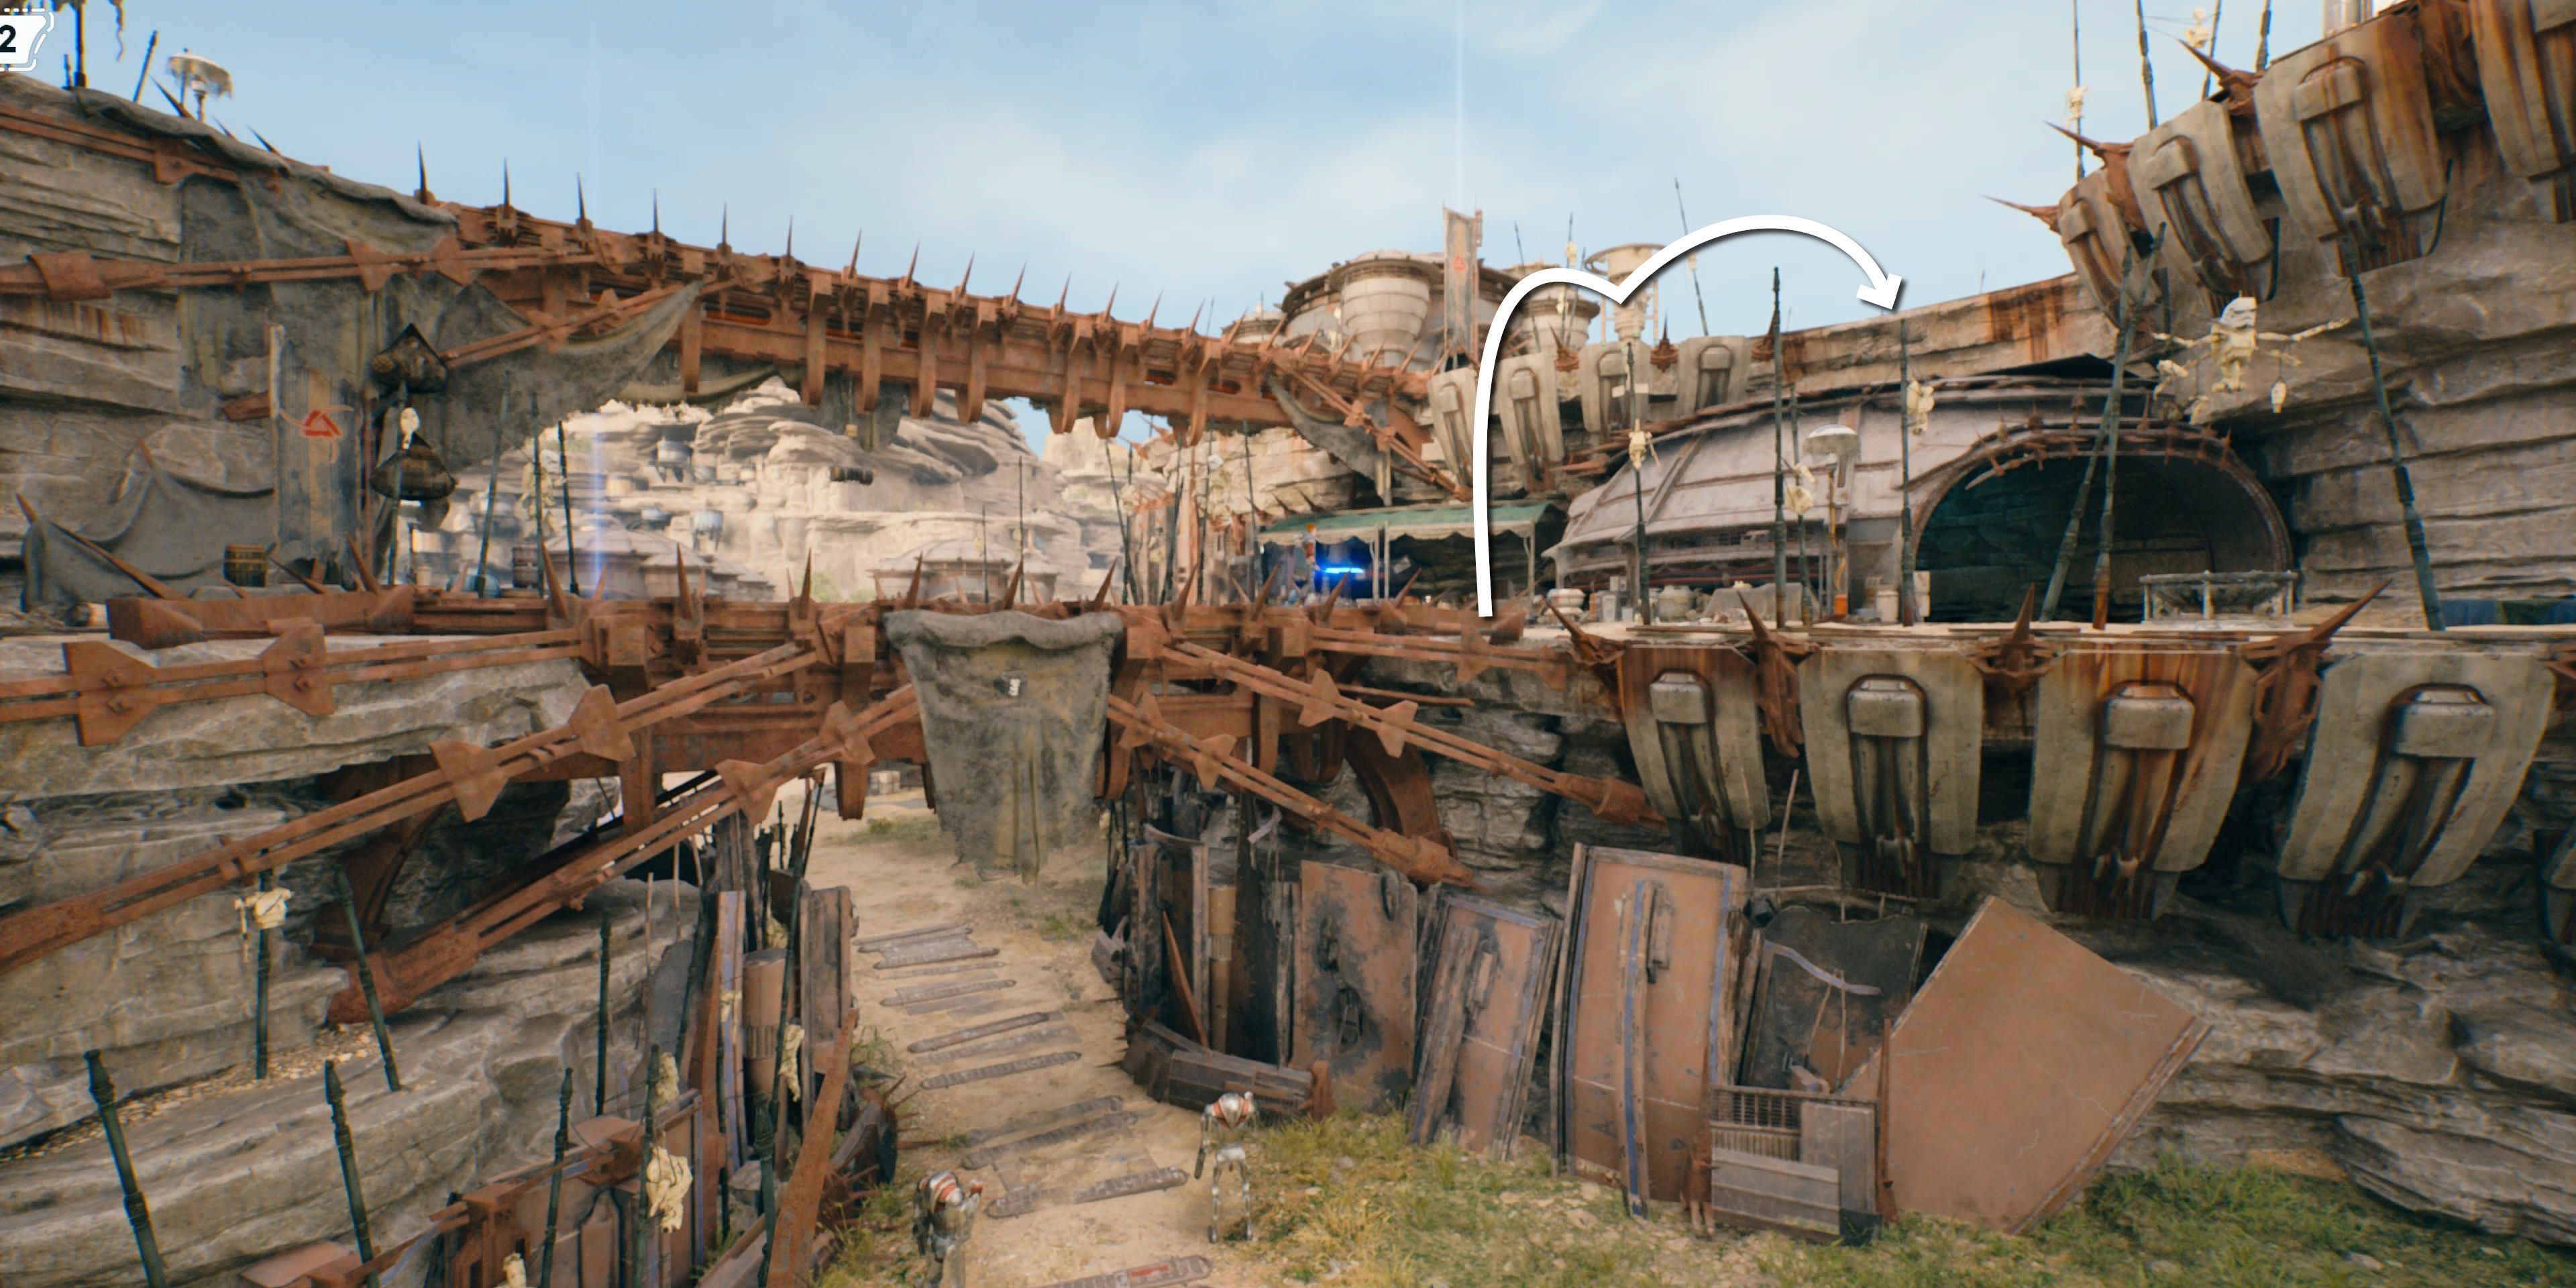
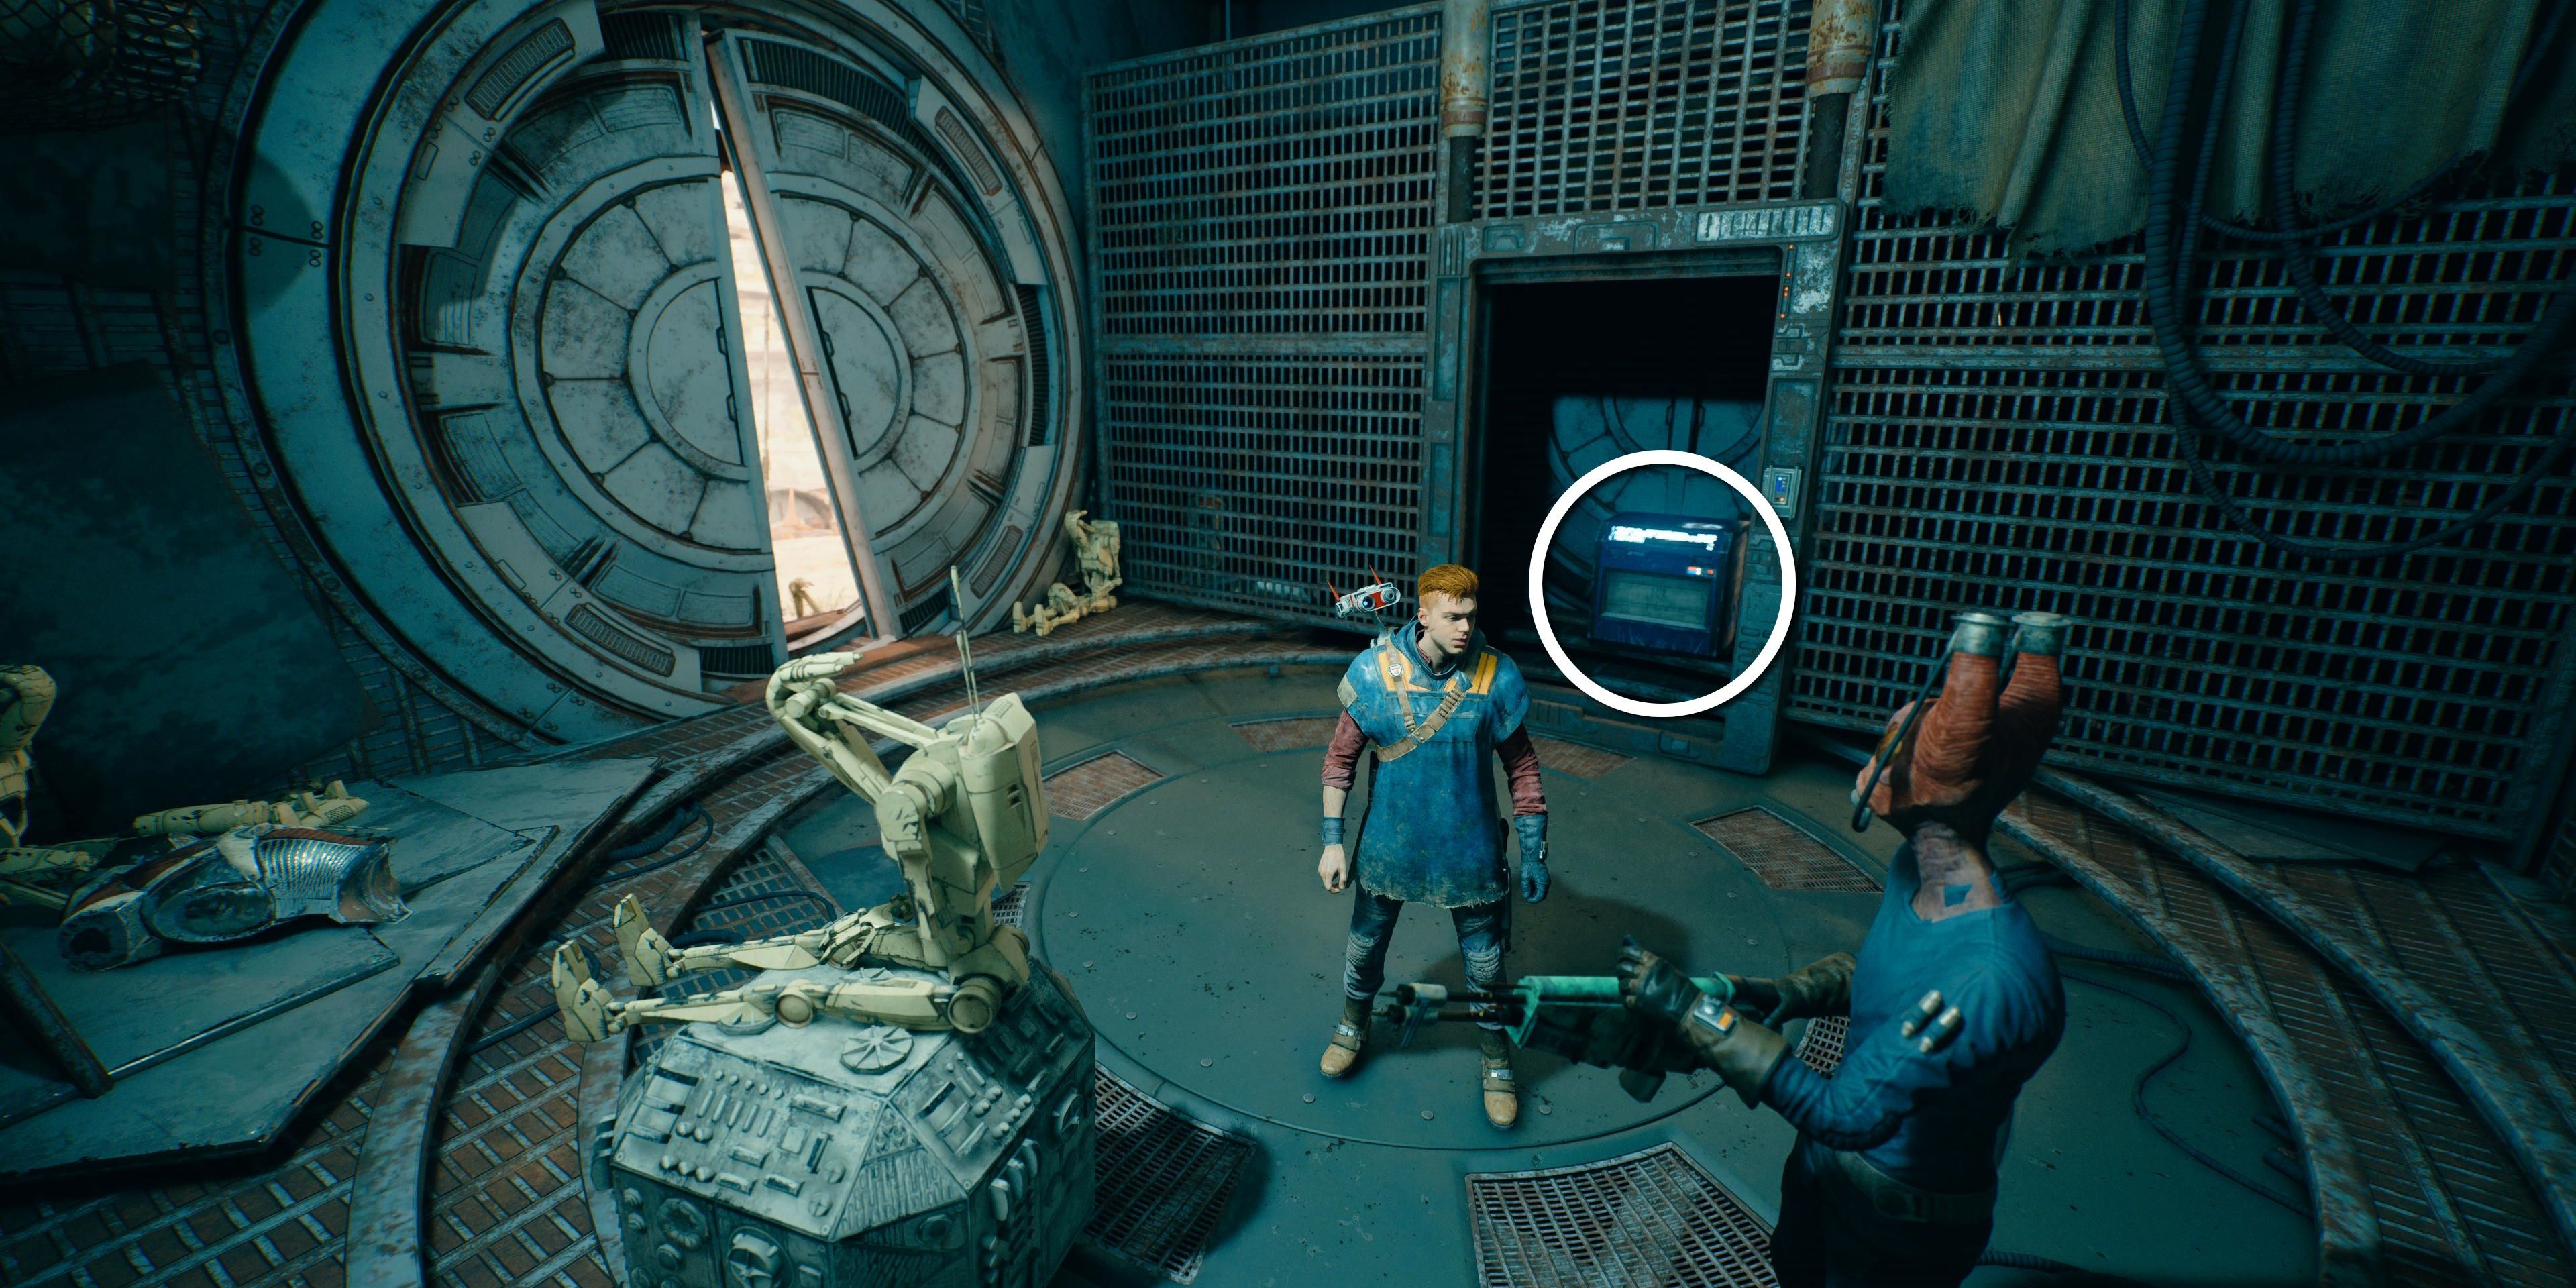
Above the rear entrance to Fort Kah’Lin, players can use the Upgraded Ascension Cable to reach a previously inaccessible ledge. Squeezing through a broken door on the right, use a Jedi Mind Trick on Filkus Gorr to get this chest.
Untamed Downs
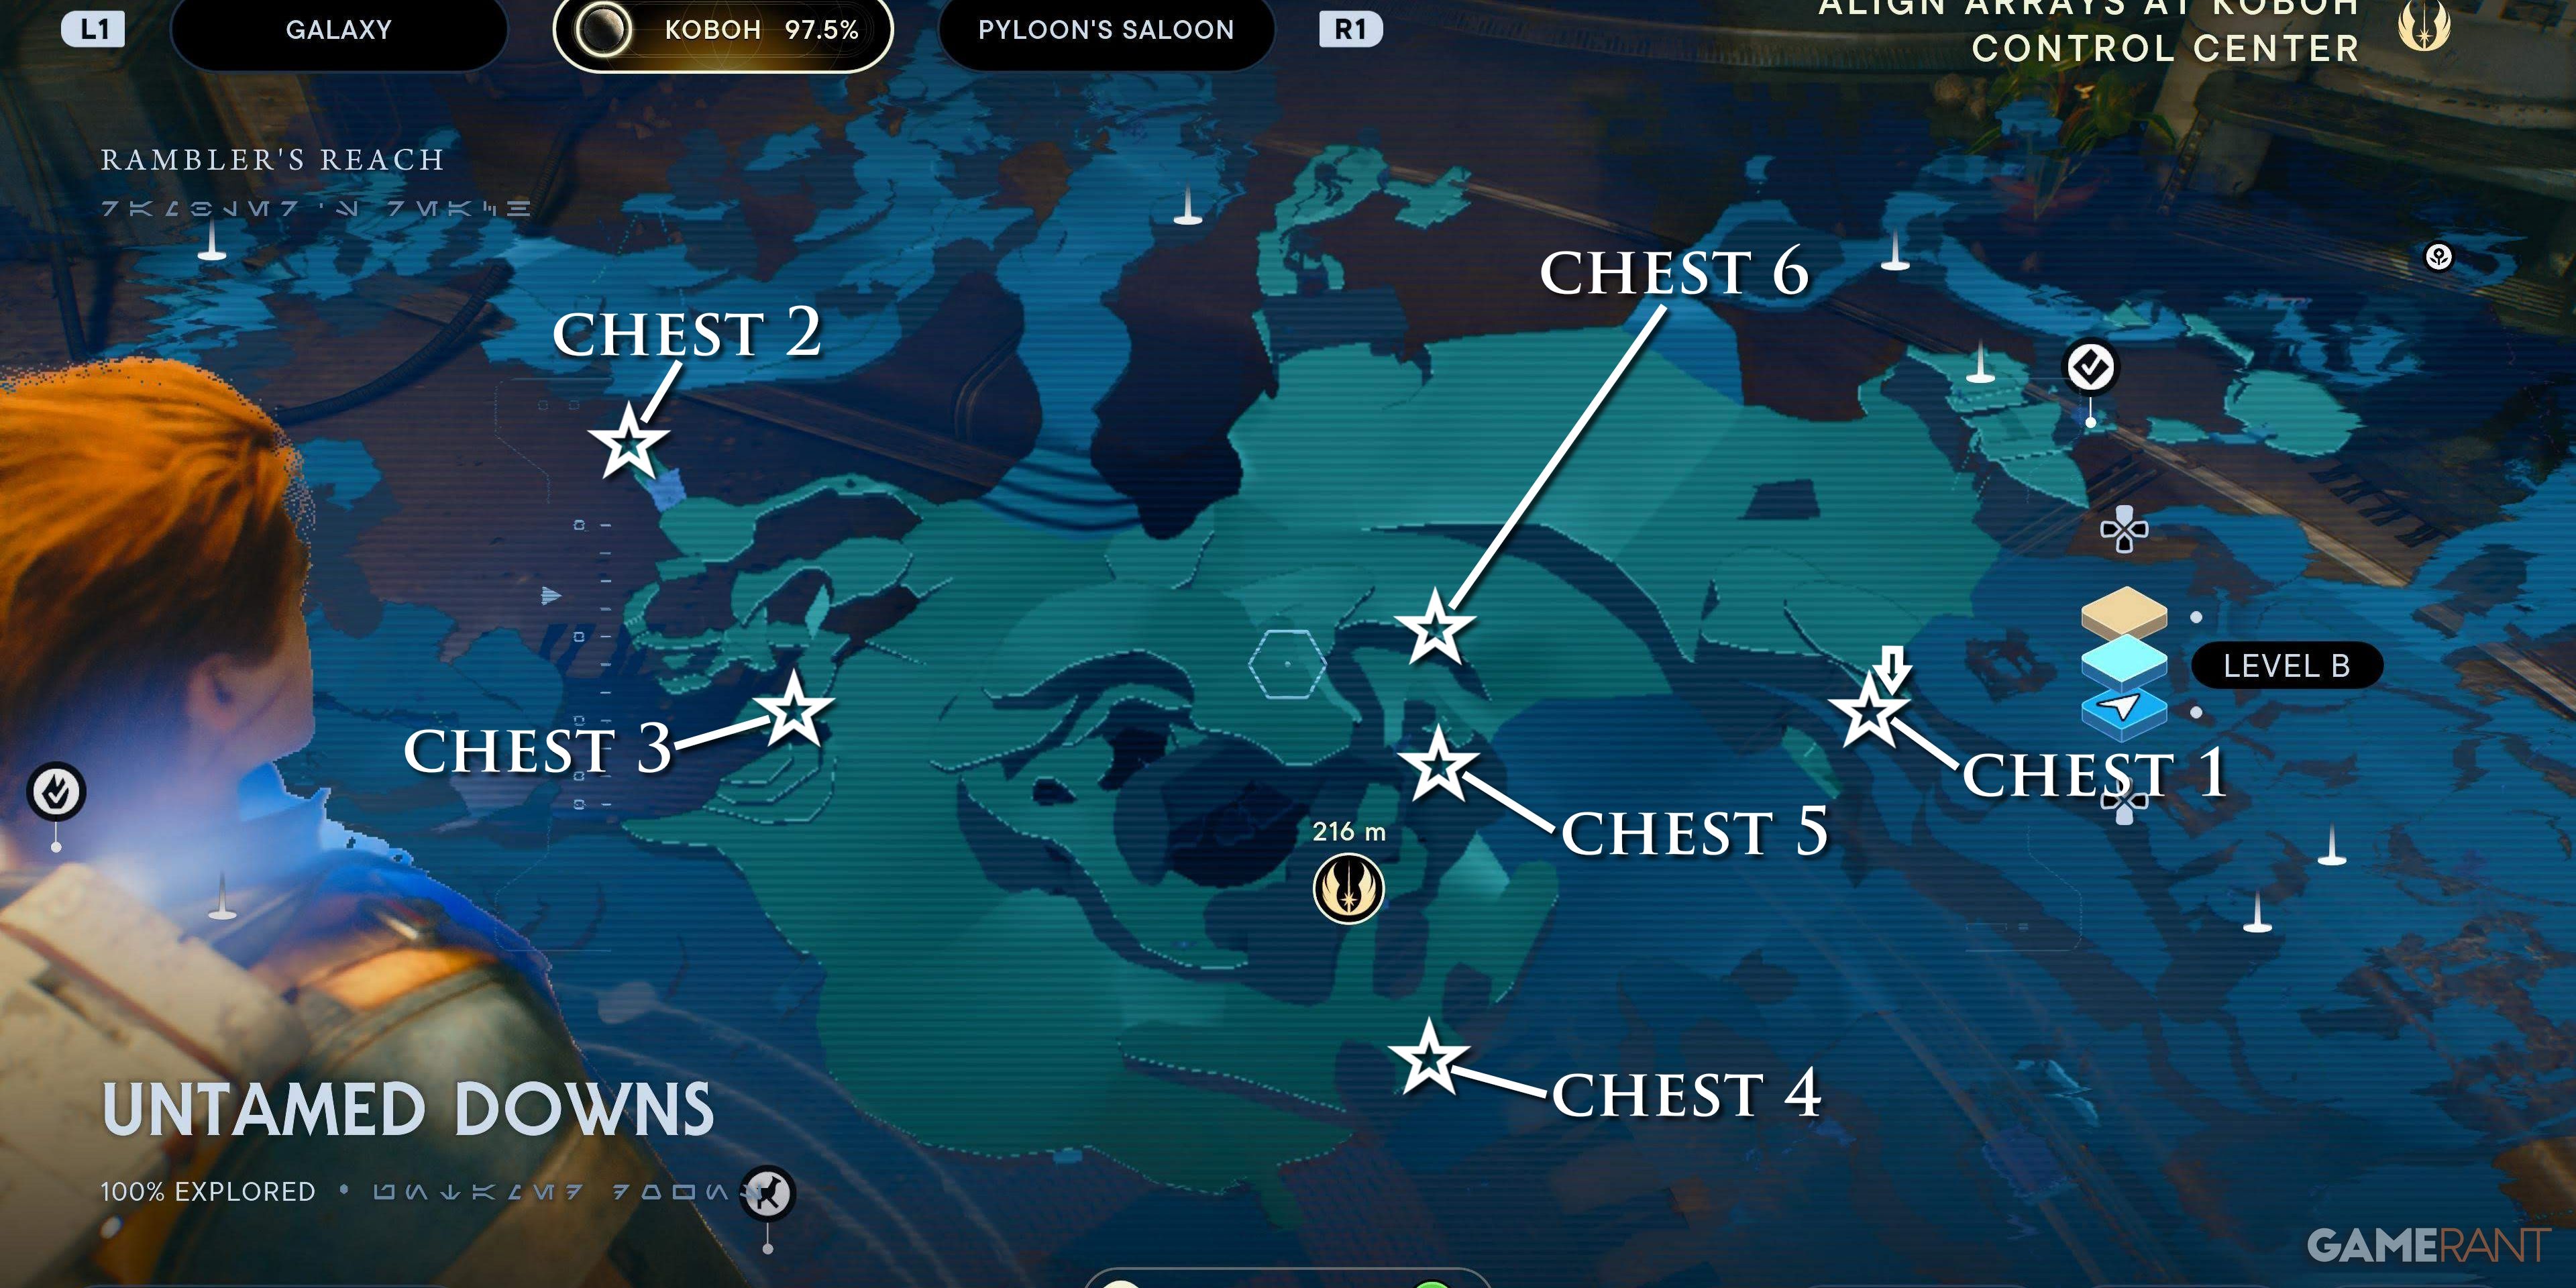
These wilds have six chests for players to find.
Chest 1 of 6 – Jacket: Mountaineer
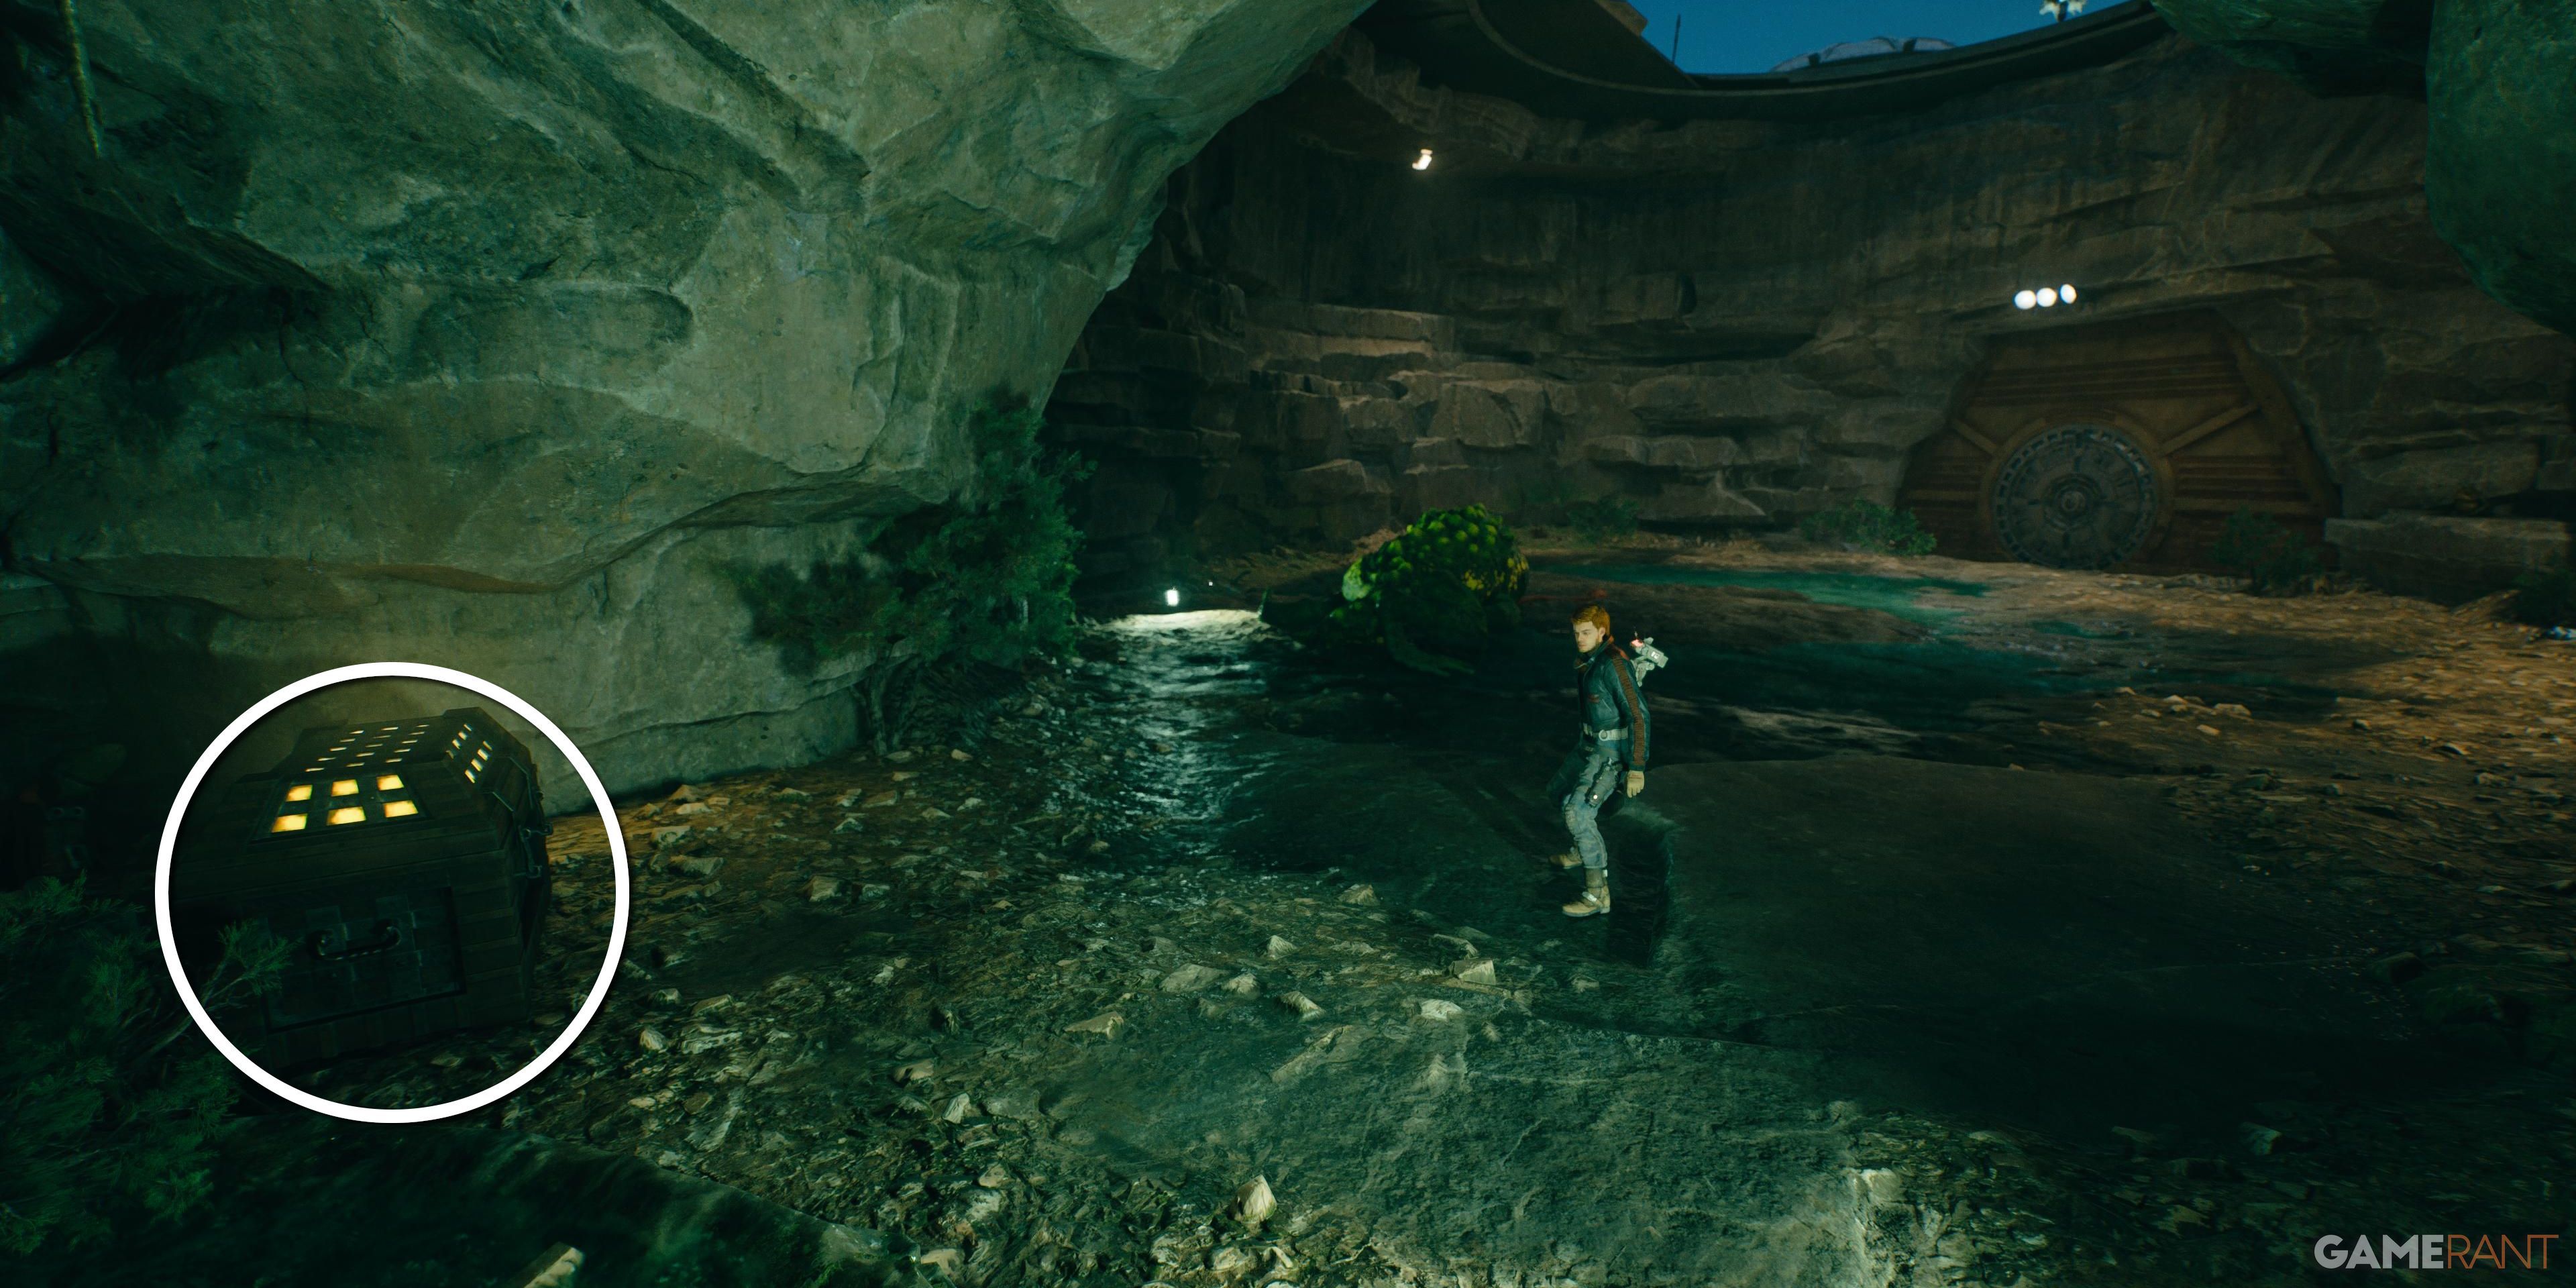
Entering the Bilemaw Den at the end of the river, jump onto the central column and climb the vines to reach a ledge behind a creeper wall. Jump to the pillar again from above to reach the other side of the cave. Up here, Cal can use a Mind Trick on Garra to access the chest.
Chest 2 of 6 – Santari Khri Set
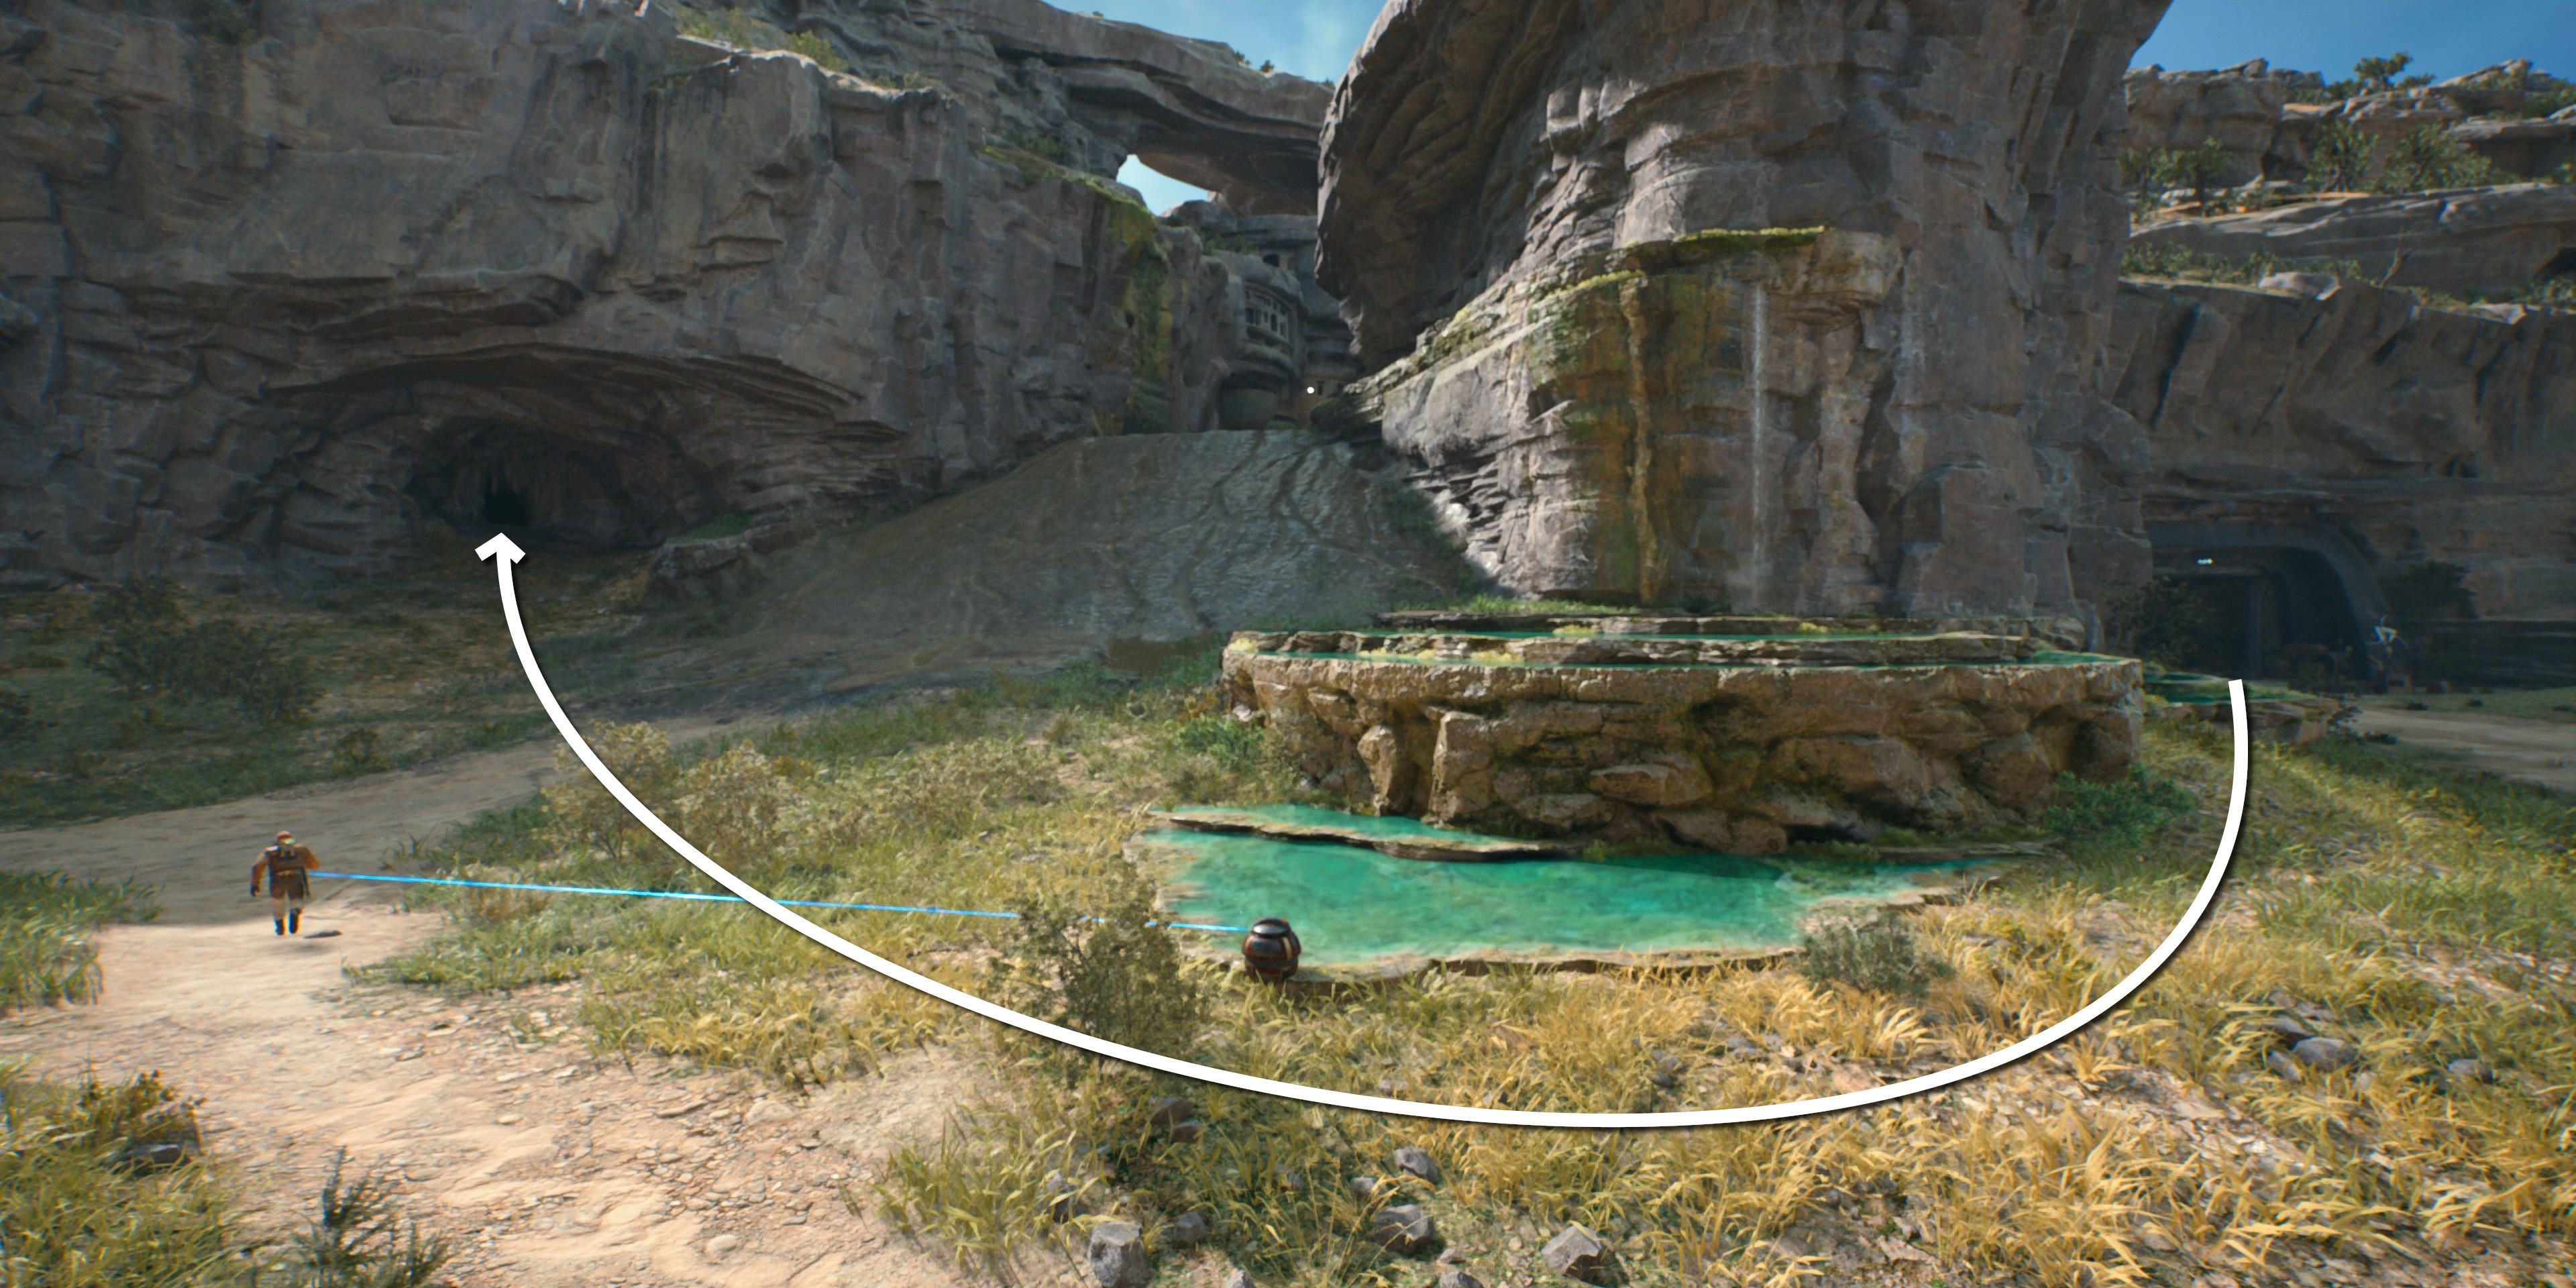
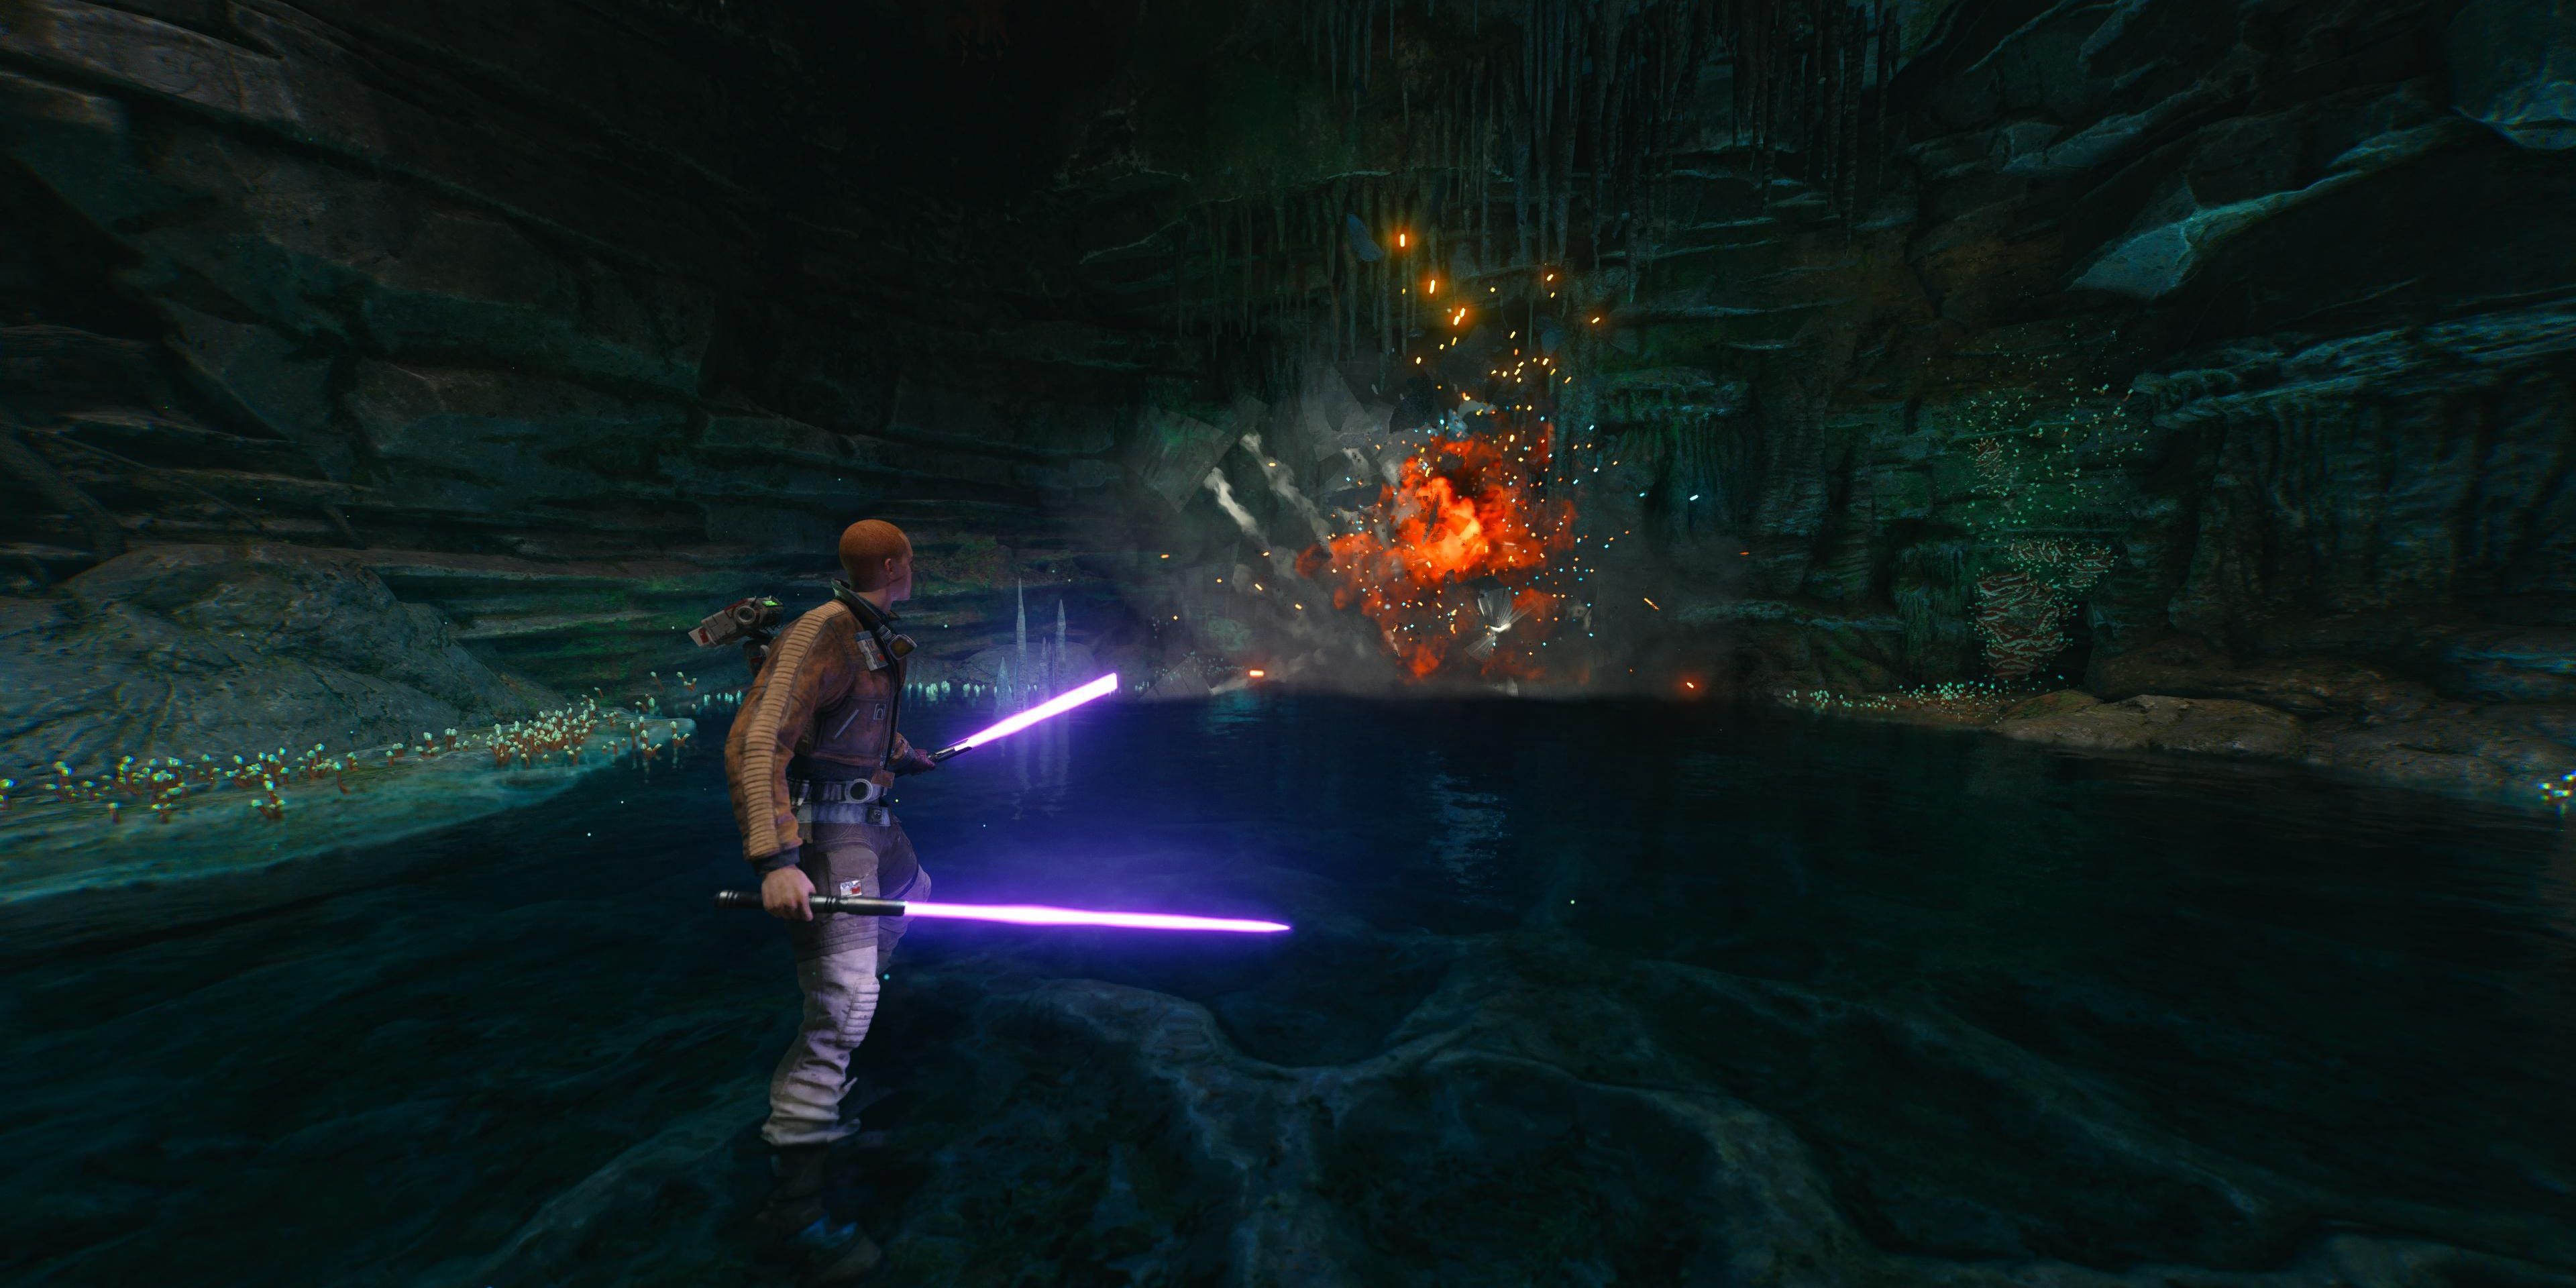
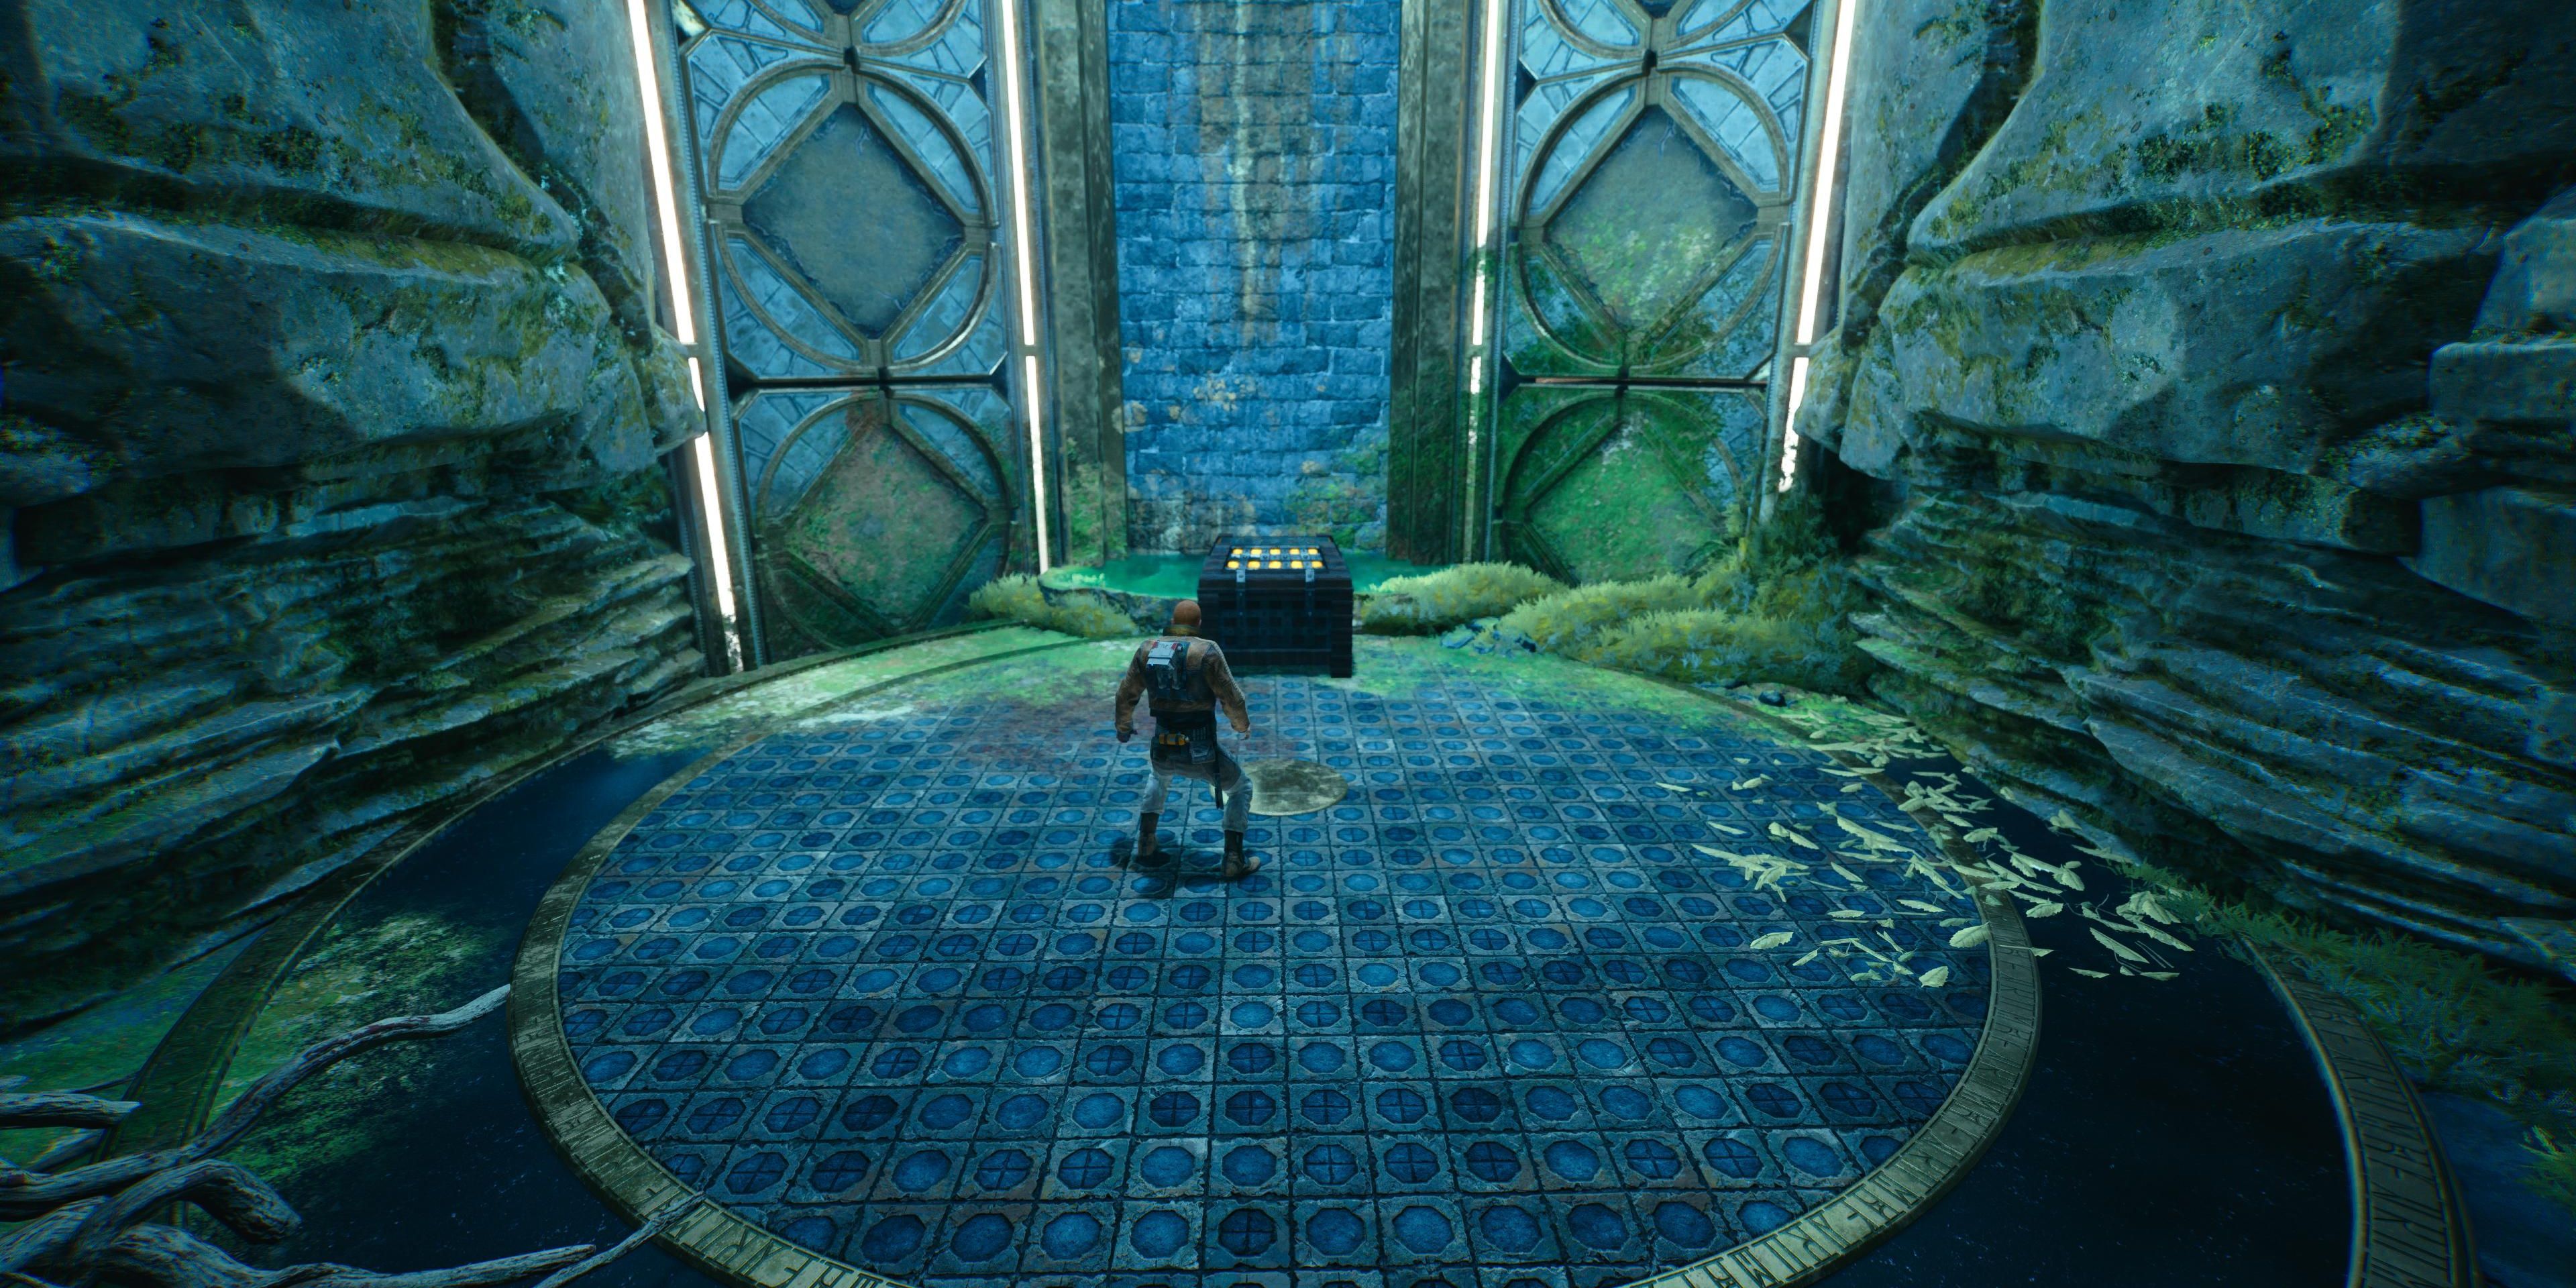
At the hangar, use the terminal on the left to summon a roller mine and exit, staying to the right and following the cliffs. Enter the cave on the right after the mudslide and follow it through to the end, where the roller mine can be used to blast open the wall. Inside is a chest next to the Shelter of Last Resort databank entry.
Chest 3 of 6 – BD-1 Audio Sensors: Geonosian
Near the slope leading to the Bygone Settlement, head inside the cave and climb the vines on the ceiling, traversing the cave until coming across a Mogu. Kill it and head onto the ledge outside, where players can wall run to the right to reach this chest.
Chest 4 of 6 – Material: Hunter (Requires Electro Dart)
On a ledge overlooking the river, uphill from the Bilemaw Den.
Chest 5 of 6 – BD-1 Legs: Swooper (Requires Electro Dart)
On the same ledge as the last chest, turn to the door and head around to the right, looking through a gap in the cliff to shoot an Electro Dart.
Chest 6 of 6 – Blaster Grip: Arakyd Heavy (Requires Electro Dart)
On a ledge between the Bilemaw Den and the Hangar.
Alignment Control Center
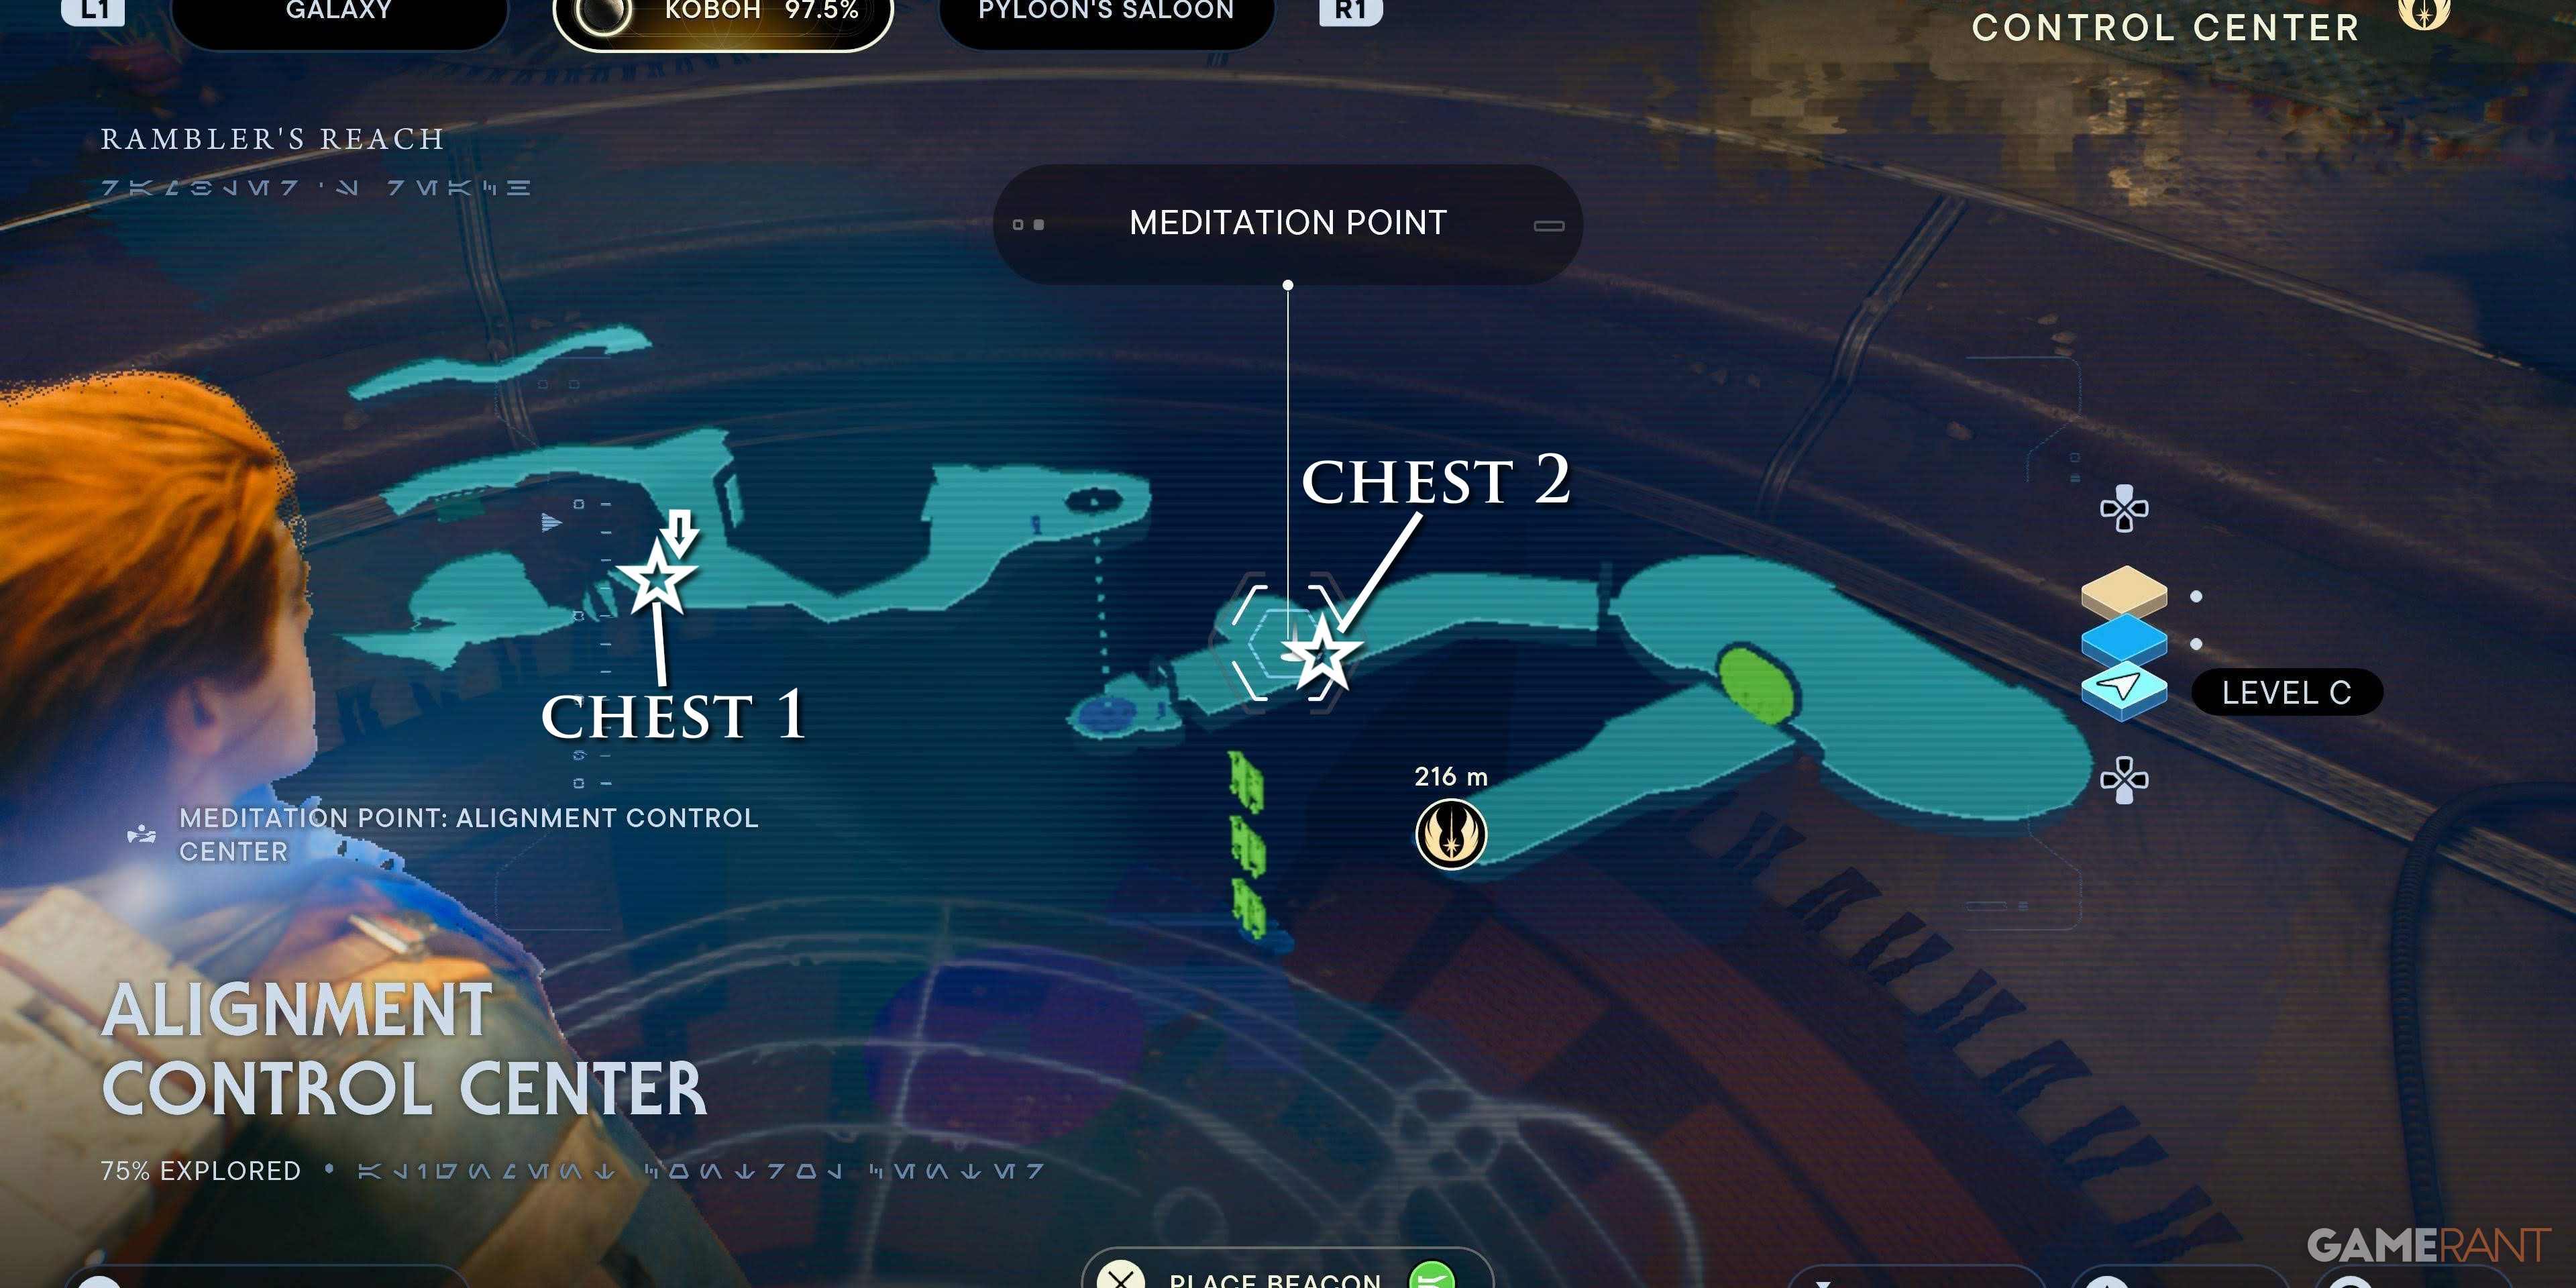
Nestled in the cliffs of the Untamed Downs, this mysterious location has two chests.
Chest 1 of 2 – Lightsaber Pommel: Harmony
Drop down the hole on the right of the bridge when entering and wall run to find this chest.
Chest 2 of 2 – Essences Map Upgrade
After completing all seven Meditation Chambers on Koboh, interact with the terminal near the Meditation Point, opposite the green consoles.
Swindler’s Wash
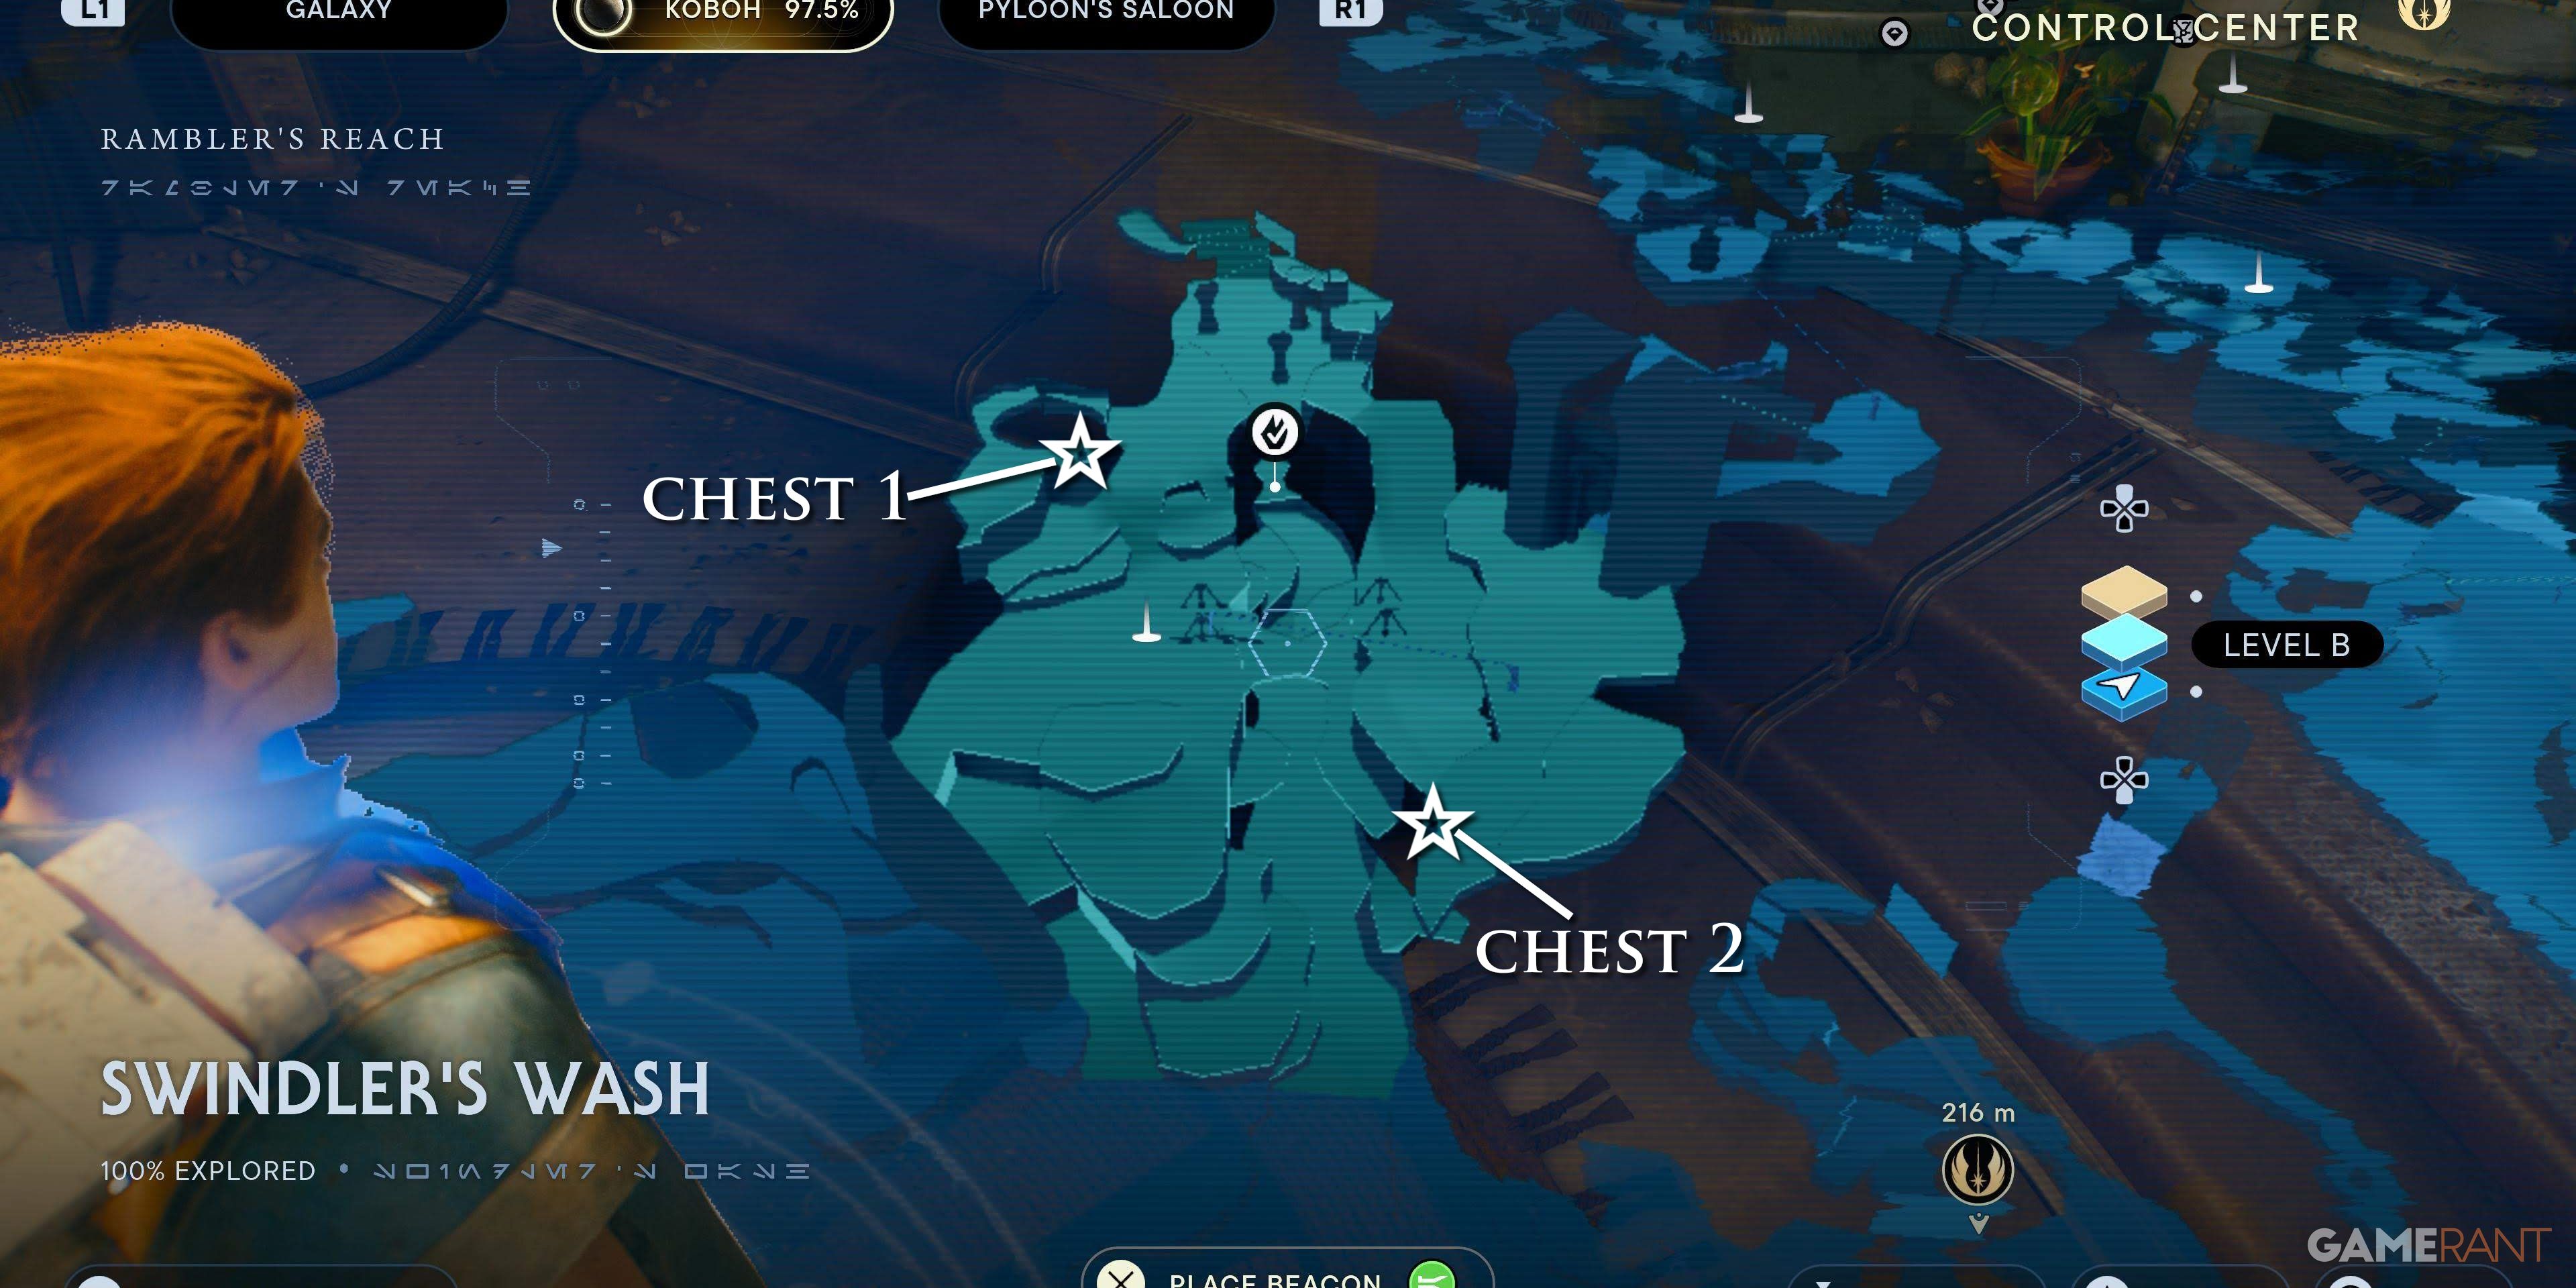
Two chests can be found in this area close to the Mantis Dock behind Pyloon’s Saloon.
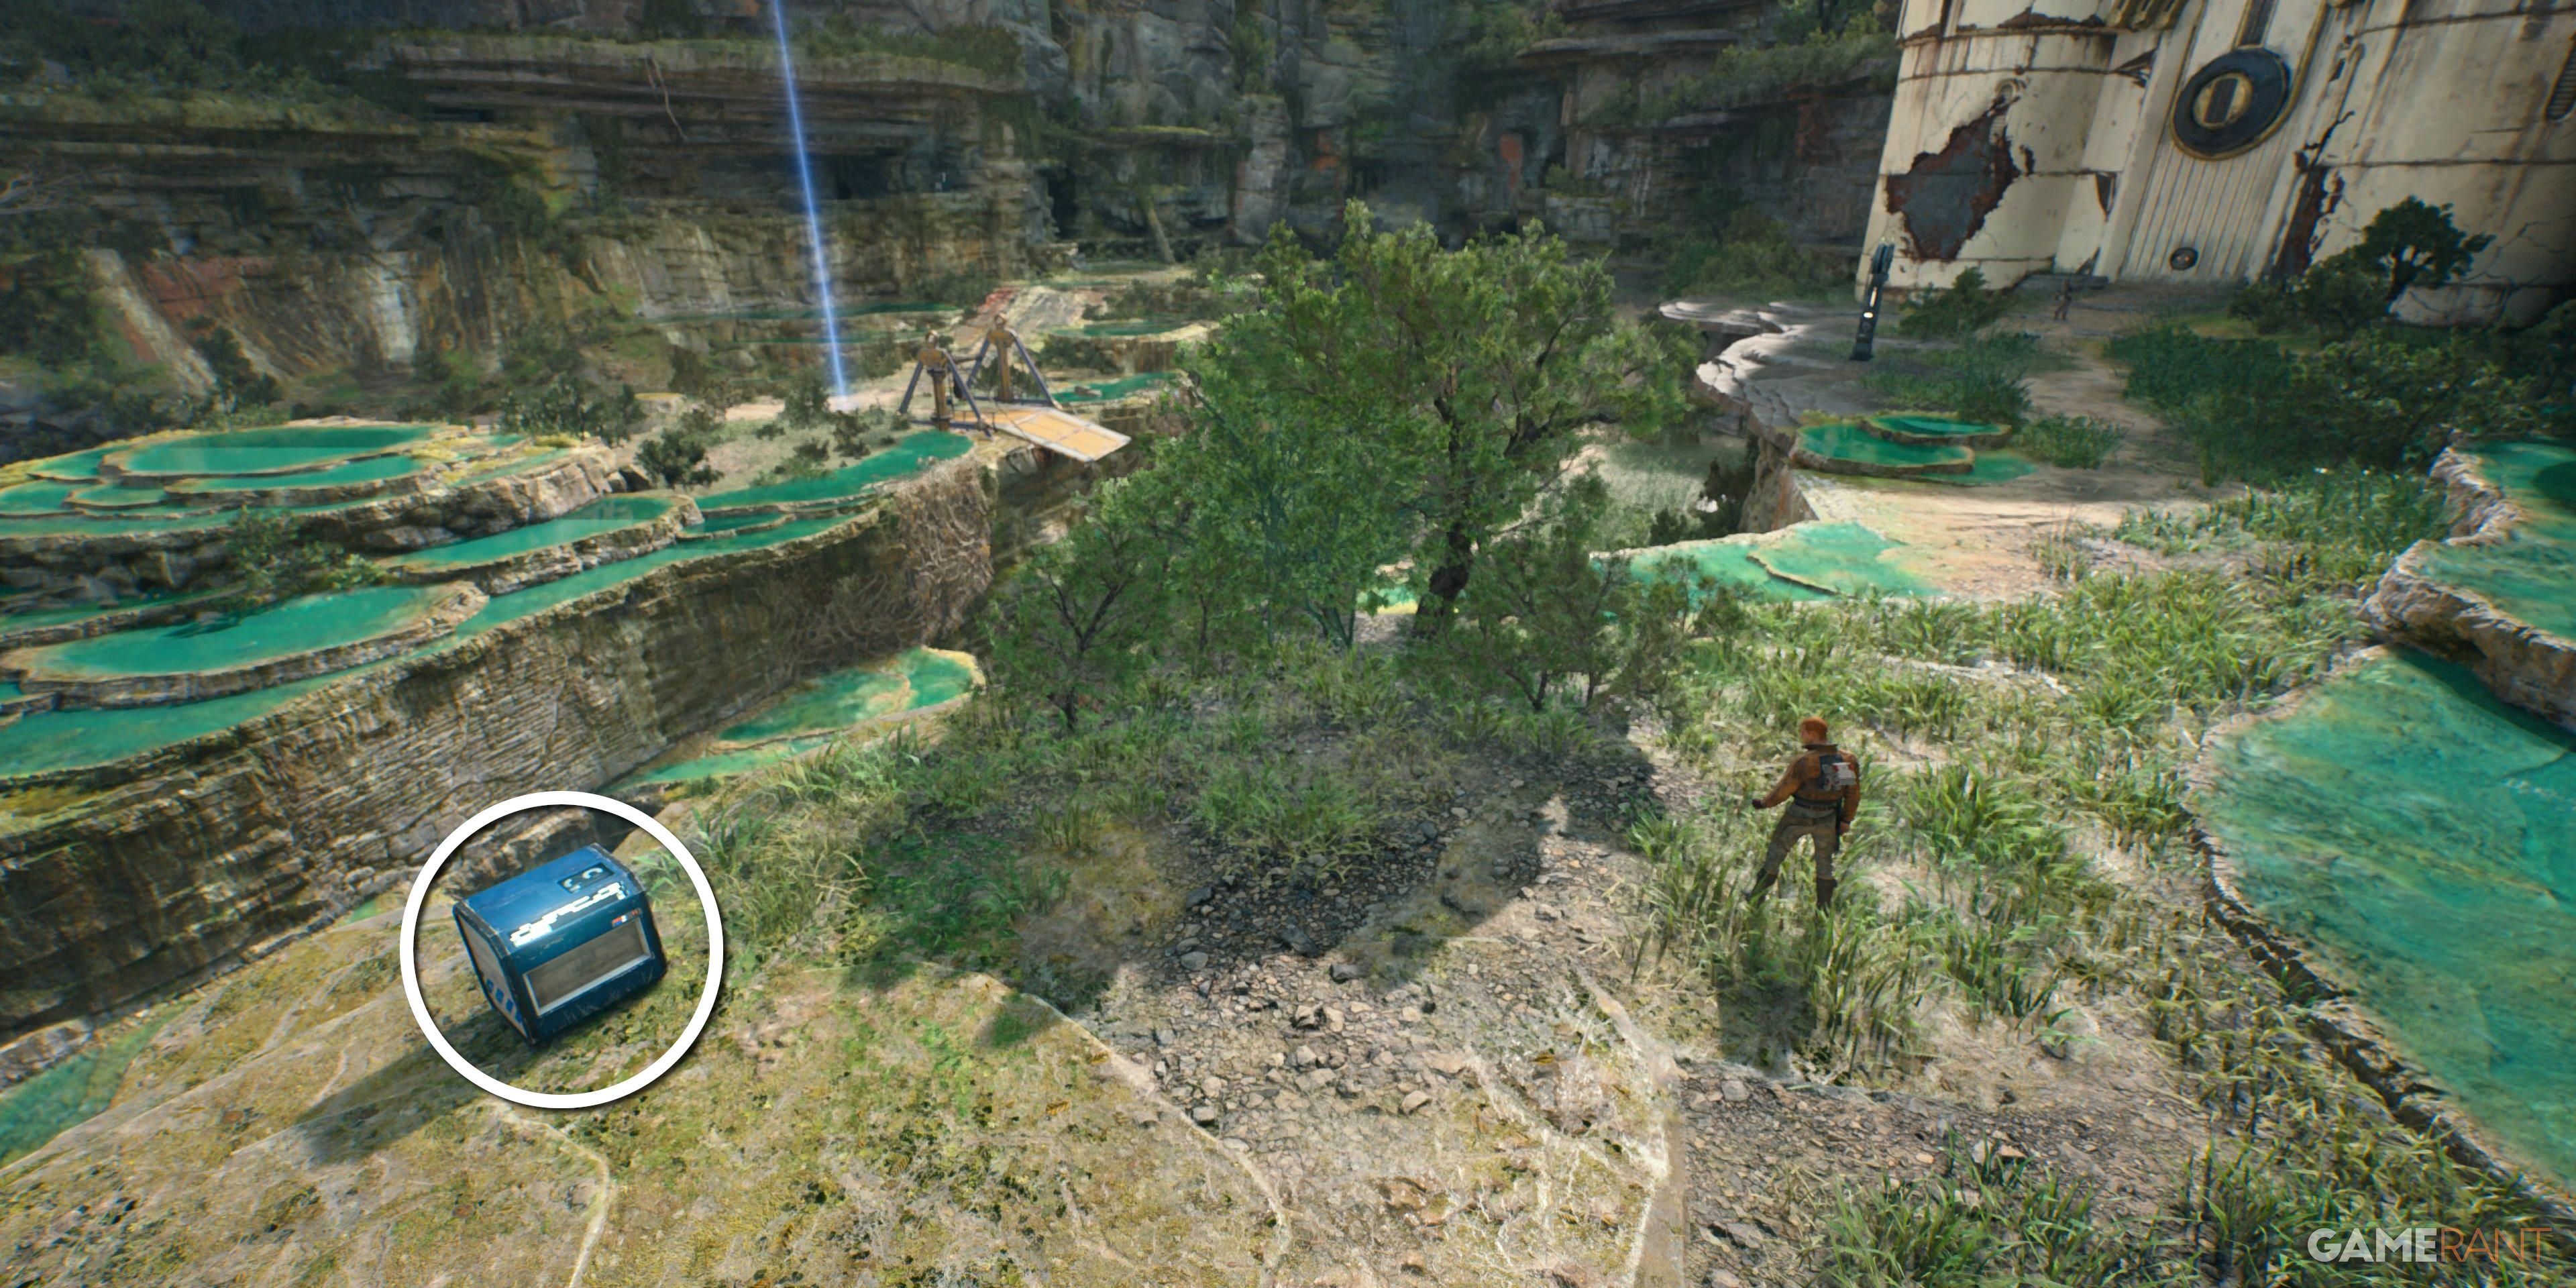
Chest 1 of 2 – Pants: Tactical
Head into a cave along the cliff face by the Meditation Point and follow it through. Killing some Droids along the way, this chest can be found on a ledge at the end.
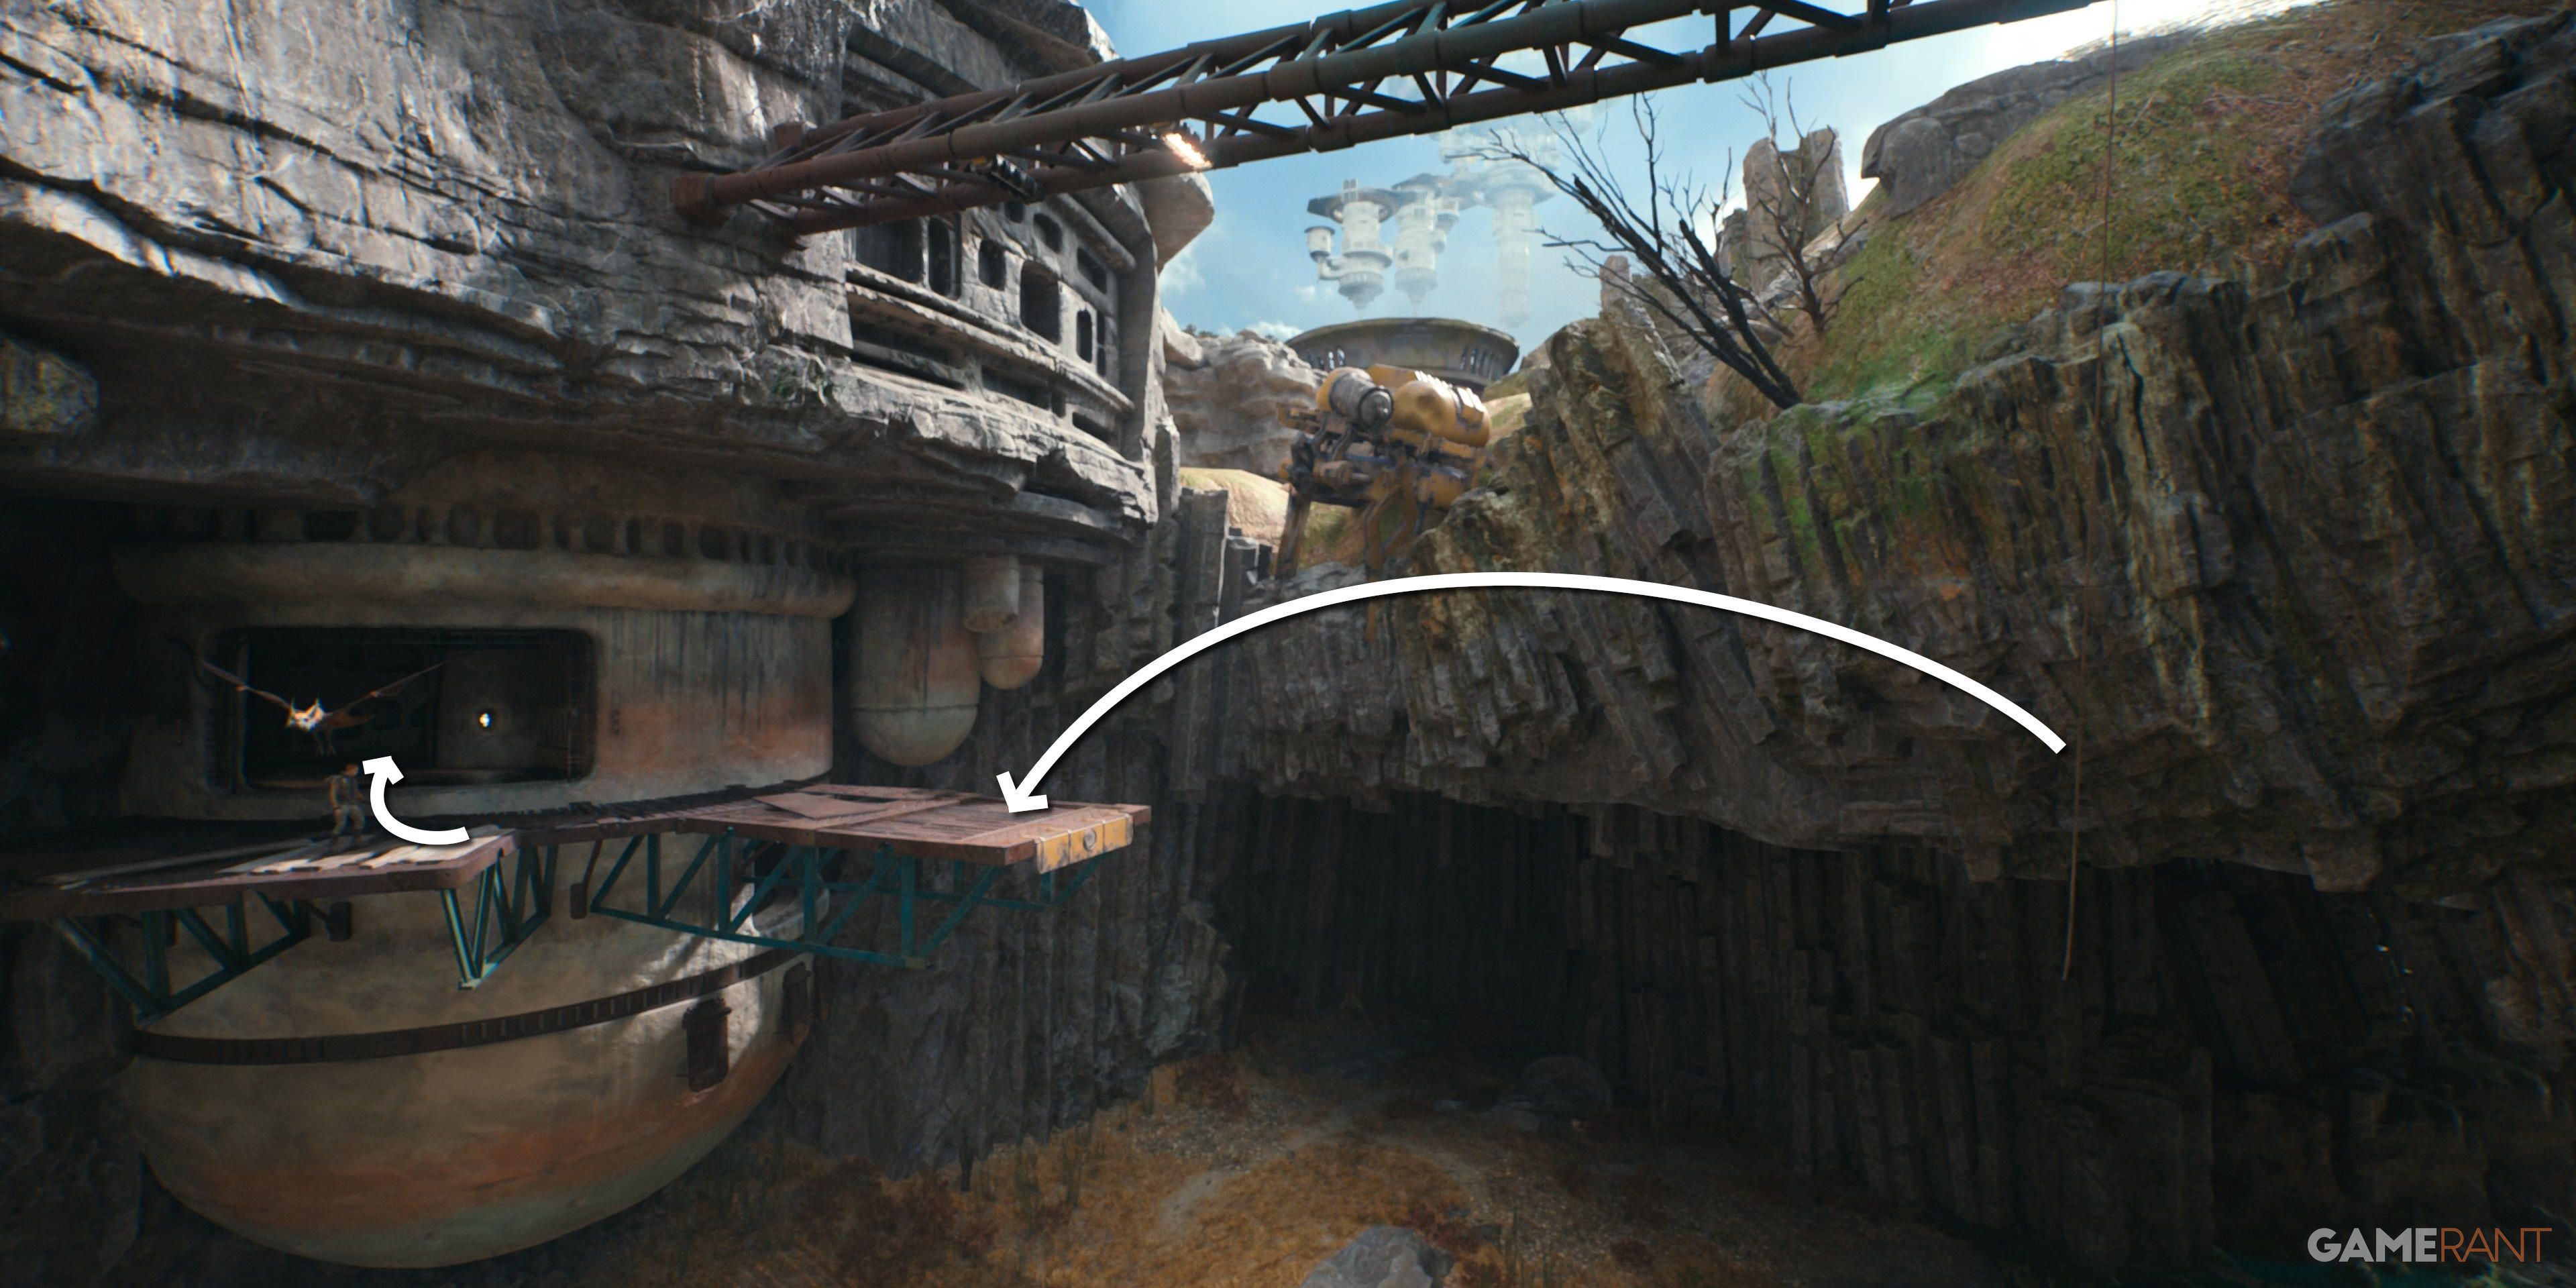
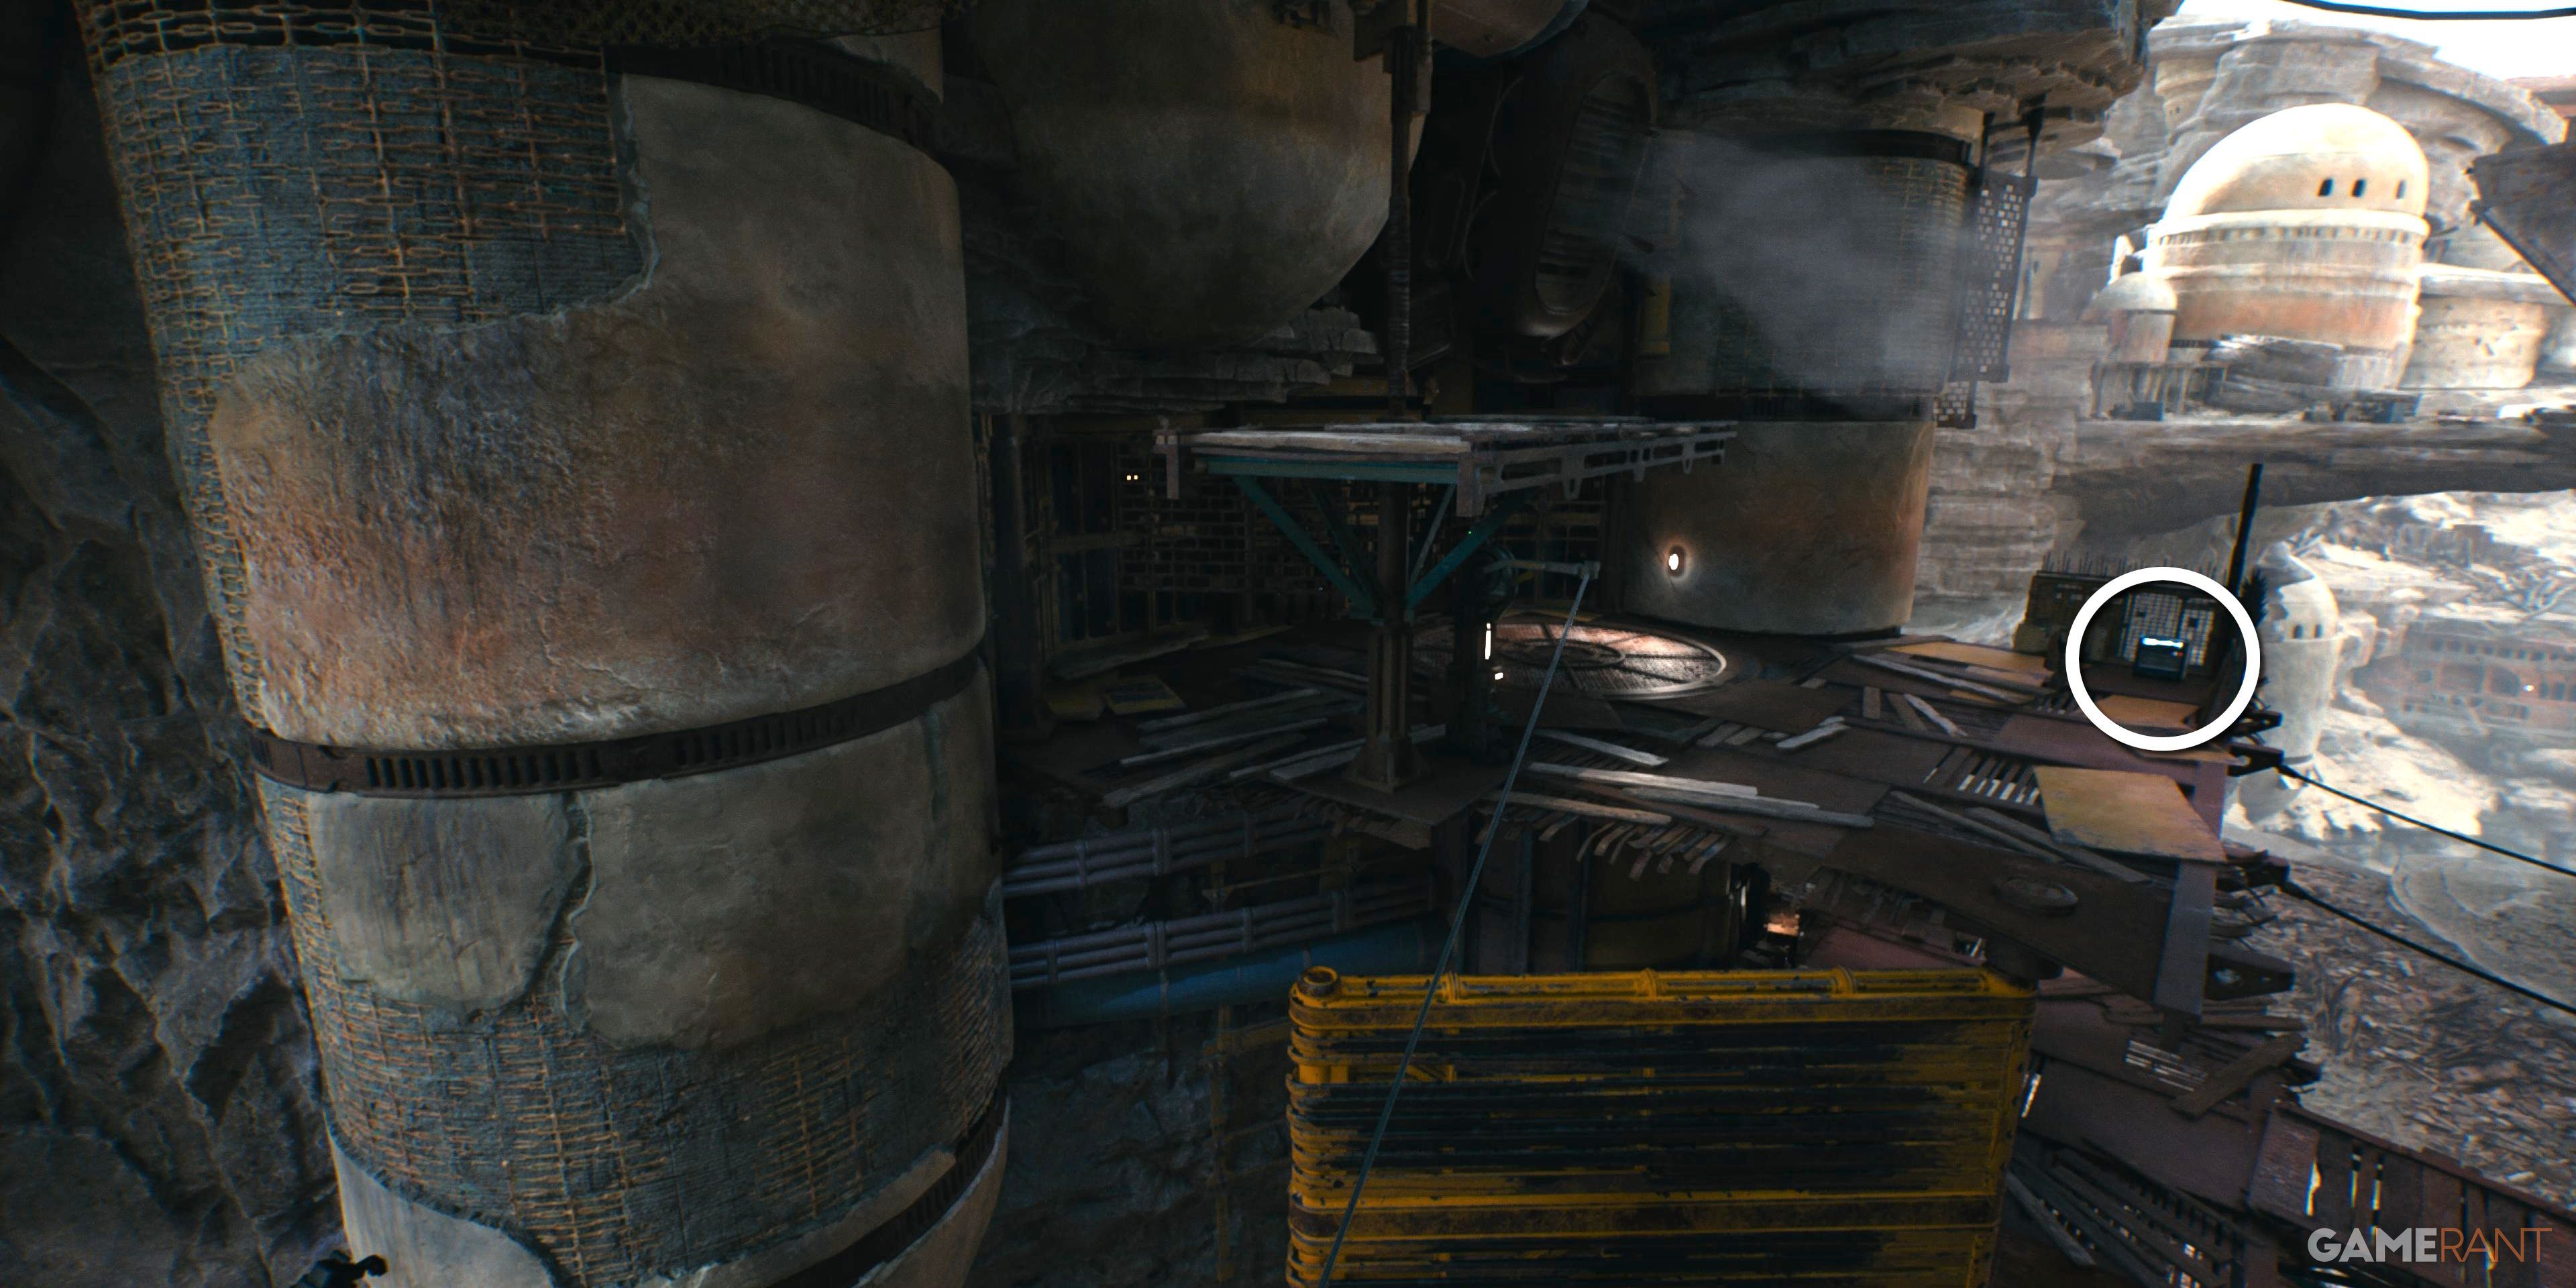
Chest 2 of 2 – Shirt: Tactical
After taking out the Melee Droids on the way to the Forest Gate, scale the ledge and find this chest to the right.
Bygone Settlement (Requires Nekko Mount)
First entered during the Main Quest, this Jawa settlement has four chests.
Chest 1 of 4 – BD-1 Head: Geonoisan
Atop a mount, double jump to a ledge, and traverse around to reach an elevated platform where this chest lies.
Chest 2 of 4 – Hair: Choppy Forward
From the above chest, make a U-turn and use the rope hanging from the scaffolding above to reach a cliffside home. Inside, down a drop, is the chest.
Chest 3 of 4 – Jacket: Wanderer
From the Meditation Point, scale the buildings and cross the bridge, using the force on a ridged wall and climbing more buildings. This chest is at the top, below the large fan, and beside the shortcut back to the Meditation Point.
Chest 4 of 4 – BD-1 Legs: Geonosian (Requires Air Dash)
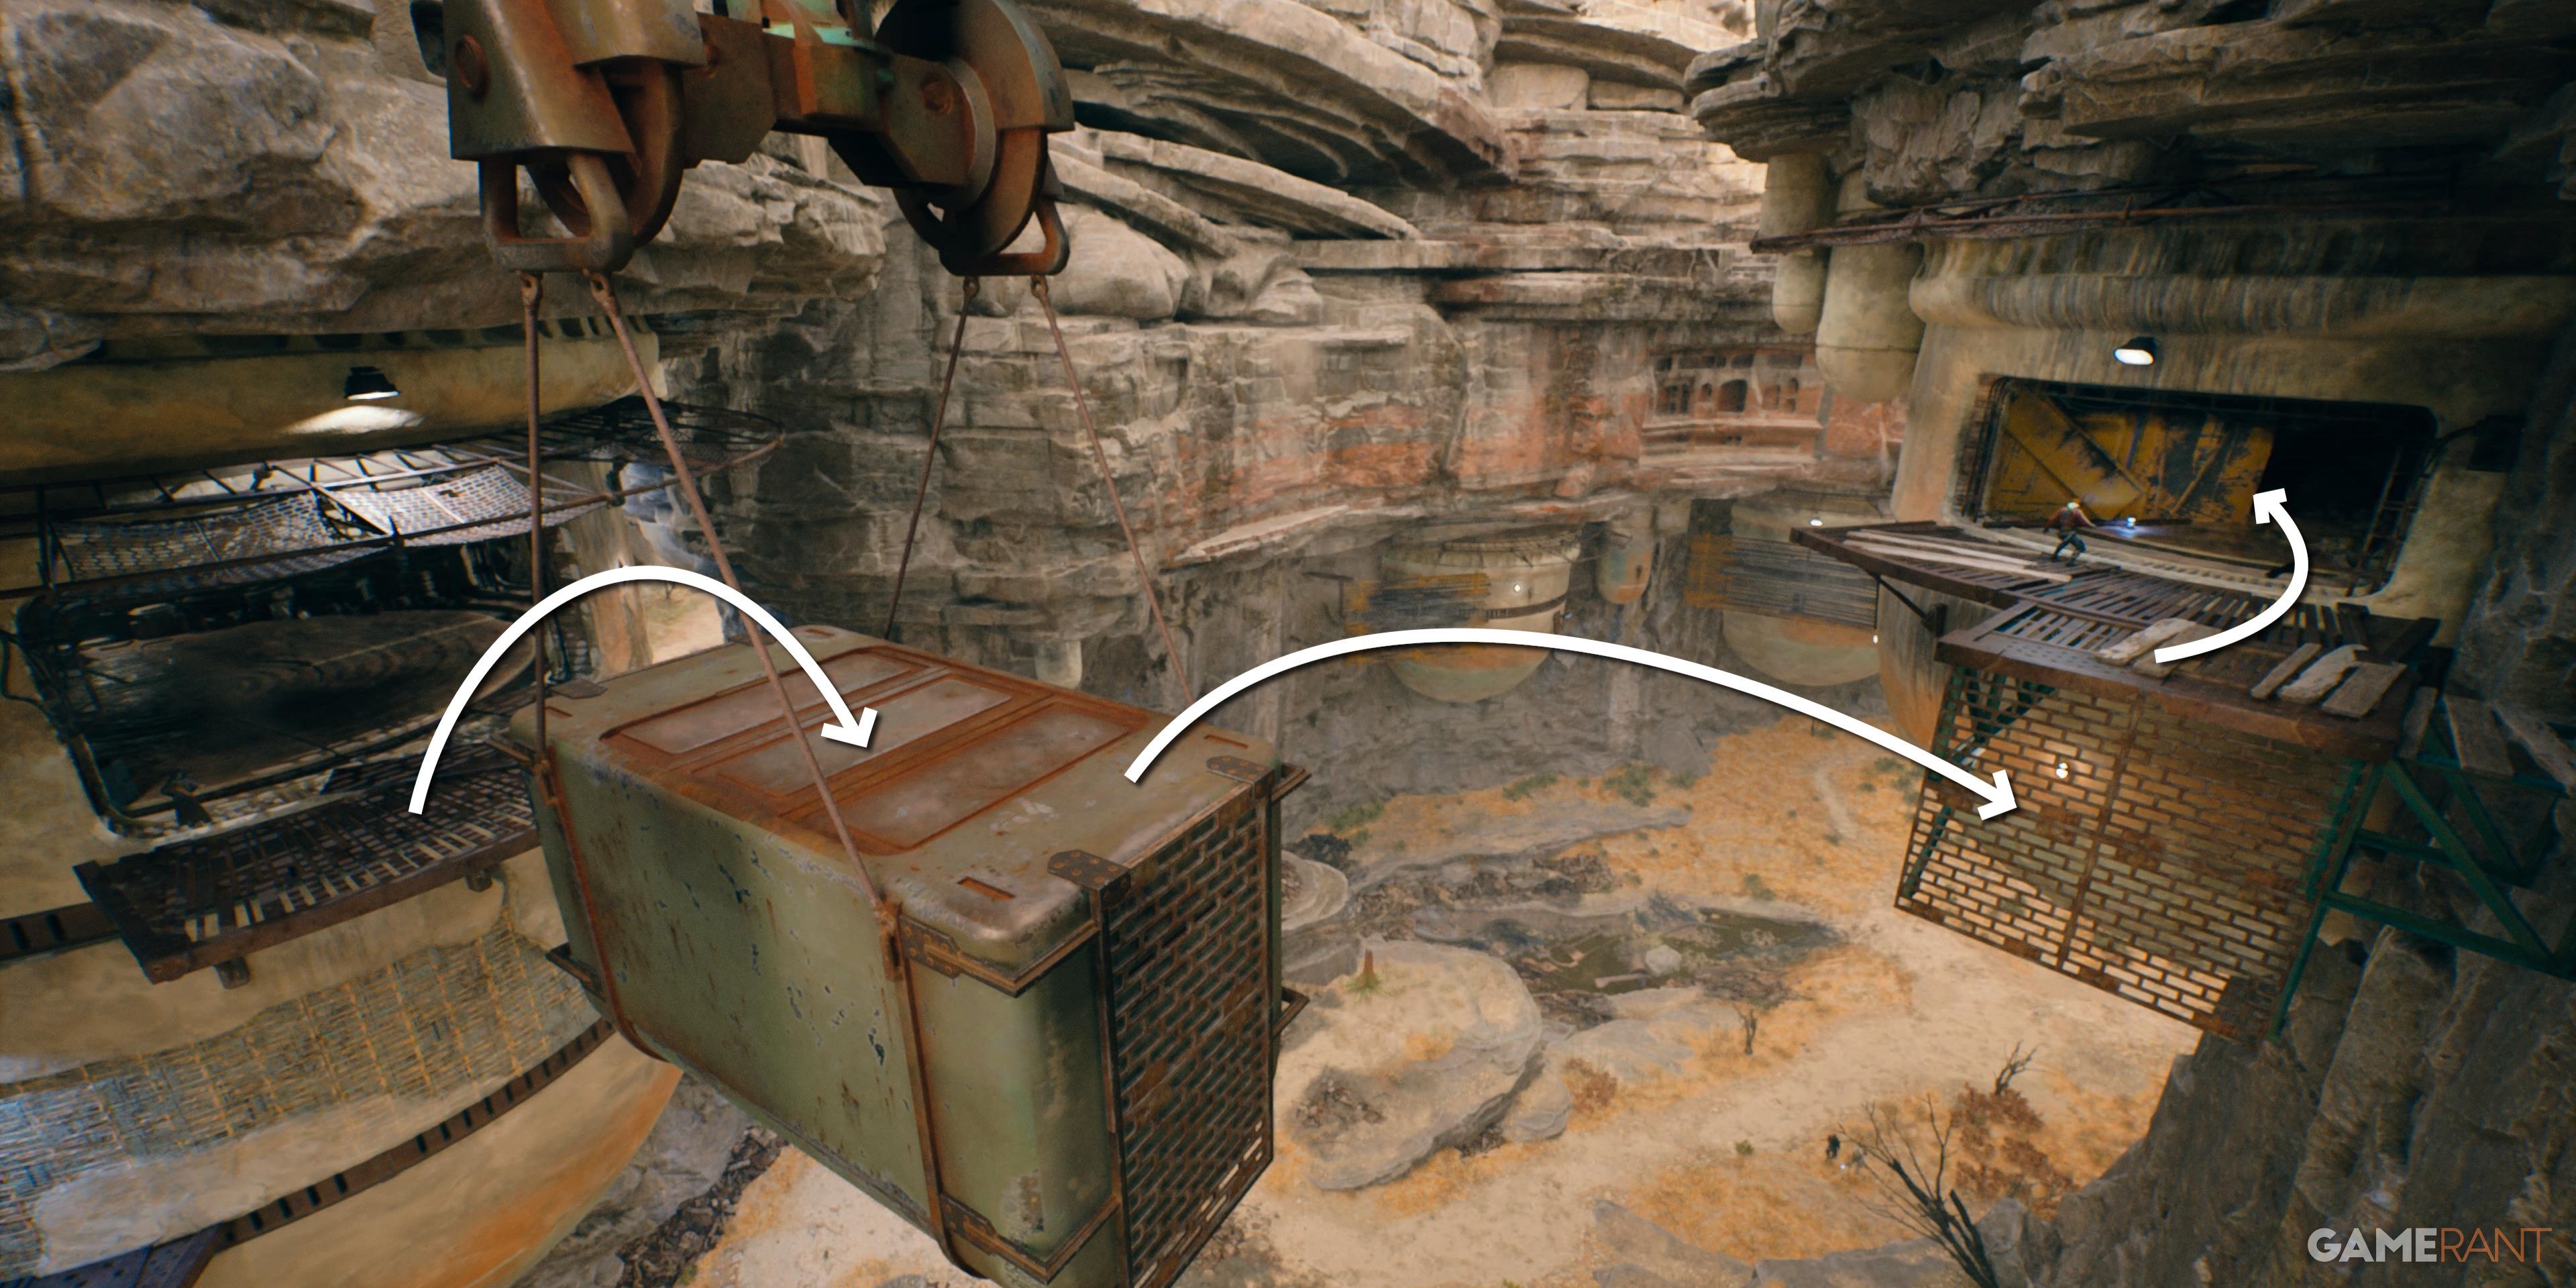
From the above chest, Air Dash through the fan to reach more exposed structure. Continue climbing until reaching a hut with Raiders harassing a Jawa. Killing them will allow the Jawa to lower a crate that players can Force Pull to reach more buildings. On the left is a hut with a chest inside.
Chamber of Clarity (Requires Nekko Mount)
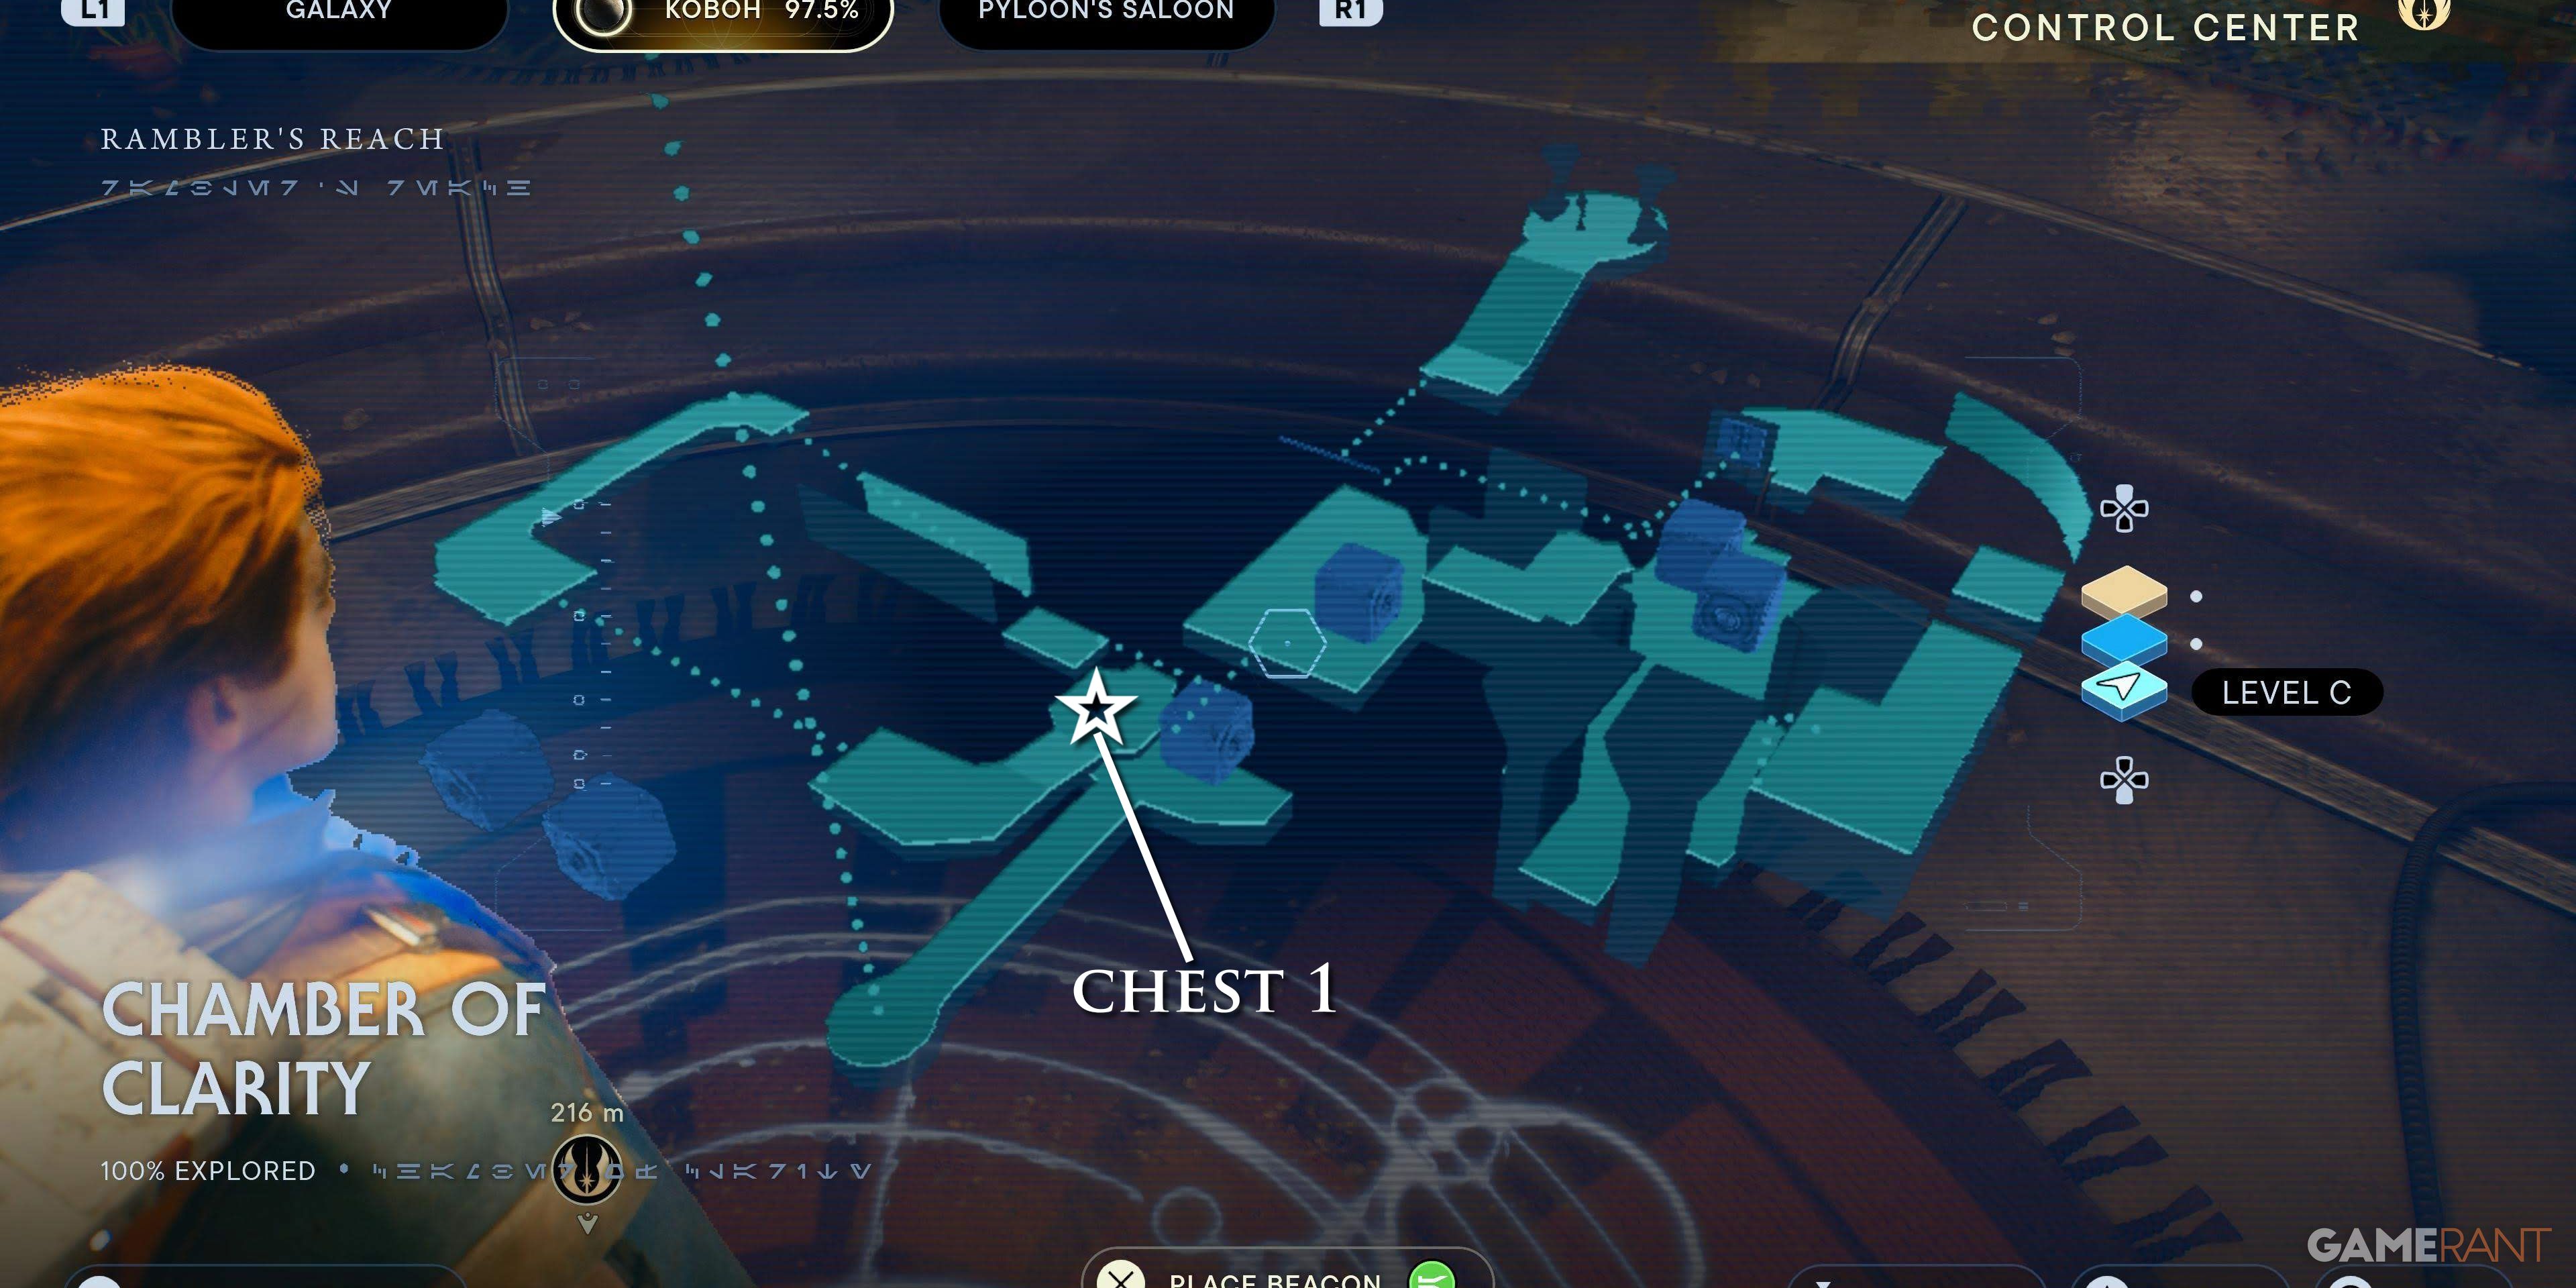
Reached by jumping from the back of a Nekko, the Chamber of Clarity is in the Untamed Downs and has one chest.
Chest 1 of 1 – Weapon Materials: Unique Non-Metal
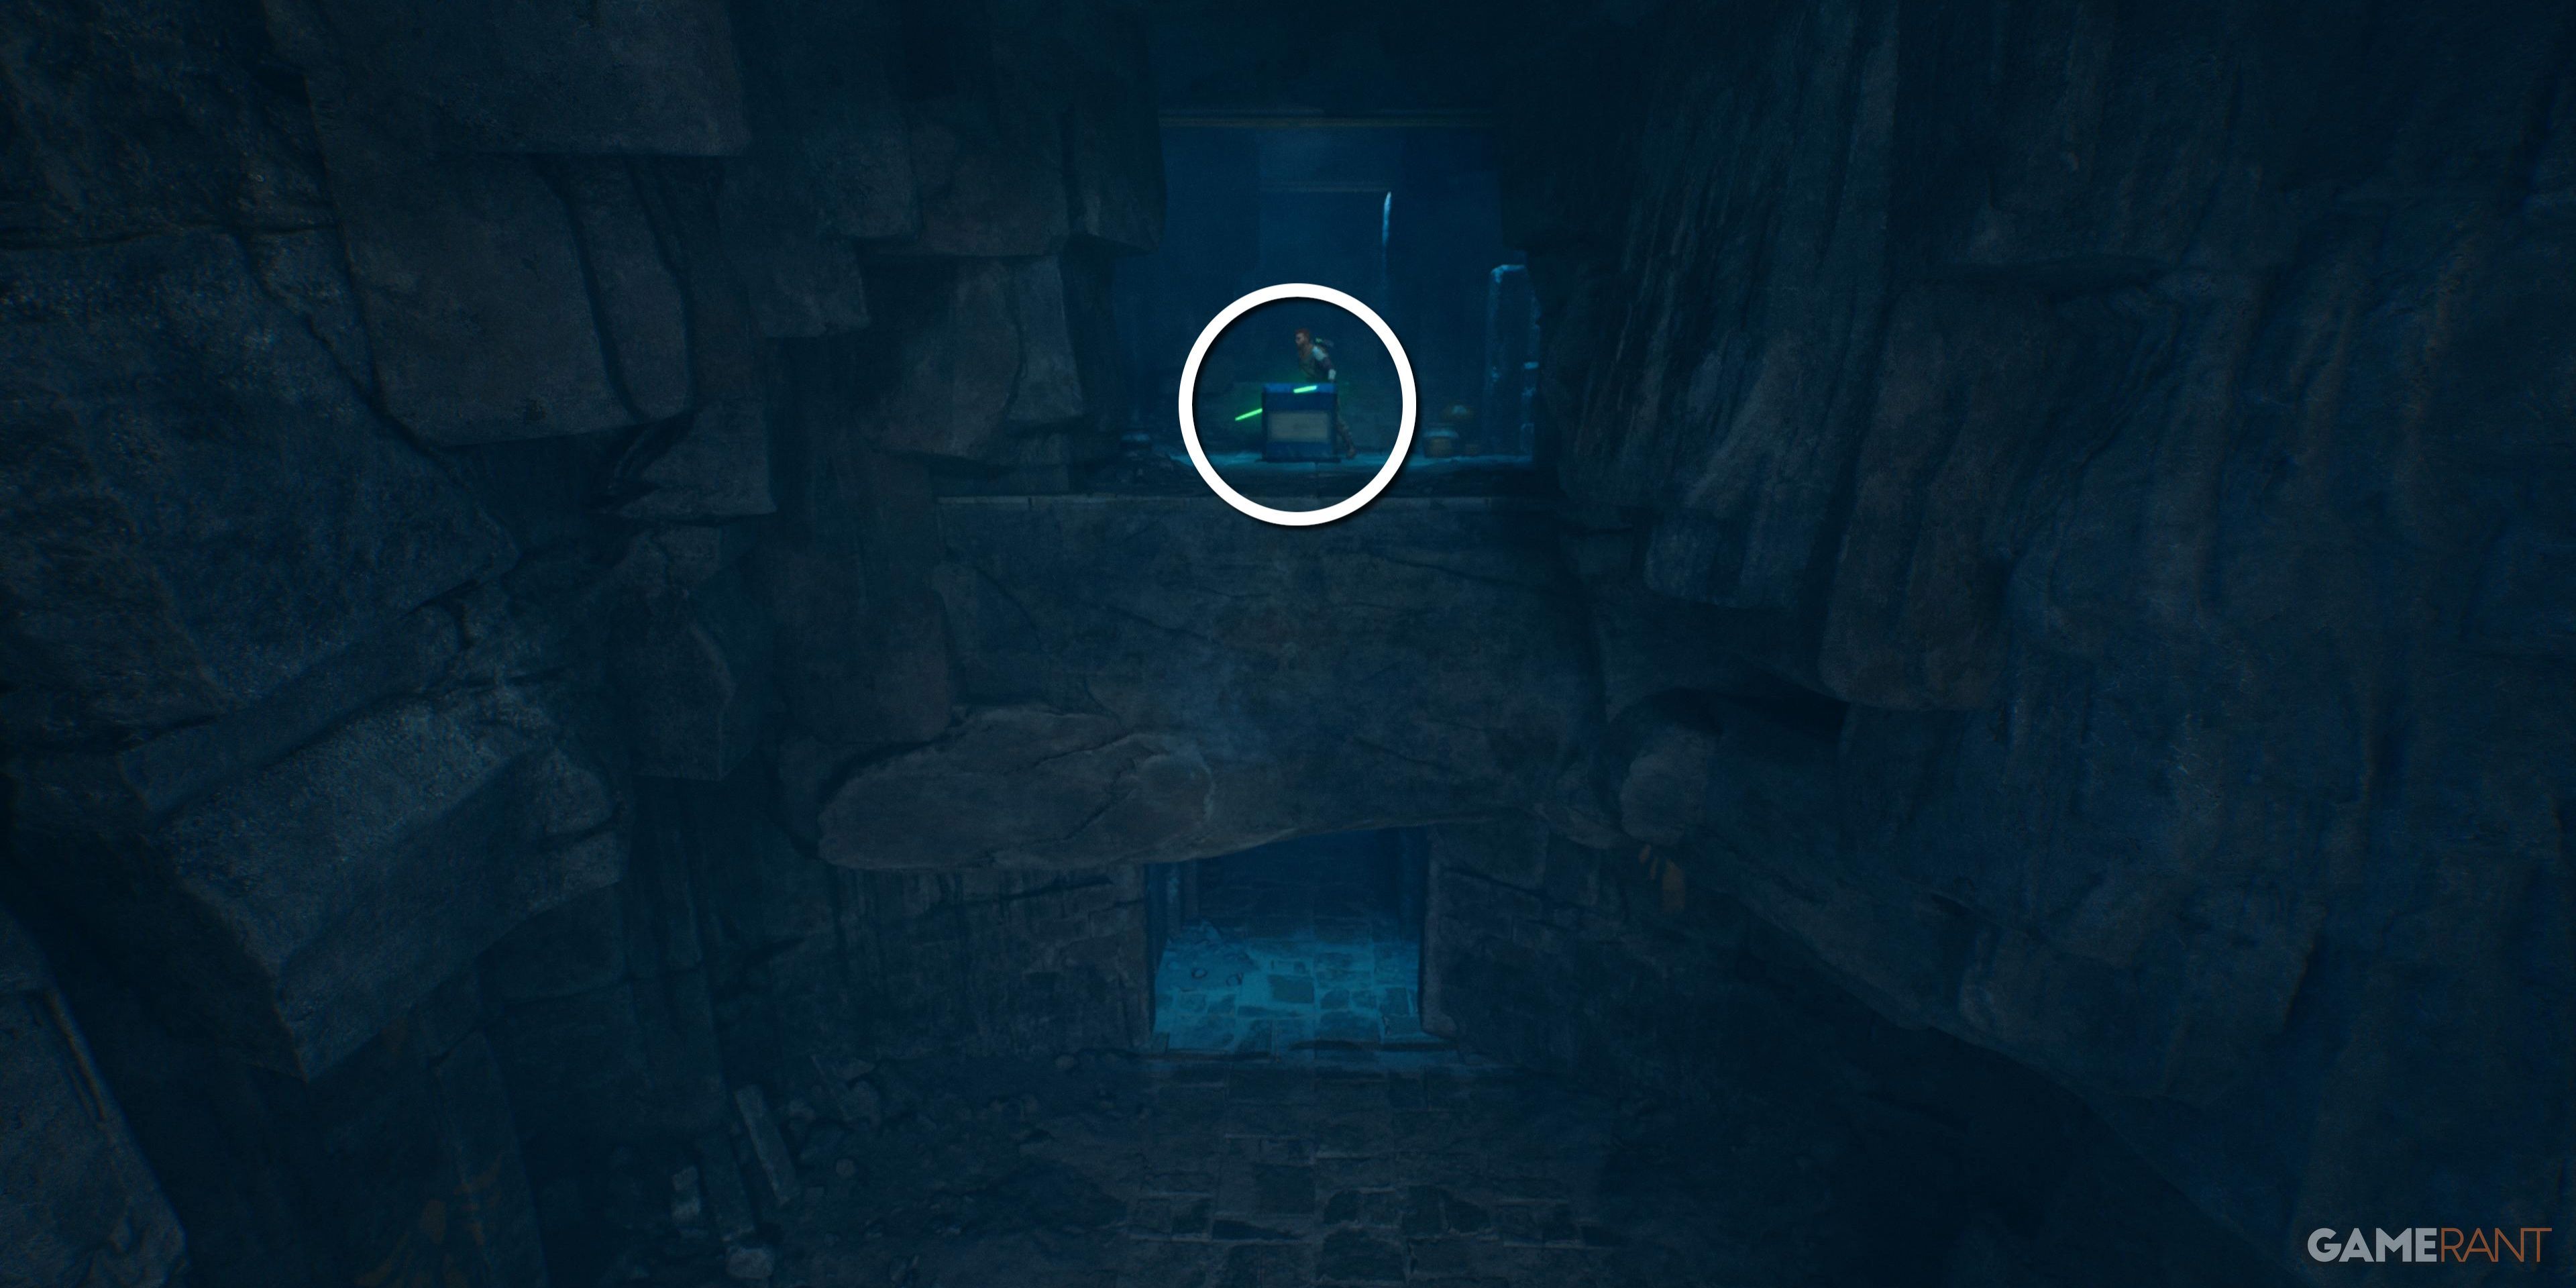
Entering the Chamber, Force Pull the cube and enter the small hole left in its wake. Cross to the ledge across the gap and round the corner. Next, Force Pull both the cubes in the room and hop over them to reach a chest overlooking the Chambers entrance.
Water Treatment Works (Requires Force Lift)
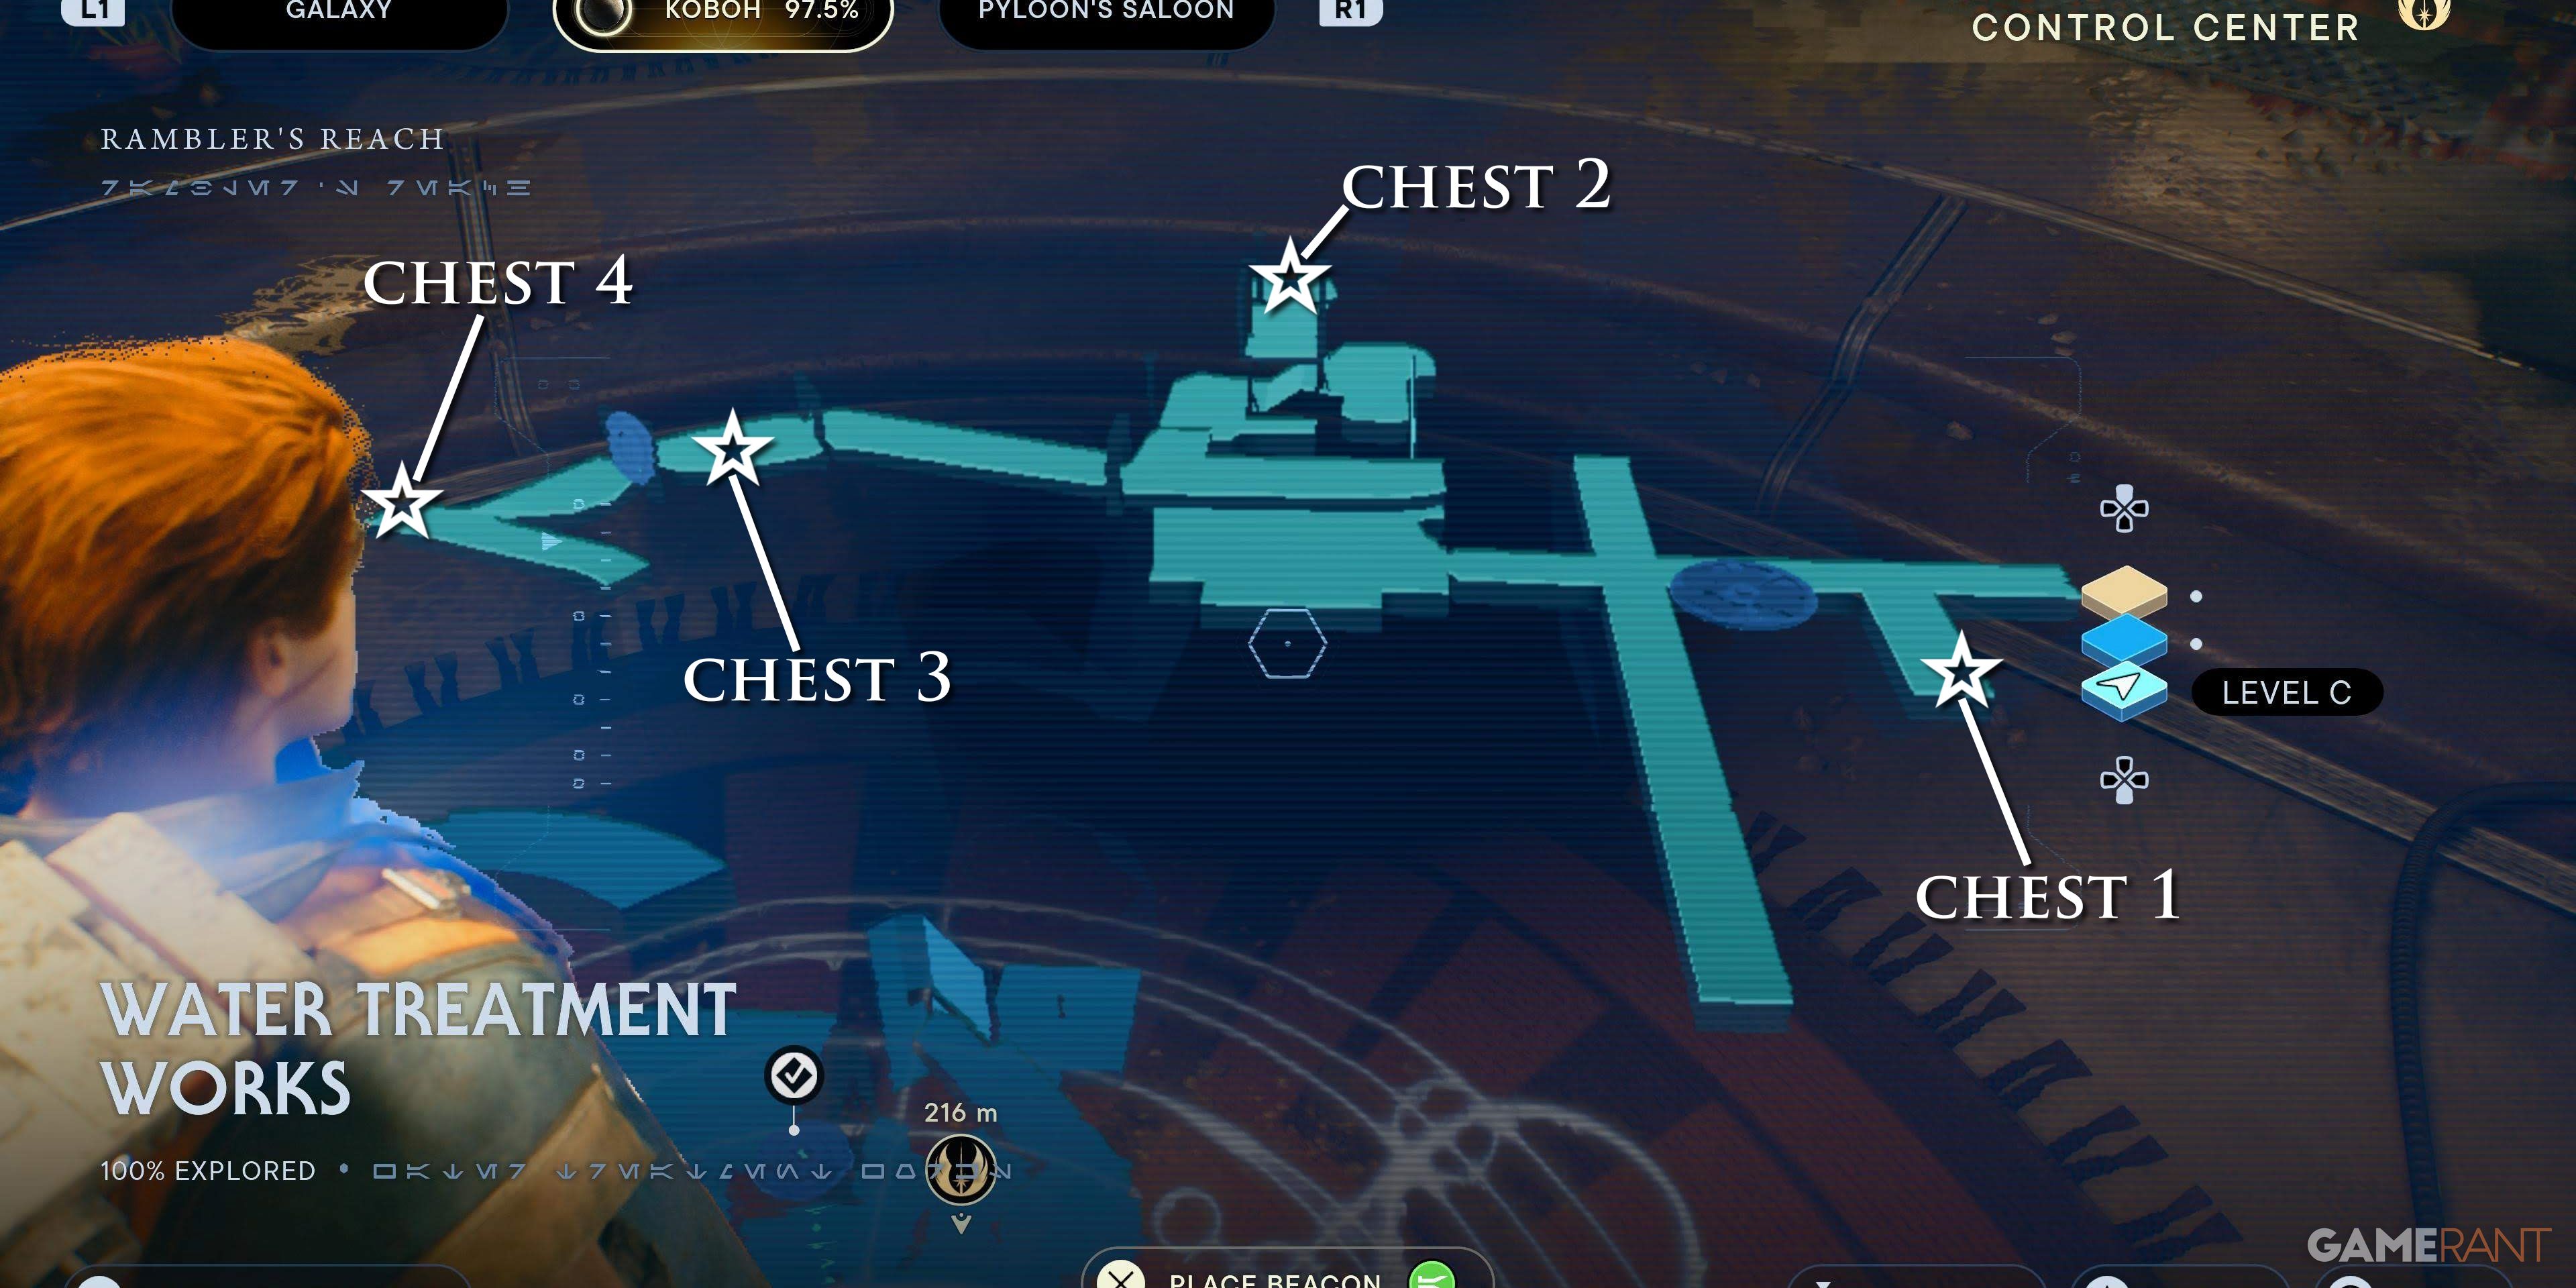
Four chests are found in the Water Treatment Works, found under the Force Lift grate in the Southern Reach.
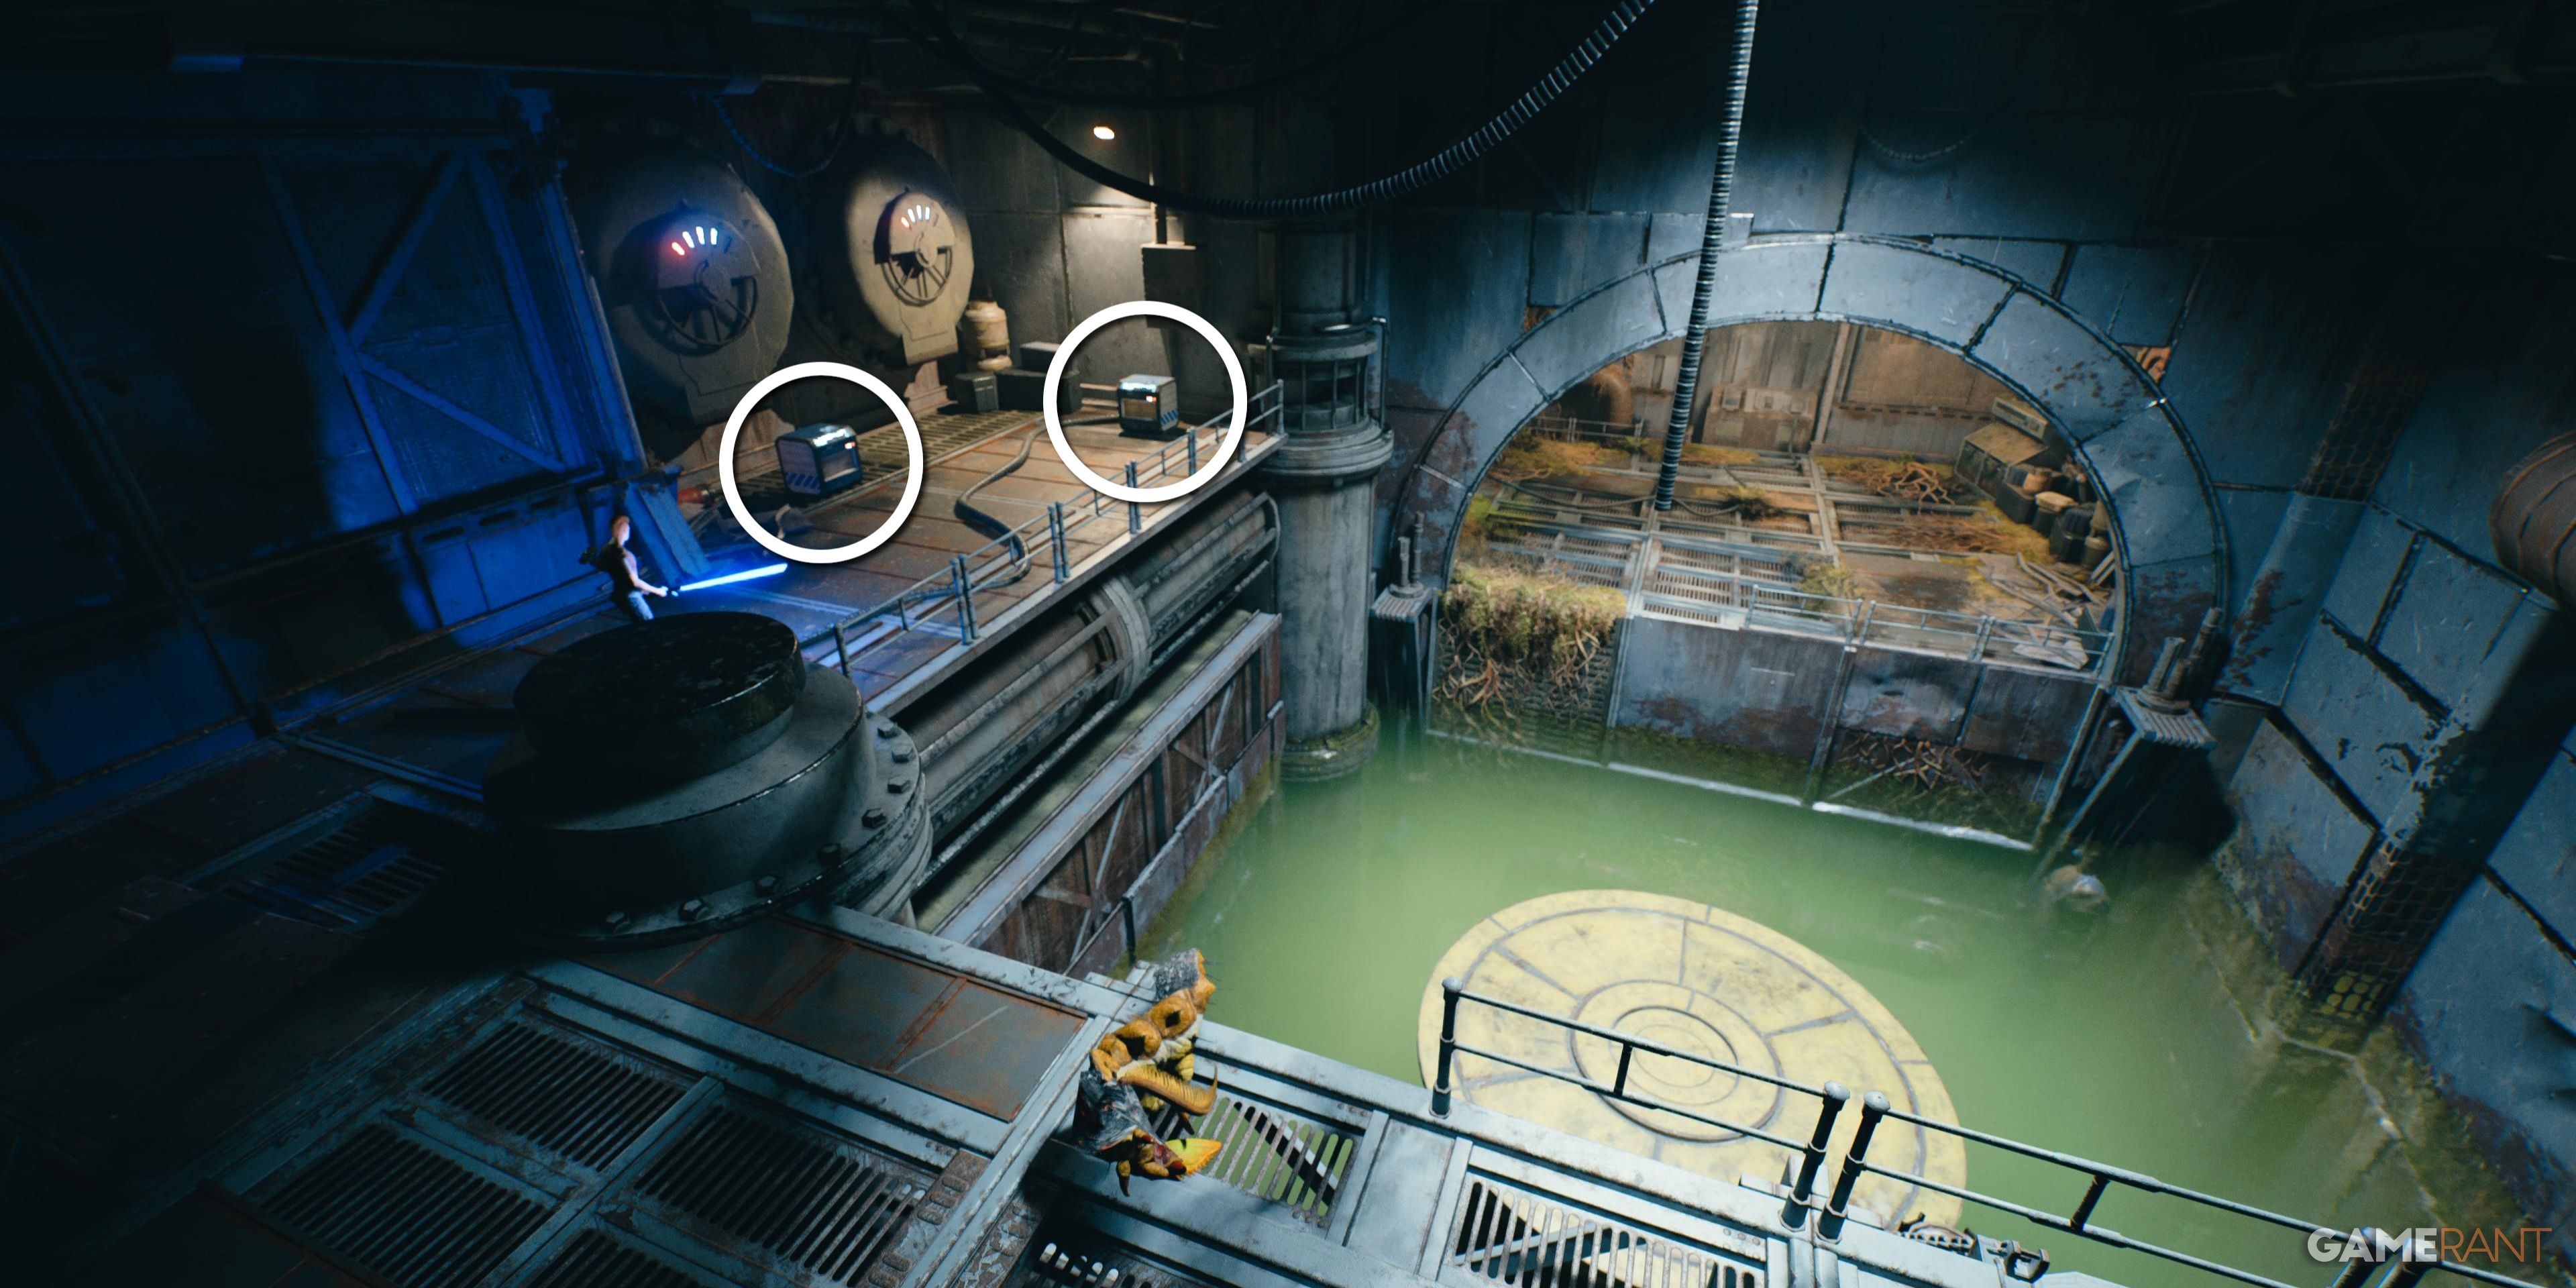
Chest 1 of 4 – Lightsaber Switch: Edgehawk
Down in the tunnels cutting through the cables, take two rights to find this chest guarded by a Rawka.
Chest 2 of 4 – Lightsaber Emitter: Edgehawk
Air Dash to the platform across from the Lawful Good Databank.
Chest 3 of 4 – Lightsaber Grip: Edgehawk
Force Push the rubble near the Lawful Good databank and find this chest at the end of the corridor.
Chest 4 of 4 – Hair: Scrapper
Through the door beside the Edgehawk Grip, this classic Cal hairstyle is on the right, behind a Gorger.
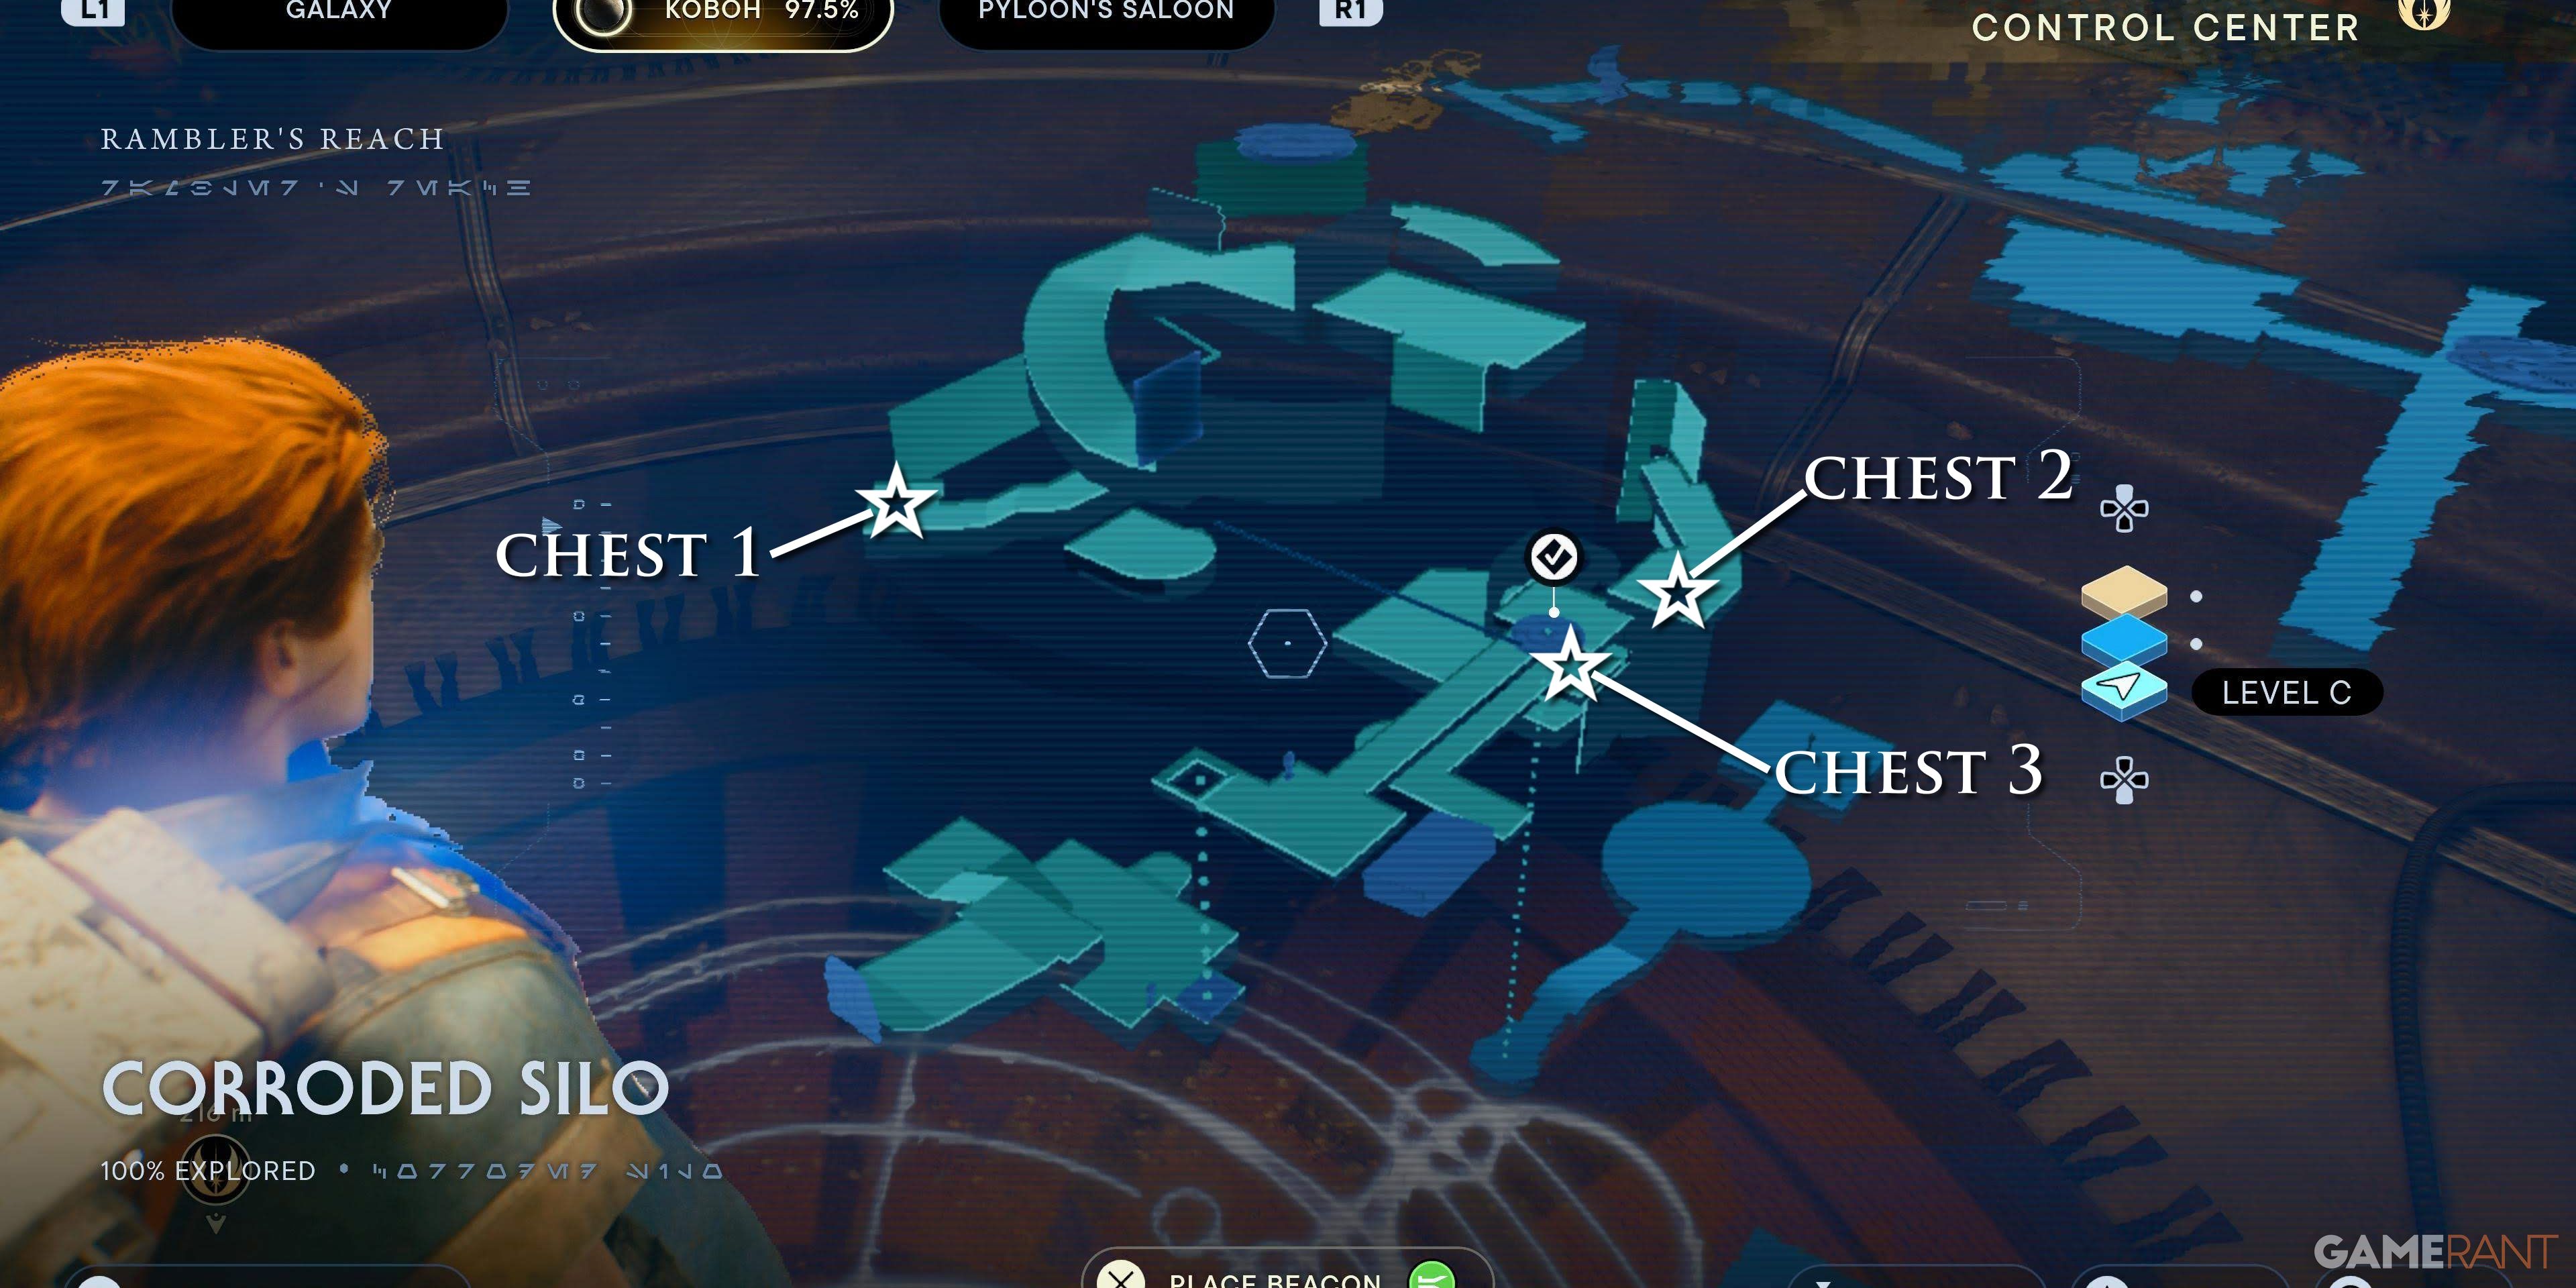
Corroded Silo (Requires Force Lift)
Using Force Lift on the roof of the Southern Reach Silo, players can find three chests inside.
Chest 1 of 3 – Beard: Goatee and Mustache
On a platform with the New Acquisitions databank entry.
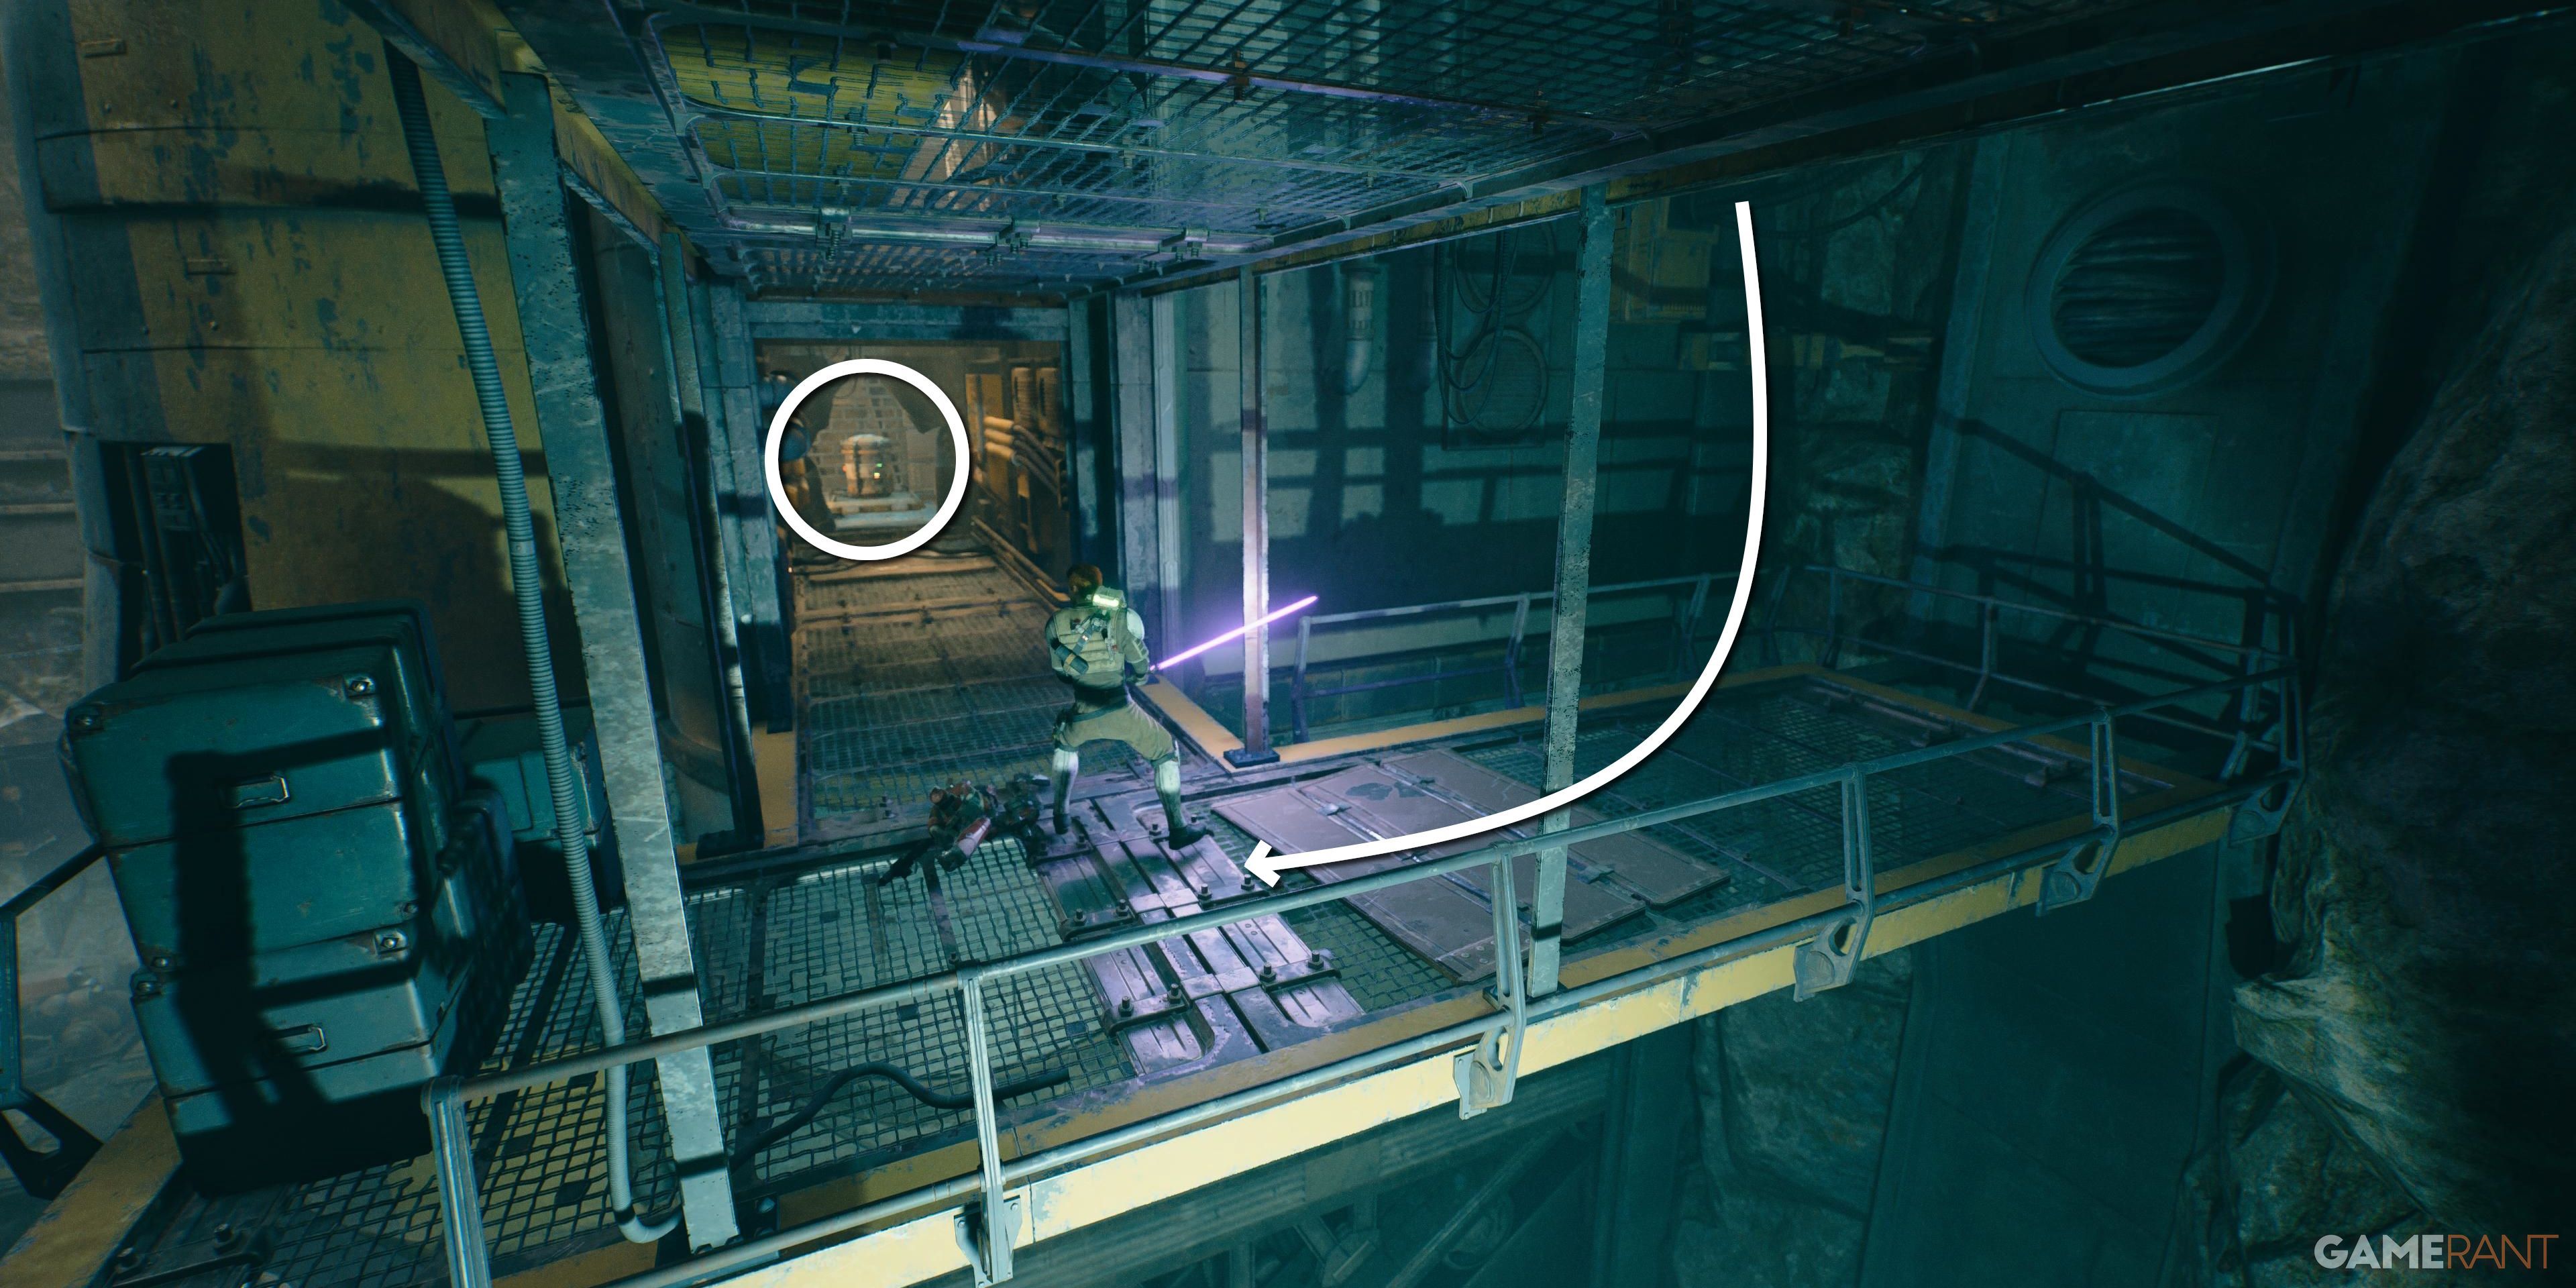
Chest 2 of 3 – Blaster Body: Arakyd Heavy (Requires Force Lift and Slam)
After ziplining to a climbable wall, take out the Raider on the nearby platform and turn back to a ridged wall. Wall run again and climb up to the ledge above, where players can break this crate for a Blaster body.
Chest 3 of 3 – Weapon Materials: Bumpy Rubber (Requires Force Lift and Slam)
Before taking the elevator down, drop off the walkway to the left and take out the Droid. Here, one can Force Push their way to a crate containing this weapon material.
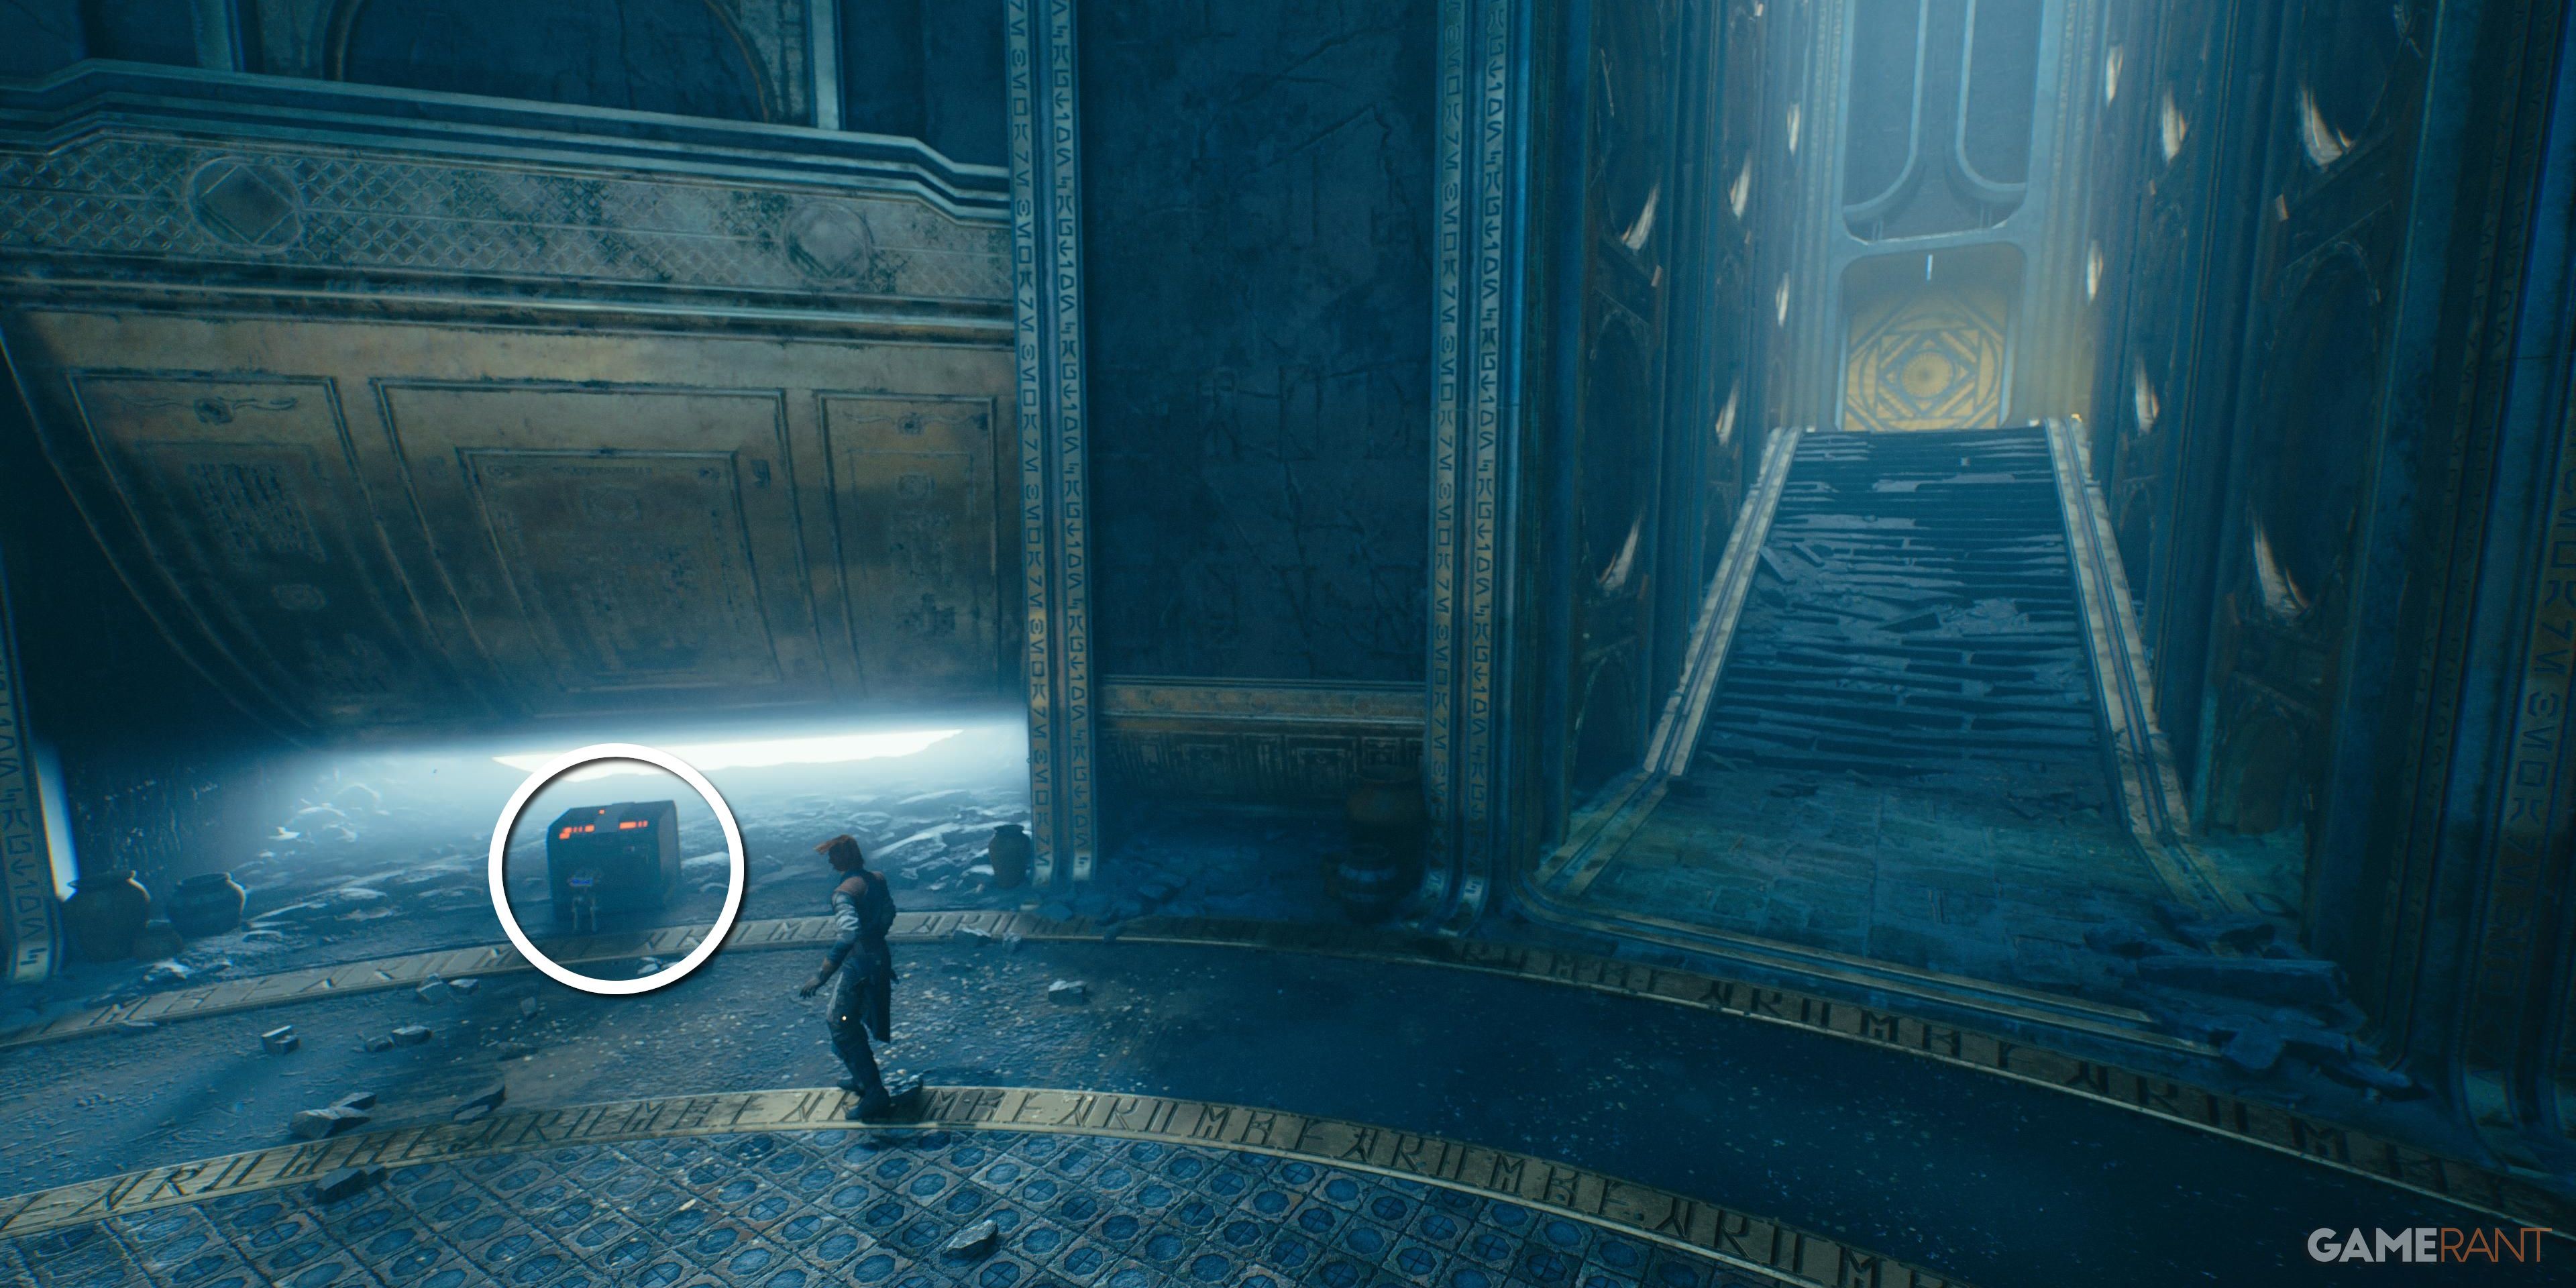
Chamber of Fortitude (Requires Force Slam)
Inside the Corroded Silo, players can access this Meditation Chamber and find one chest.
Chest 1 of 1 – BD-1 Materials: Two Tone Metal
To the right of the entrance, accessed after defeating Anoth Estra.
Flooded Bunker (Requires Force Lift)
In the hut on the outskirts of the Southern Reach, leading to Rambler’s Reach Outpost, players can enter the Flooded Bunker and find two chests.
Chest 1 of 2 – Weapon Materials: Coated Metal
Using Force Lift on the grate in the hut, drop down the vines and dive down into the water. Follow the tunnel to the side room and defeat the Gorger. Use Force Lift on the yellow pillar and jump to the raised platform for this chest.
Chest 2 of 2 – BD-1 Materials: Coated Metal
Immediately right of the last chest.
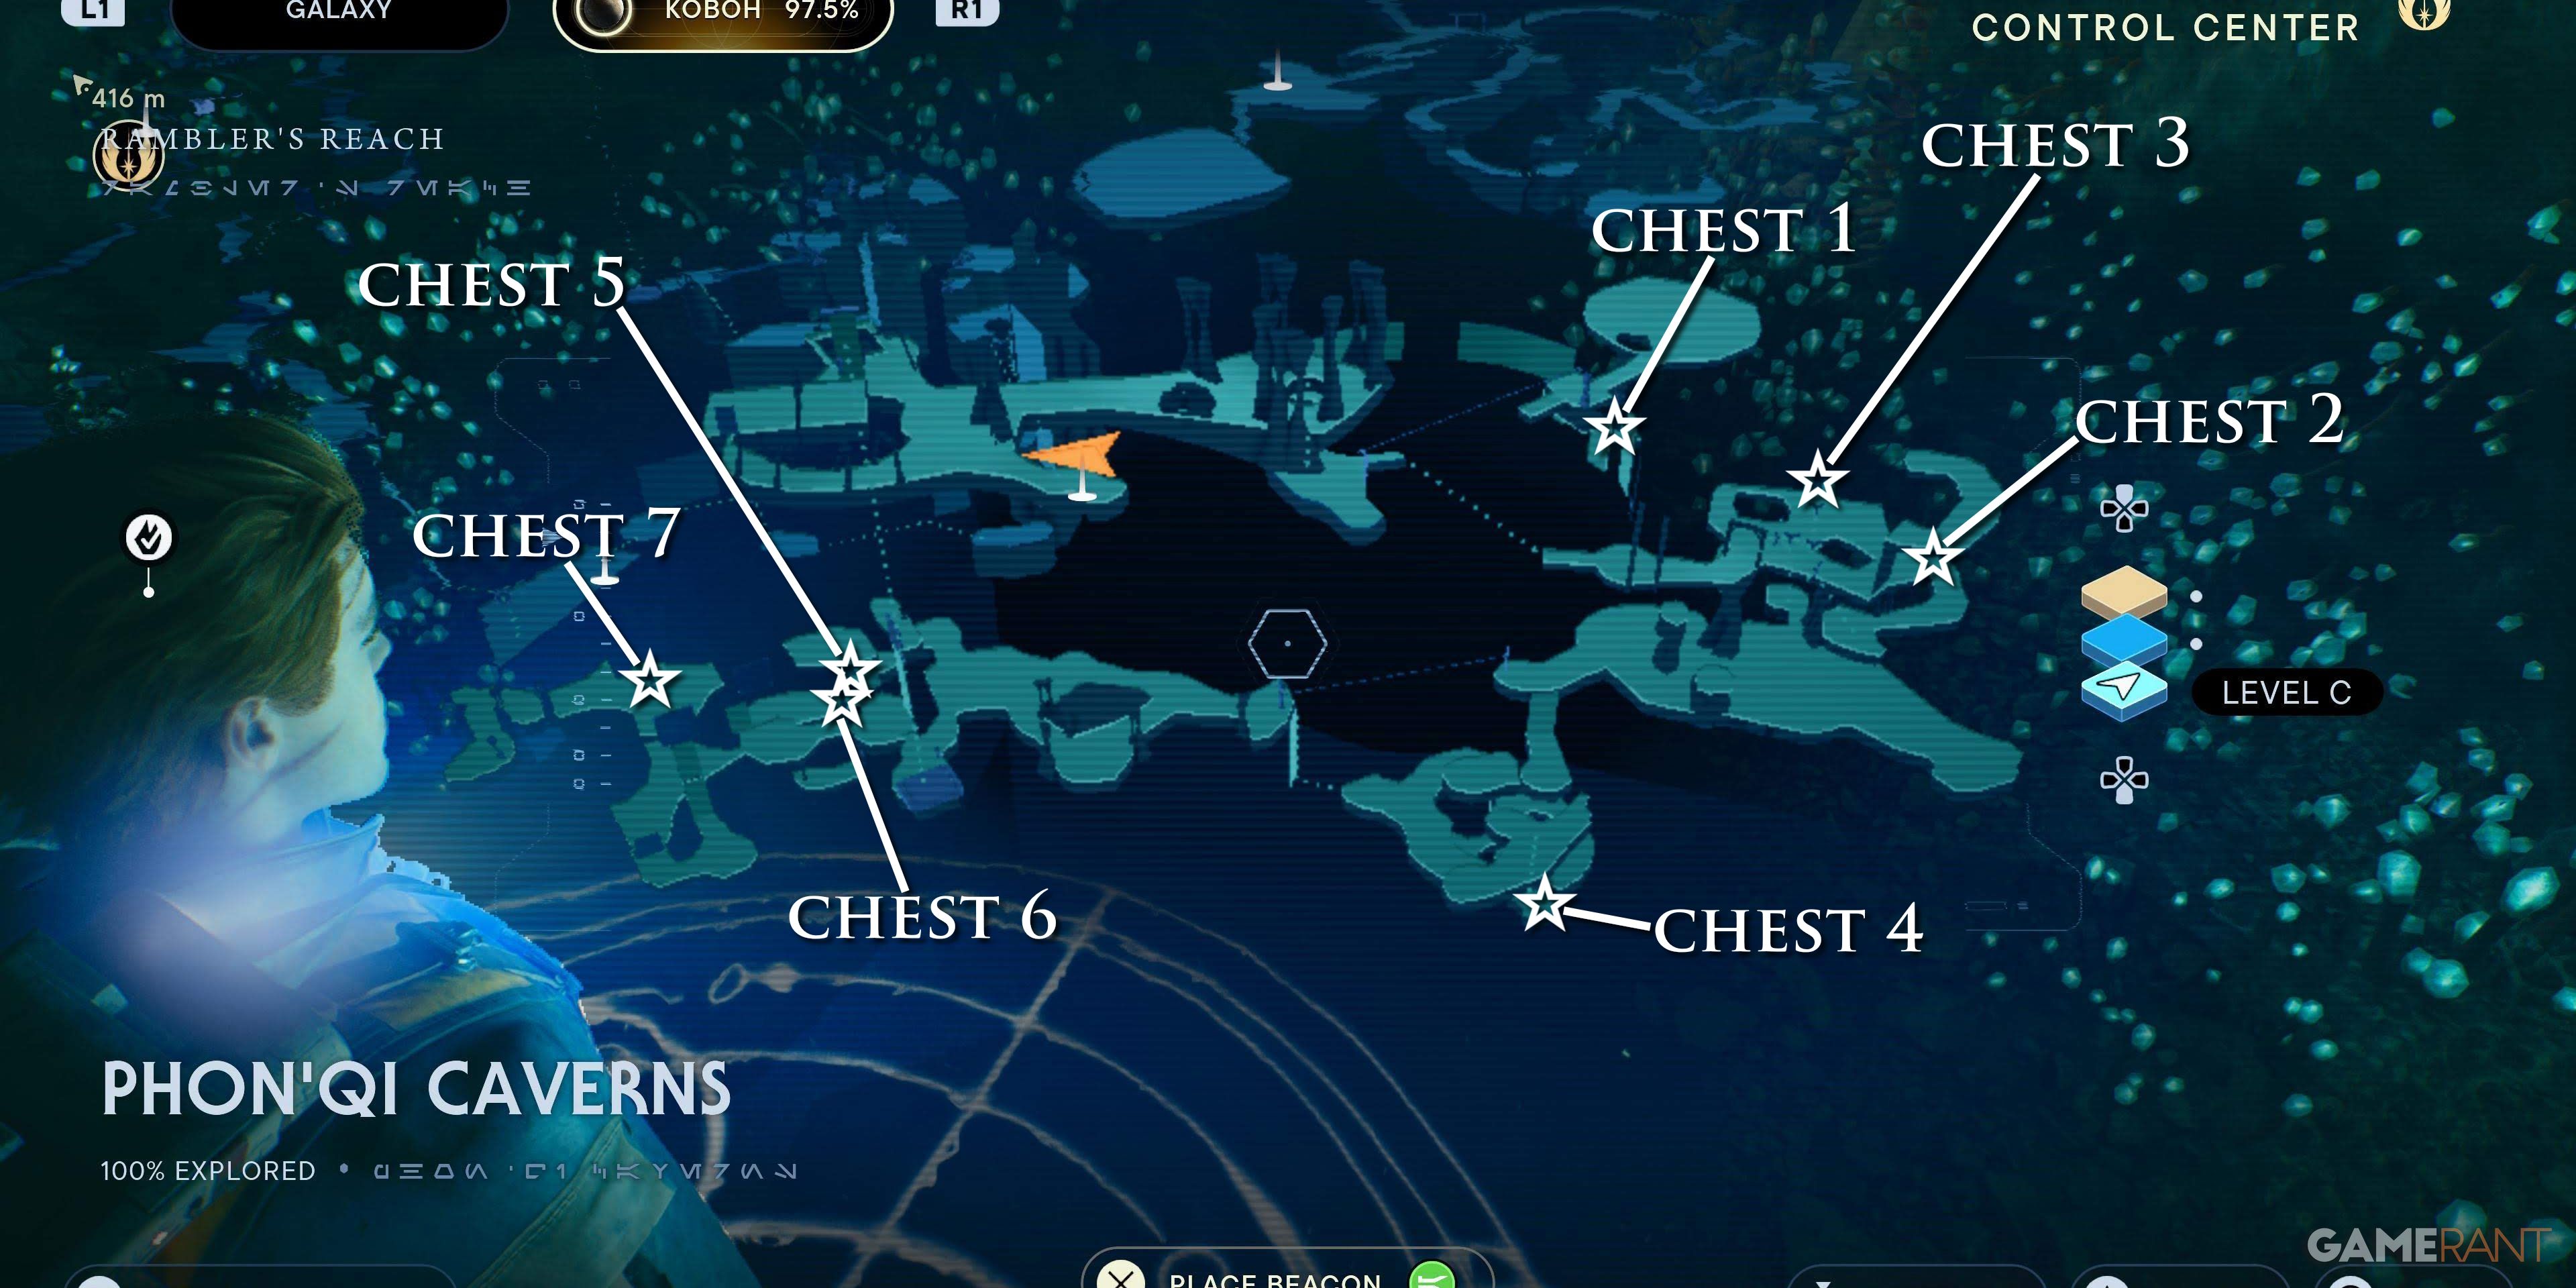
Phon’qi Caverns (Requires Force Lift)
This large network of caves, found by entering a hut basement in the Foothill Falls, has seven chests.
Chest 1 of 7 – Lightsaber Emitter: Dualist


At the entrance hole, cross to the other side of the broken bridge. Here, wall run to the left and land on a platform with a Skill Point Essence. Grab an explosive eyeball from the wall and throw it at the purple electrified fence to melt it. Inside, use Force Slam on the stalactites above to create a hole in the floor where this chest is found.
Chest 2 of 7 – Material: Bomber


In the room with the Droids, drop down the hole in the floor to find this chest, guarded by turrets.
Chest 3 of 7 – Lightsaber Switch: Dualist


Down in the Rancor arena where players grabbed the Rancor Prey databank, head out onto the ledge leading further down, and grab an eyeball. Take it to the electrified fence and melt it away to find this chest inside, up some grapple points.
Chest 4 of 7 – Lightsaber Pommel: Dualist
Dive to the bottom of the pool, where players can encounter Skoova for this chest, down from the Rancor den.
Chest 5 of 7 – Lightsaber Grip: Dualist
Further in the cave, fight off three Magnaguards and walk back out onto the ledge one came from. Here, grab an eyeball from below and use it to melt away the electric rubble. This chest is behind a green laser wall on the left inside.
Chest 6 of 7 – Slice: Magnaguard
Scramble up a wall near the elevator shortcut to reach this terminal.
Chest 7 of 7 – Map Upgrade: Chests
After the trapdoor raider ambush, this map upgrade terminal is behind the green laser wall up the scramble wall.
Star Wars Jedi: Survivor is currently available for PC, PS5, and Xbox Series X/S.

