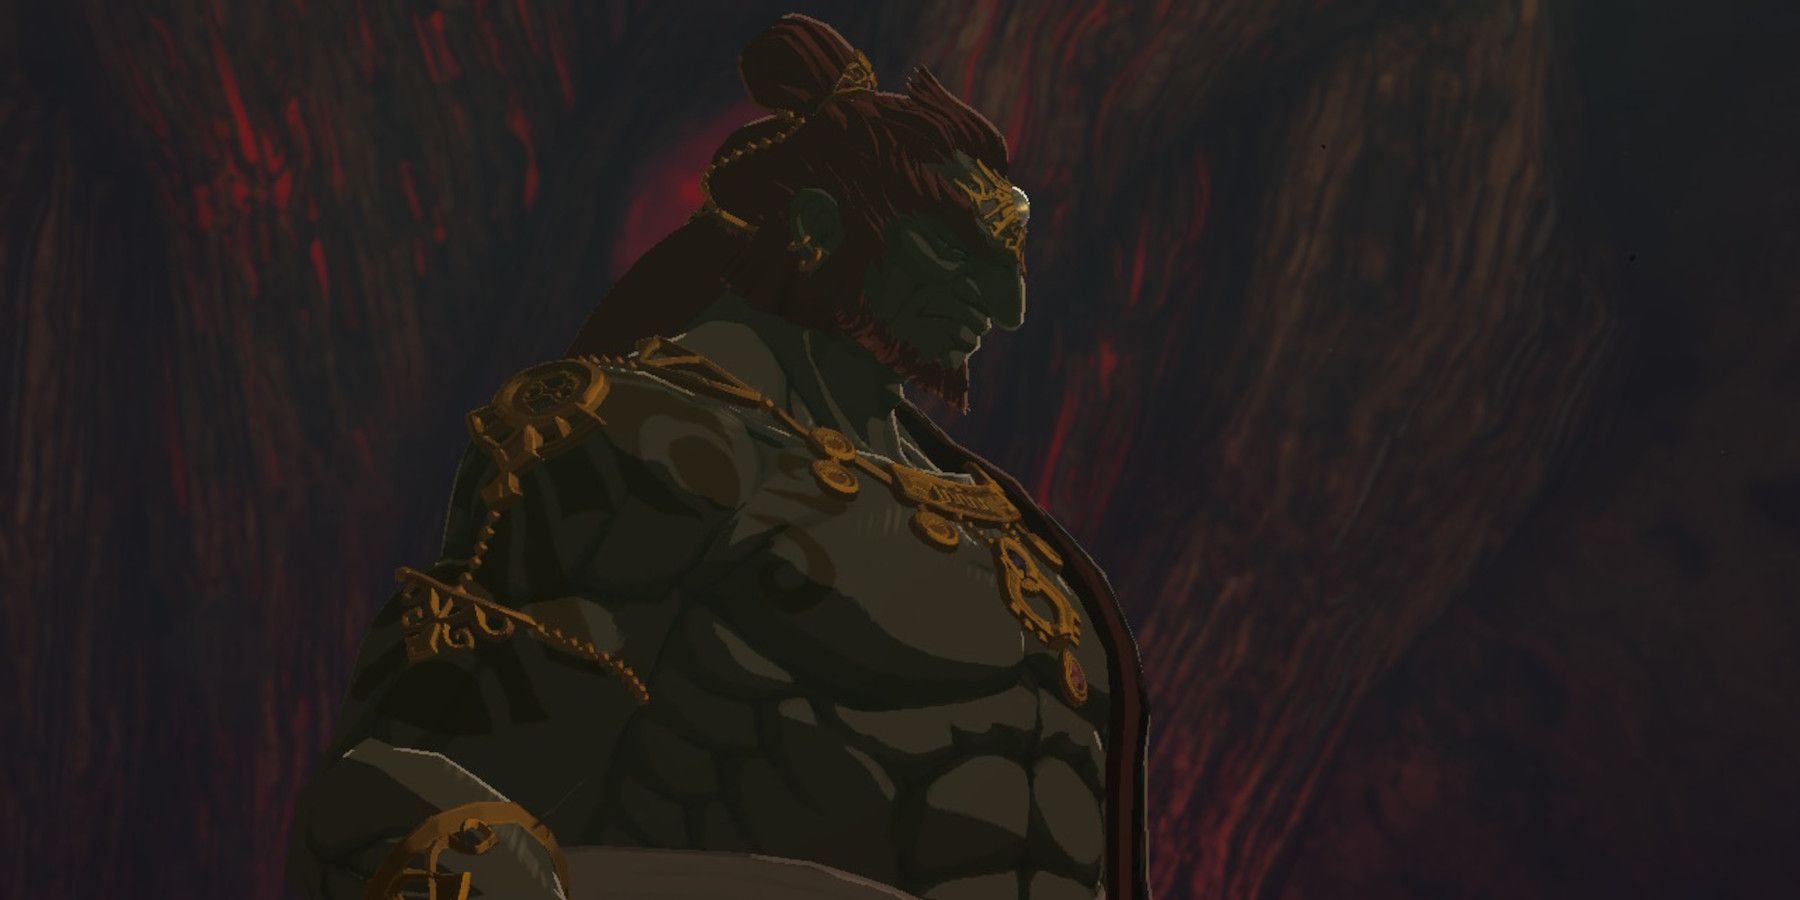
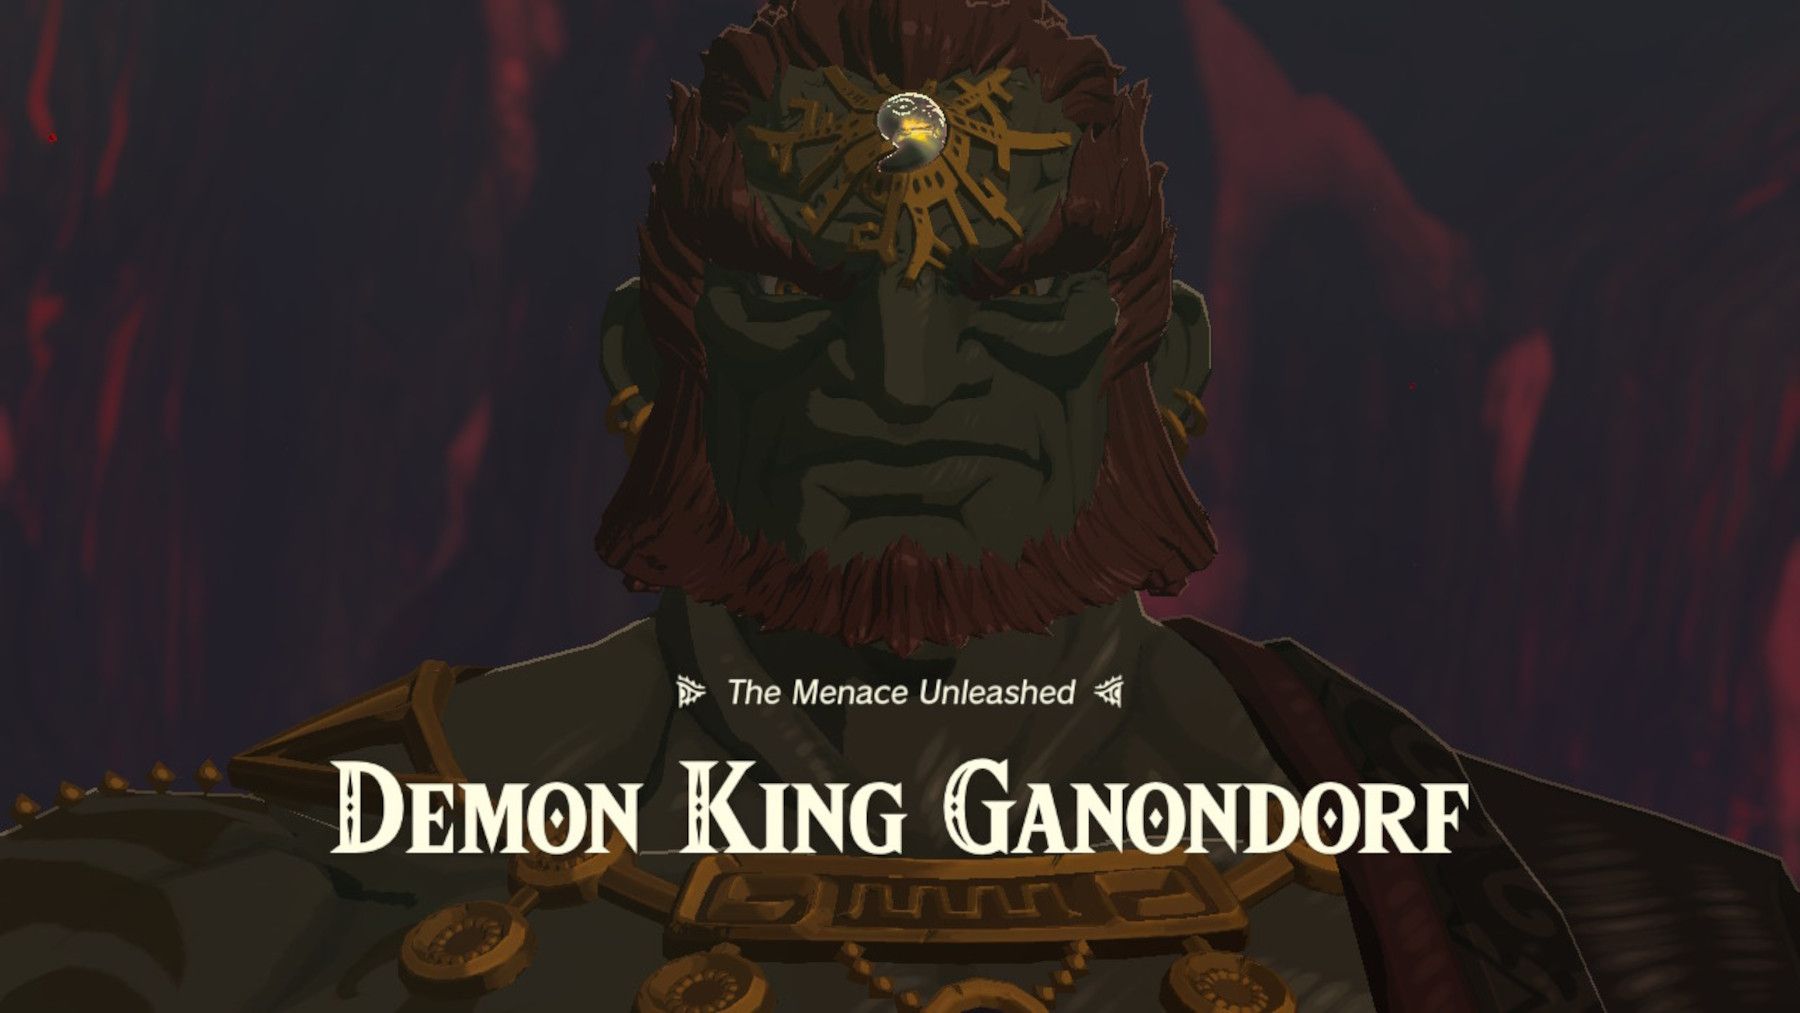
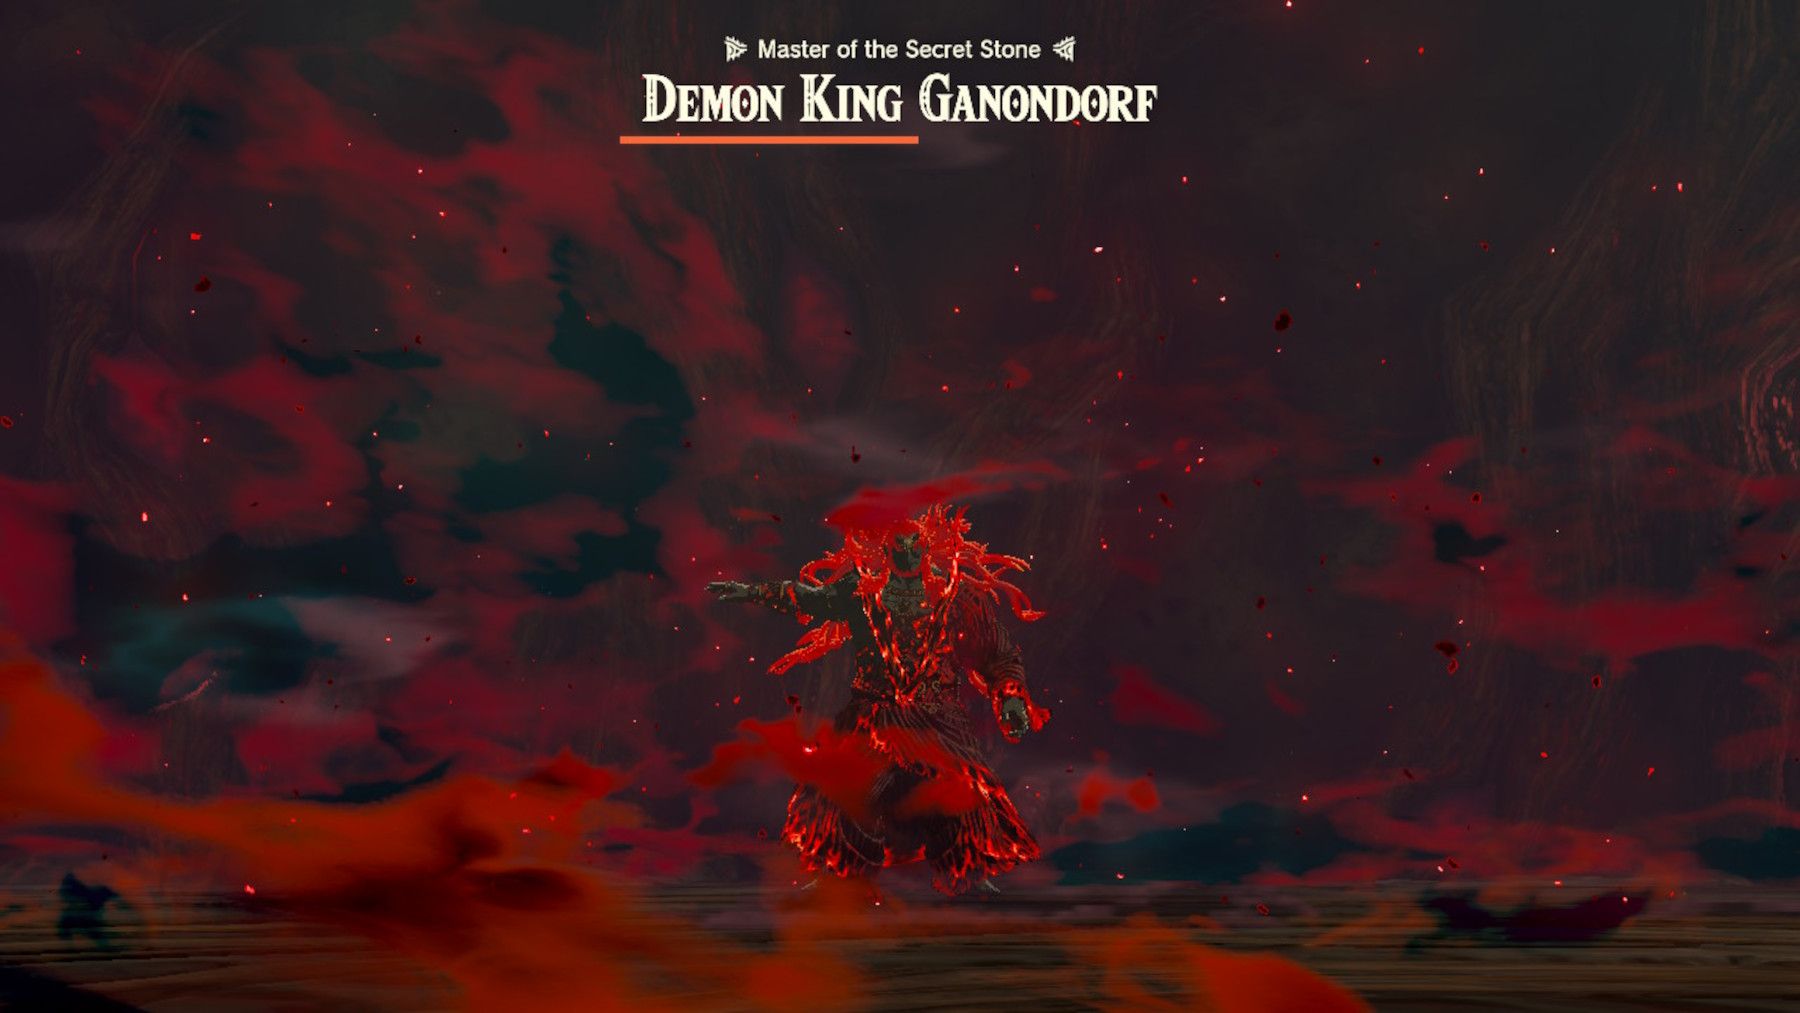
Destroy Ganondorf is a main quest in The Legend of Zelda: Tears of the Kingdom that players can initiate by speaking with Purah in Lookout Landing after obtaining the Master Sword. To complete this quest, fans must find and defeat the Demon King, and this endeavor can prove to be quite challenging. Indeed, some players may run into problems as they work through The Legend of Zelda: Tears of the Kingdom's Destroy Ganondorf main quest, and this walkthrough is here to help them overcome those obstacles.
To note, players are advised to make some preparations before setting out on the Destroy Ganondorf quest. Here is a list detailing those preparations, and it is definitely worth putting some effort toward pursuing them:
- Gloom Healing Foods: The most important thing to have on hand for Destroy Ganondorf is food that is capable of healing Gloom hearts. For the uninitiated, these dishes are created by cooking Sundelions with meats, fruits, or herbs, and players should be prepared to consume them in large quantities during the quest.
- Shields: Players should make sure to have a full inventory of Shields in TotK, as they are likely to break several of them during the fight with Ganondorf.
- Gloom Resistance: Having some Gloom Resistance, either from Gloom Resistance foods or TotK's Depths Armor Set, can make certain sections of the quest easier. That said, players can combat Gloom with only the aforementioned Gloom healing foods, and Gloom Resistance can be considered optional.
Find Demon King Ganondorf
The first step toward completing the Destroy Ganondorf main quest is to find the Demon King, and he is located within the chasm underneath Hyrule Castle. While the path to Ganondorf is quite linear, here is a route that players can use if they get lost:
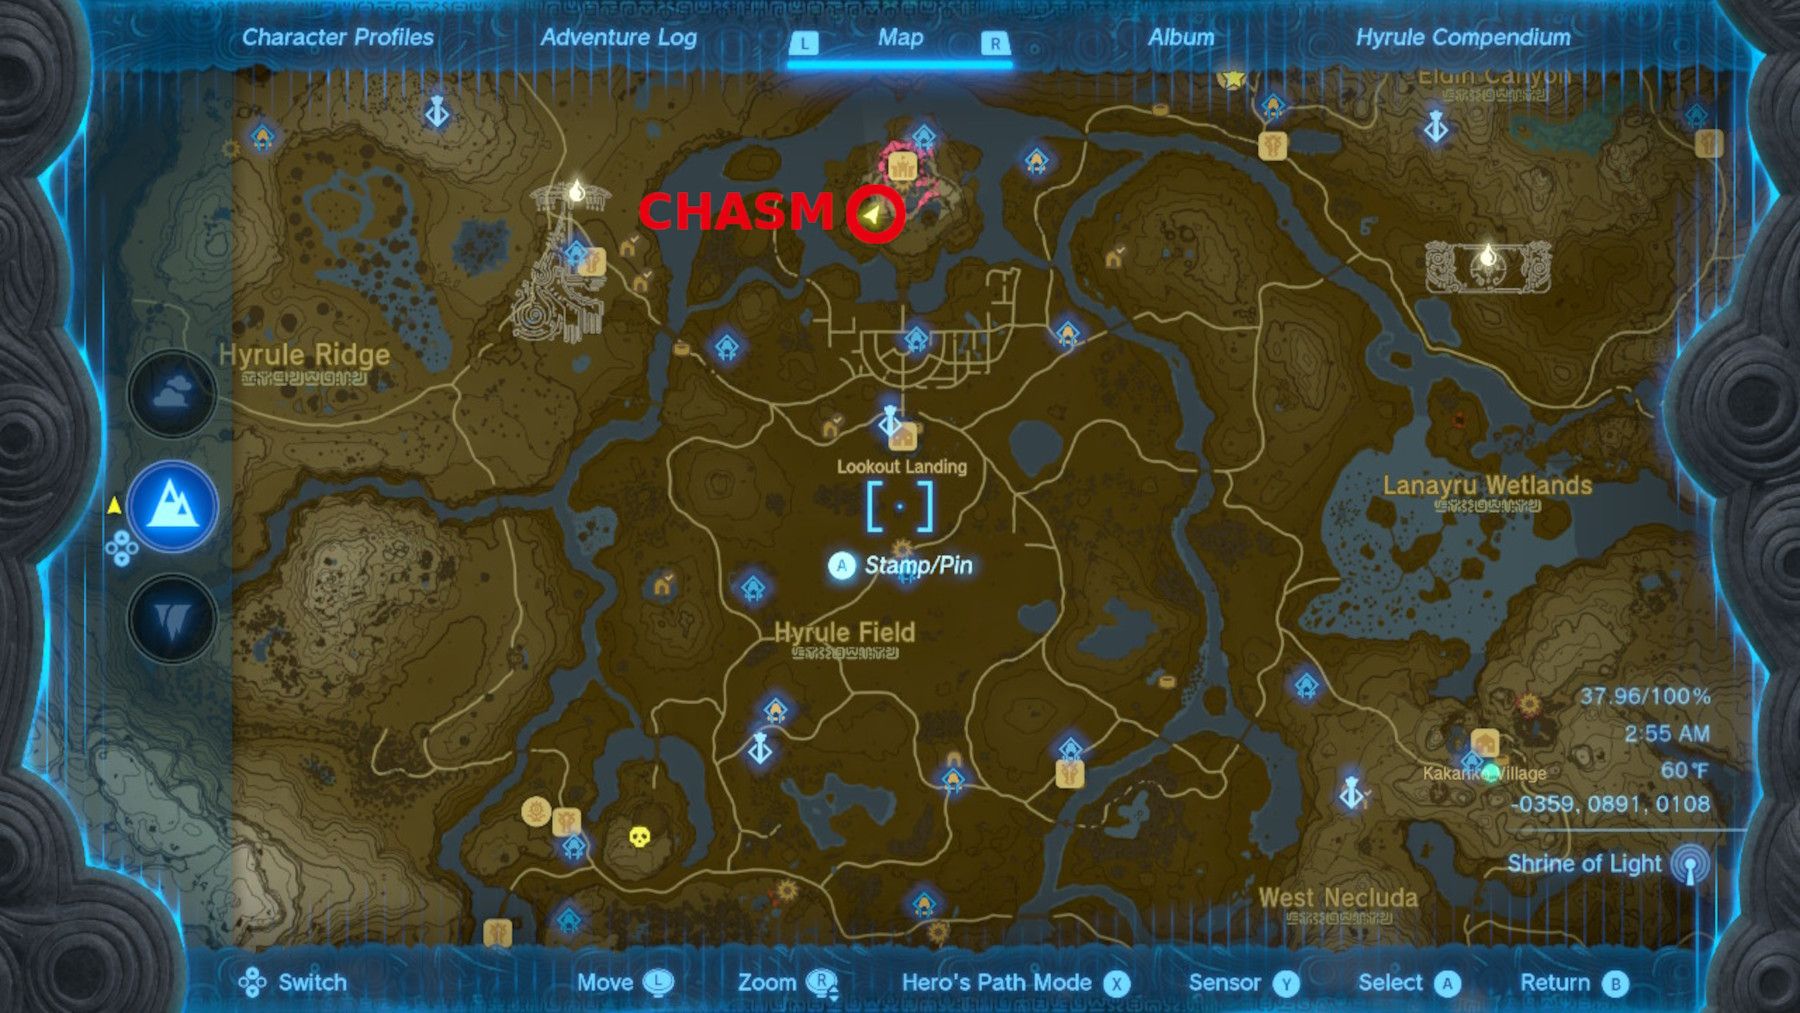
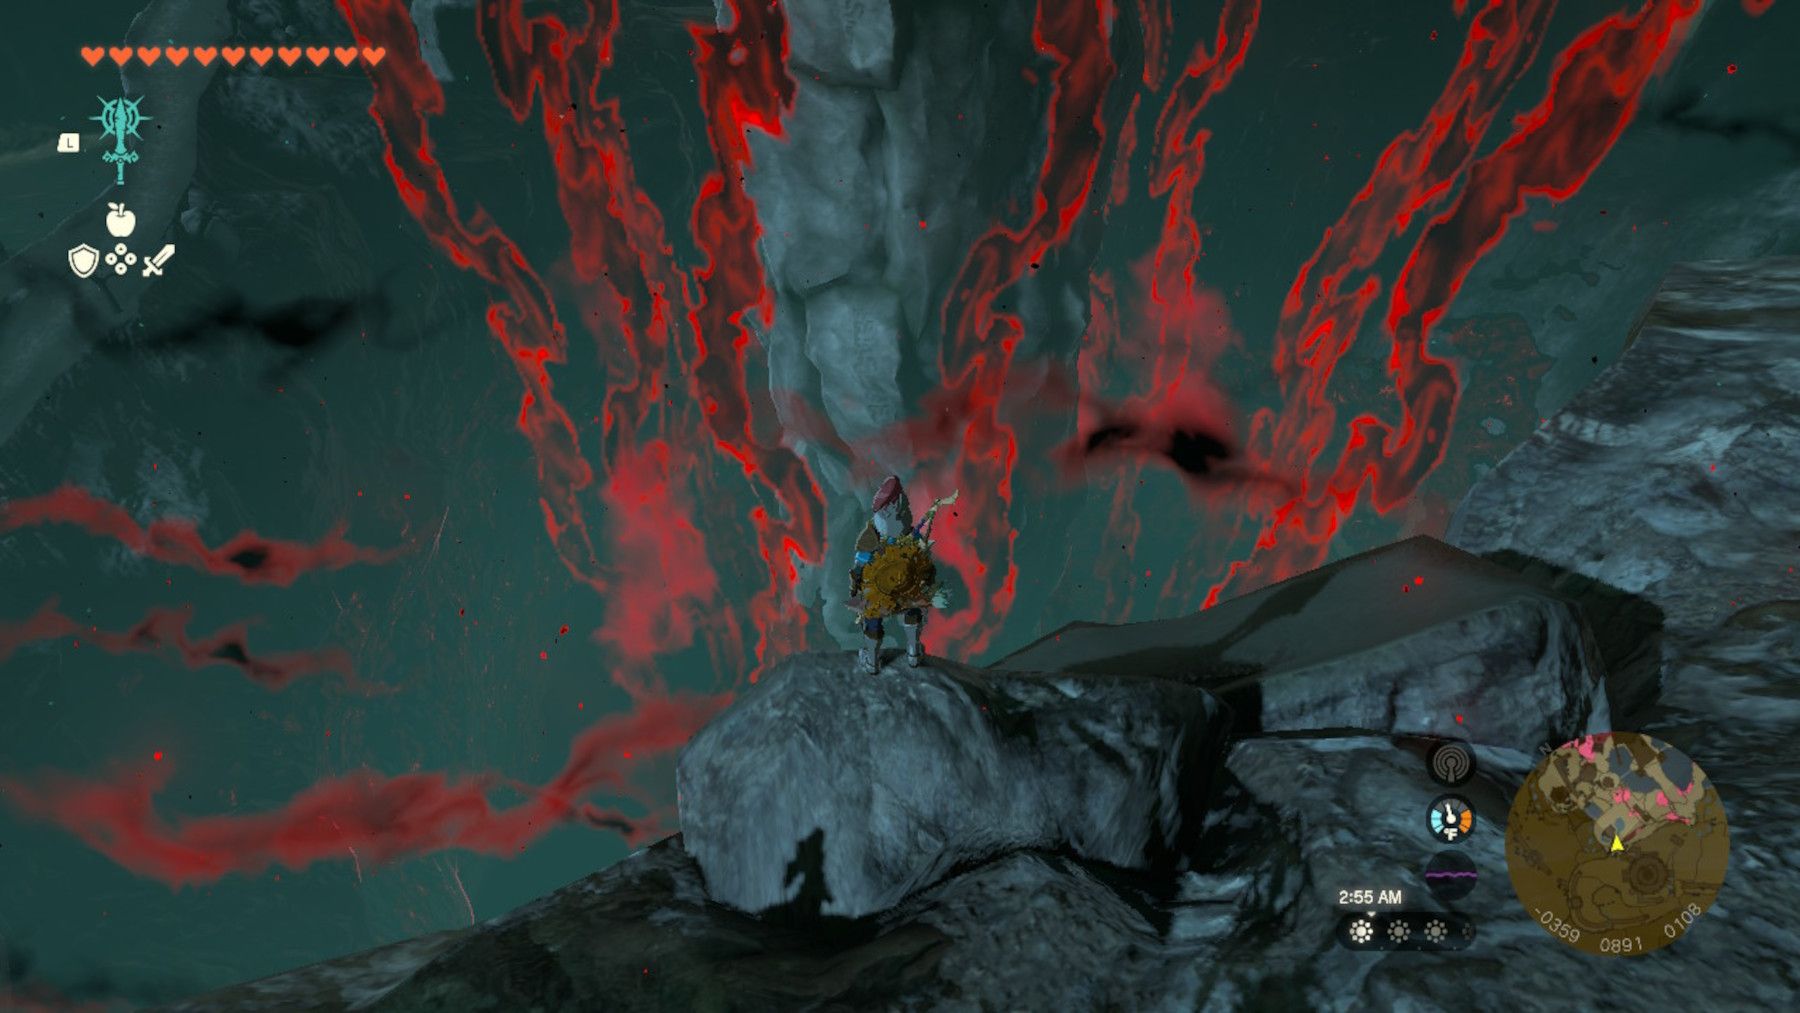
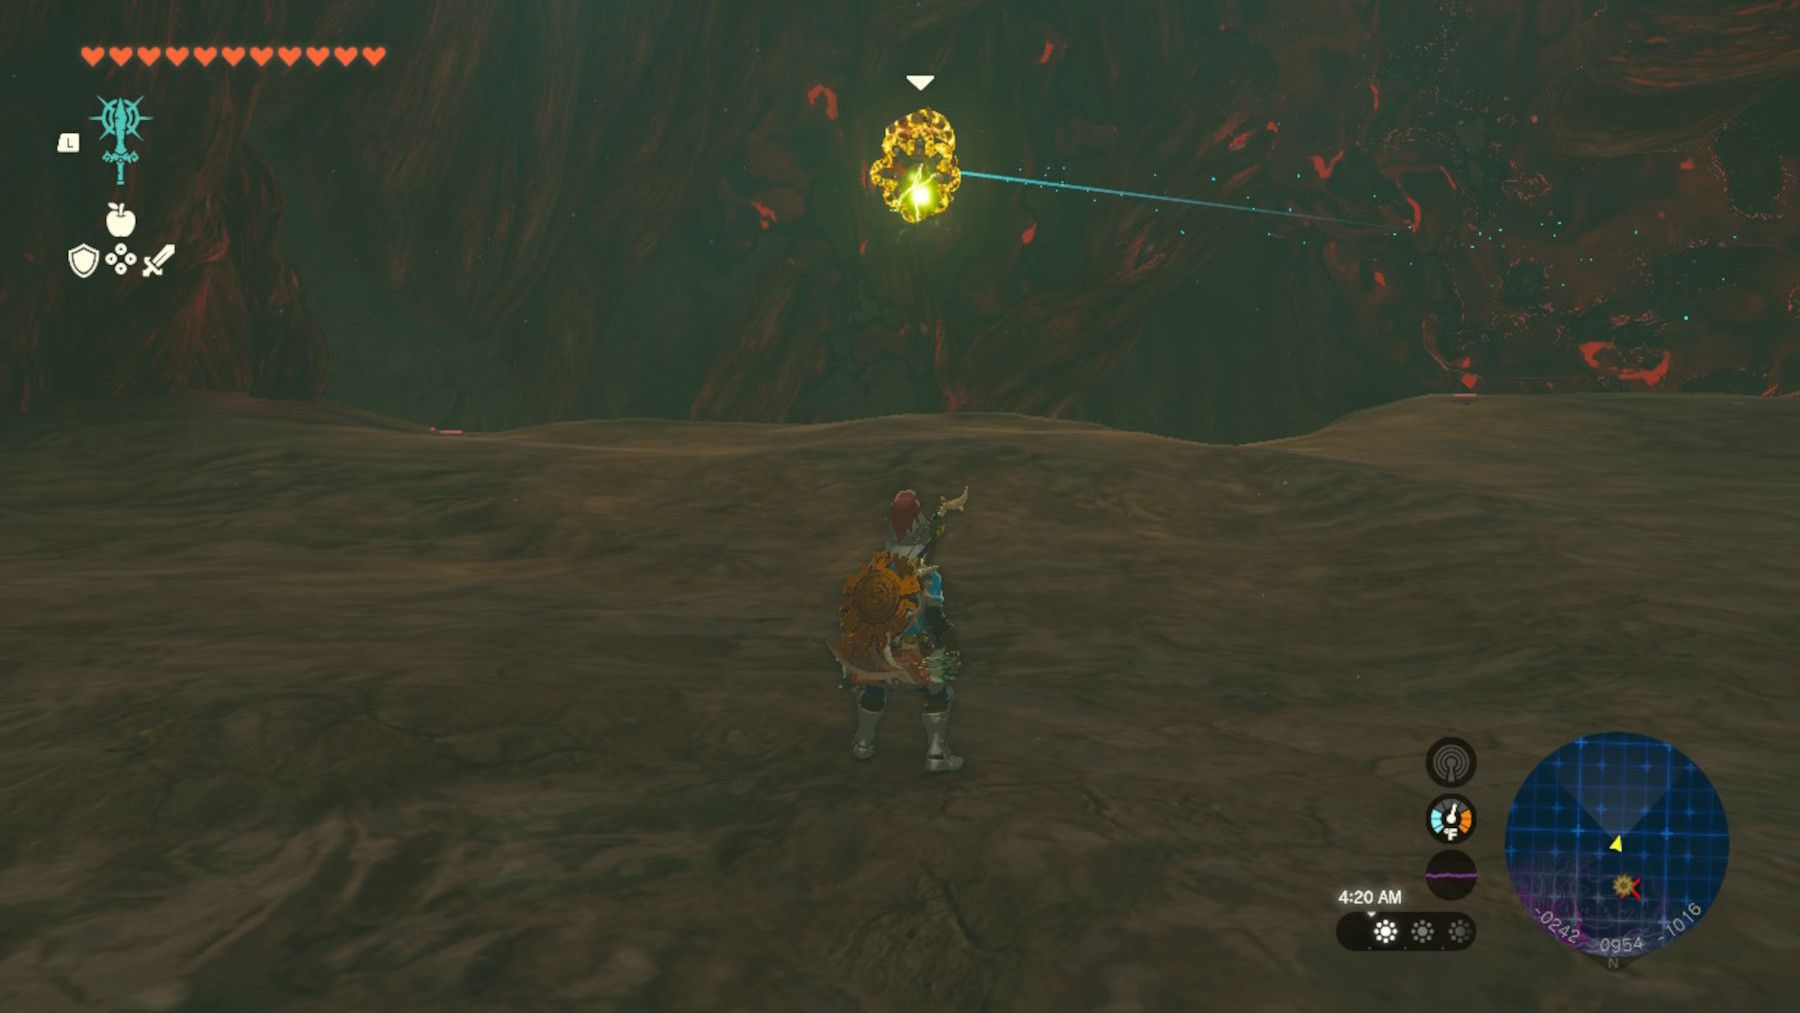
- Glide into the Hyrule Castle Chasm underneath Hyrule Castle.
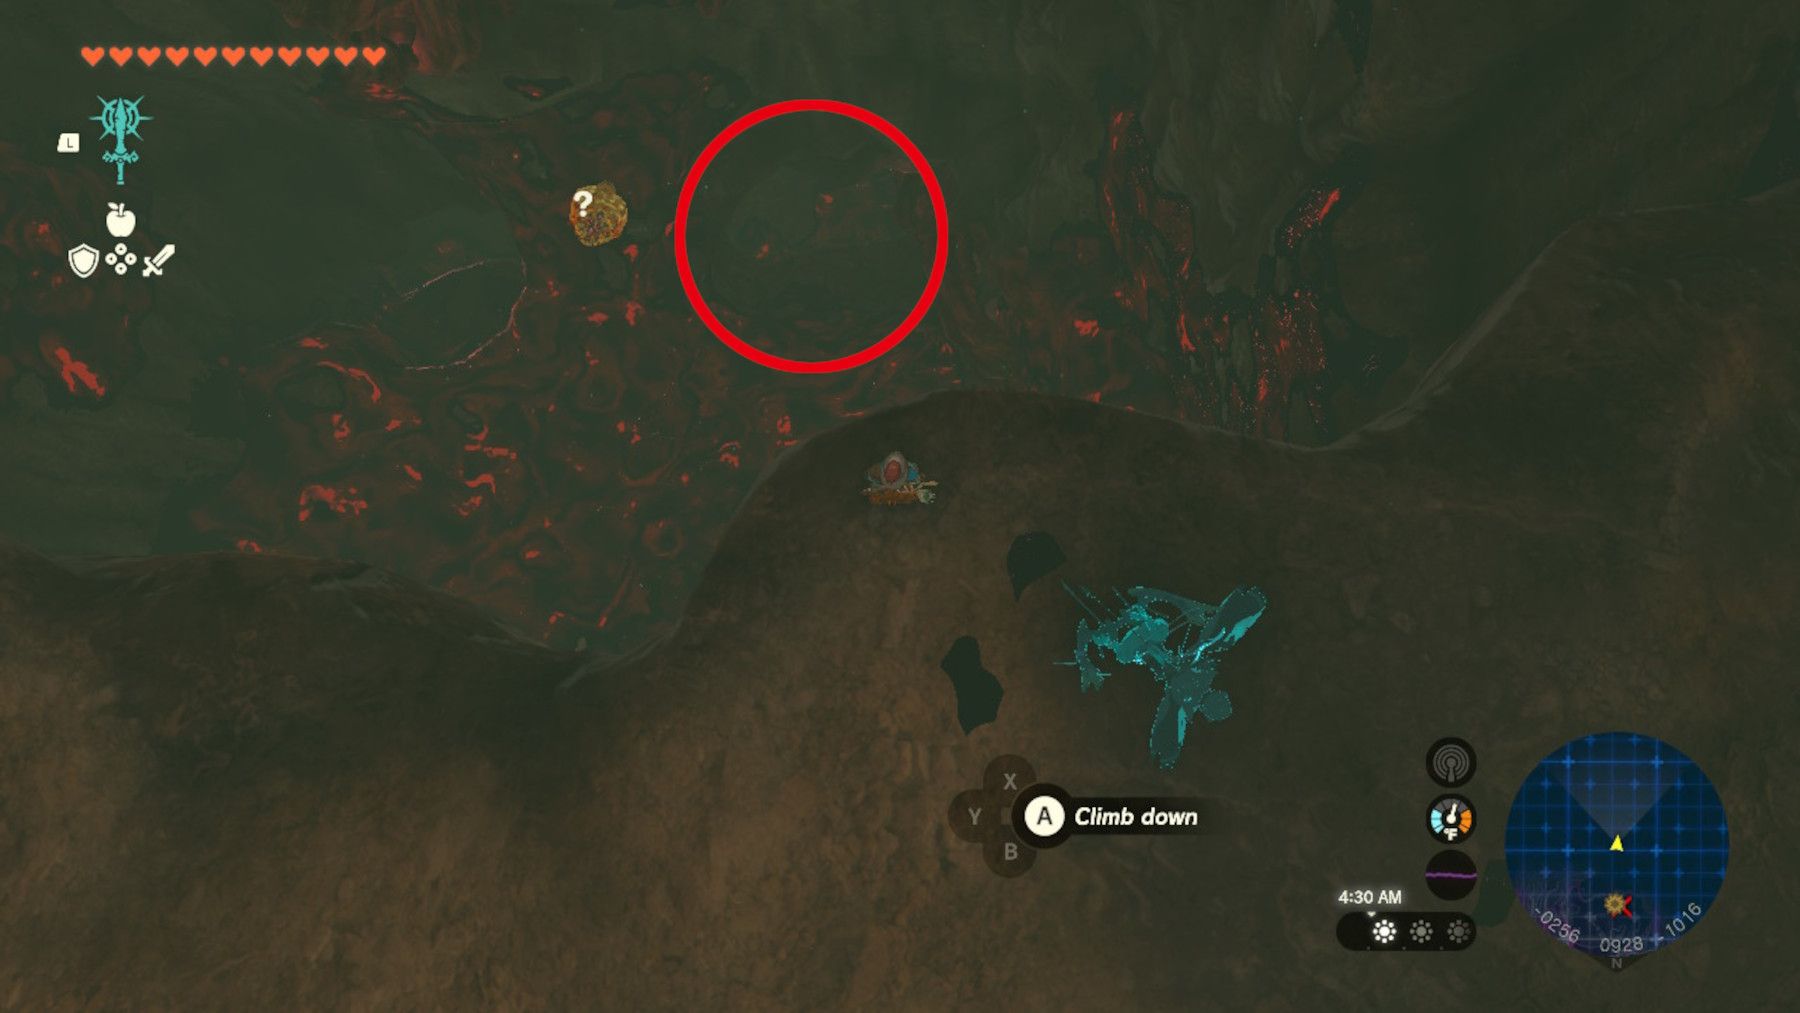
- Glide down from the ledge near -0259, 0927, -1016, ignoring the Shock Like on the walls.
- Pass through the opening at -0249, 0898, -1084.
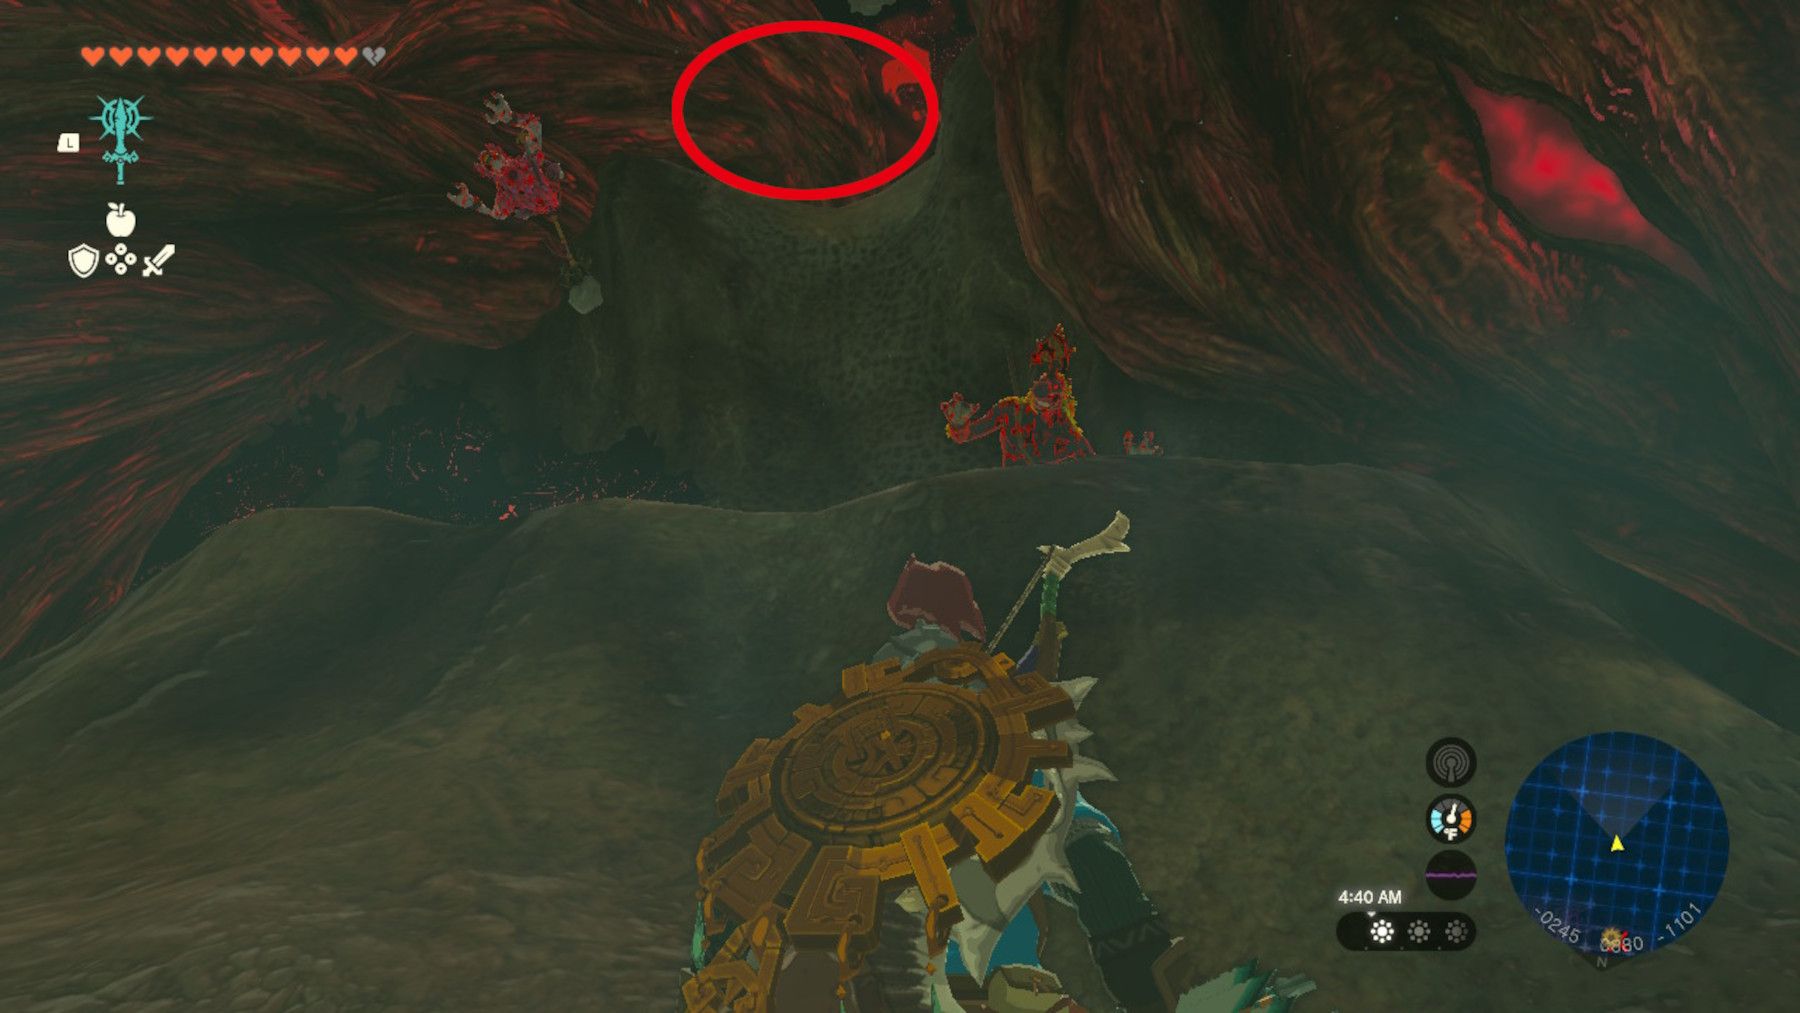
- Climb the wall to reach an opening at -0240, 0863, -1069, ignoring the Horriblins.
- Pass by the Electric Keese and descend into the arena with the Lynel.
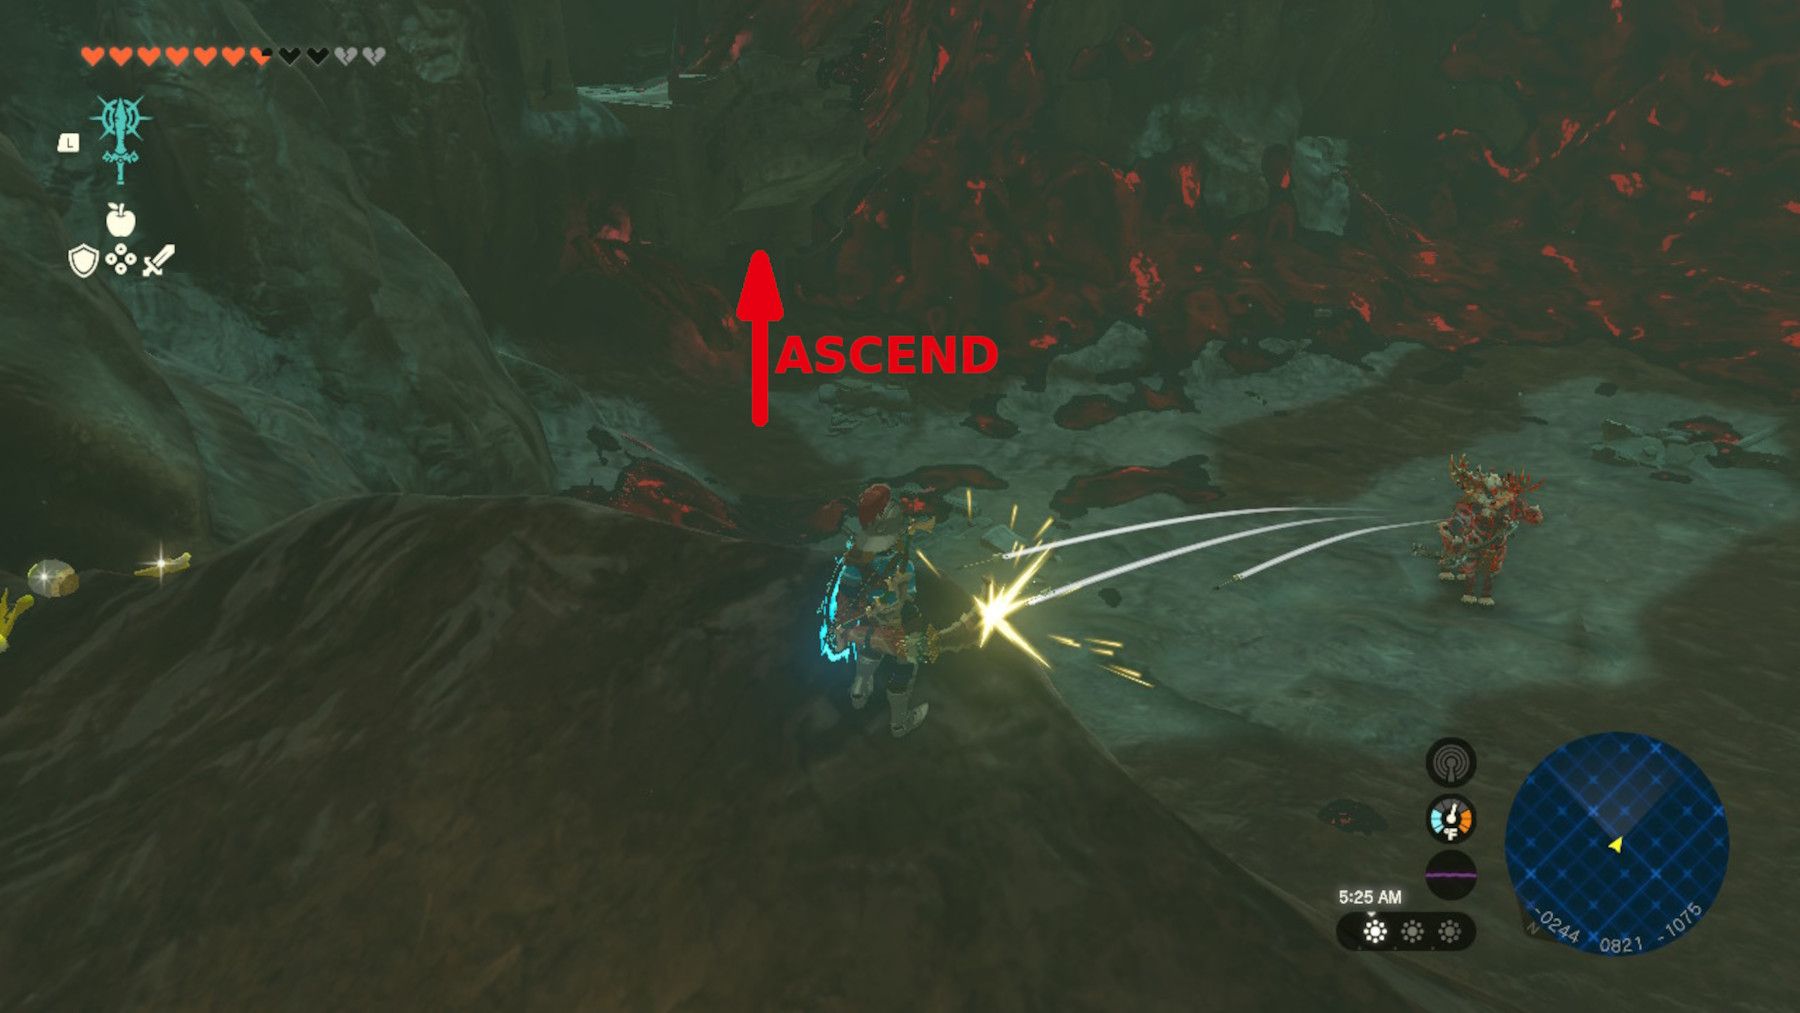
- Go to -0208, 0795, -1089 and use Ascend to reach a new path.
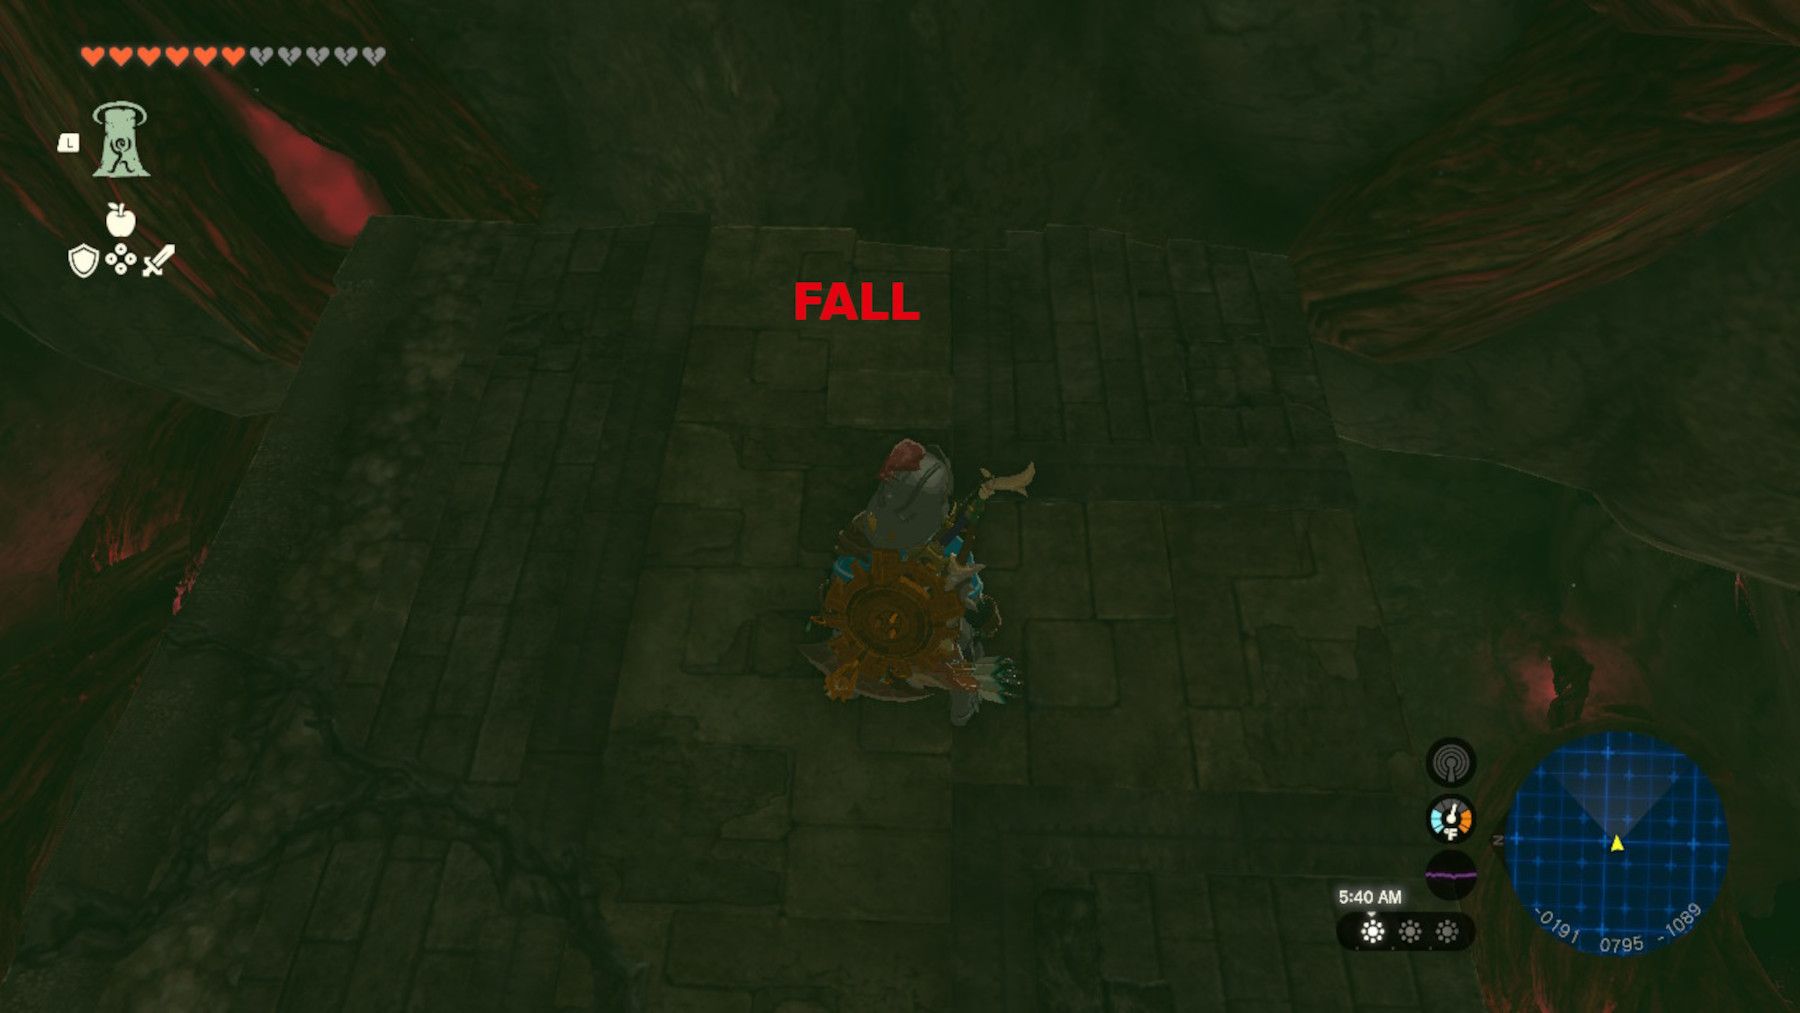
- Follow the path and ride the falling block at -0191, 0795, -1075.
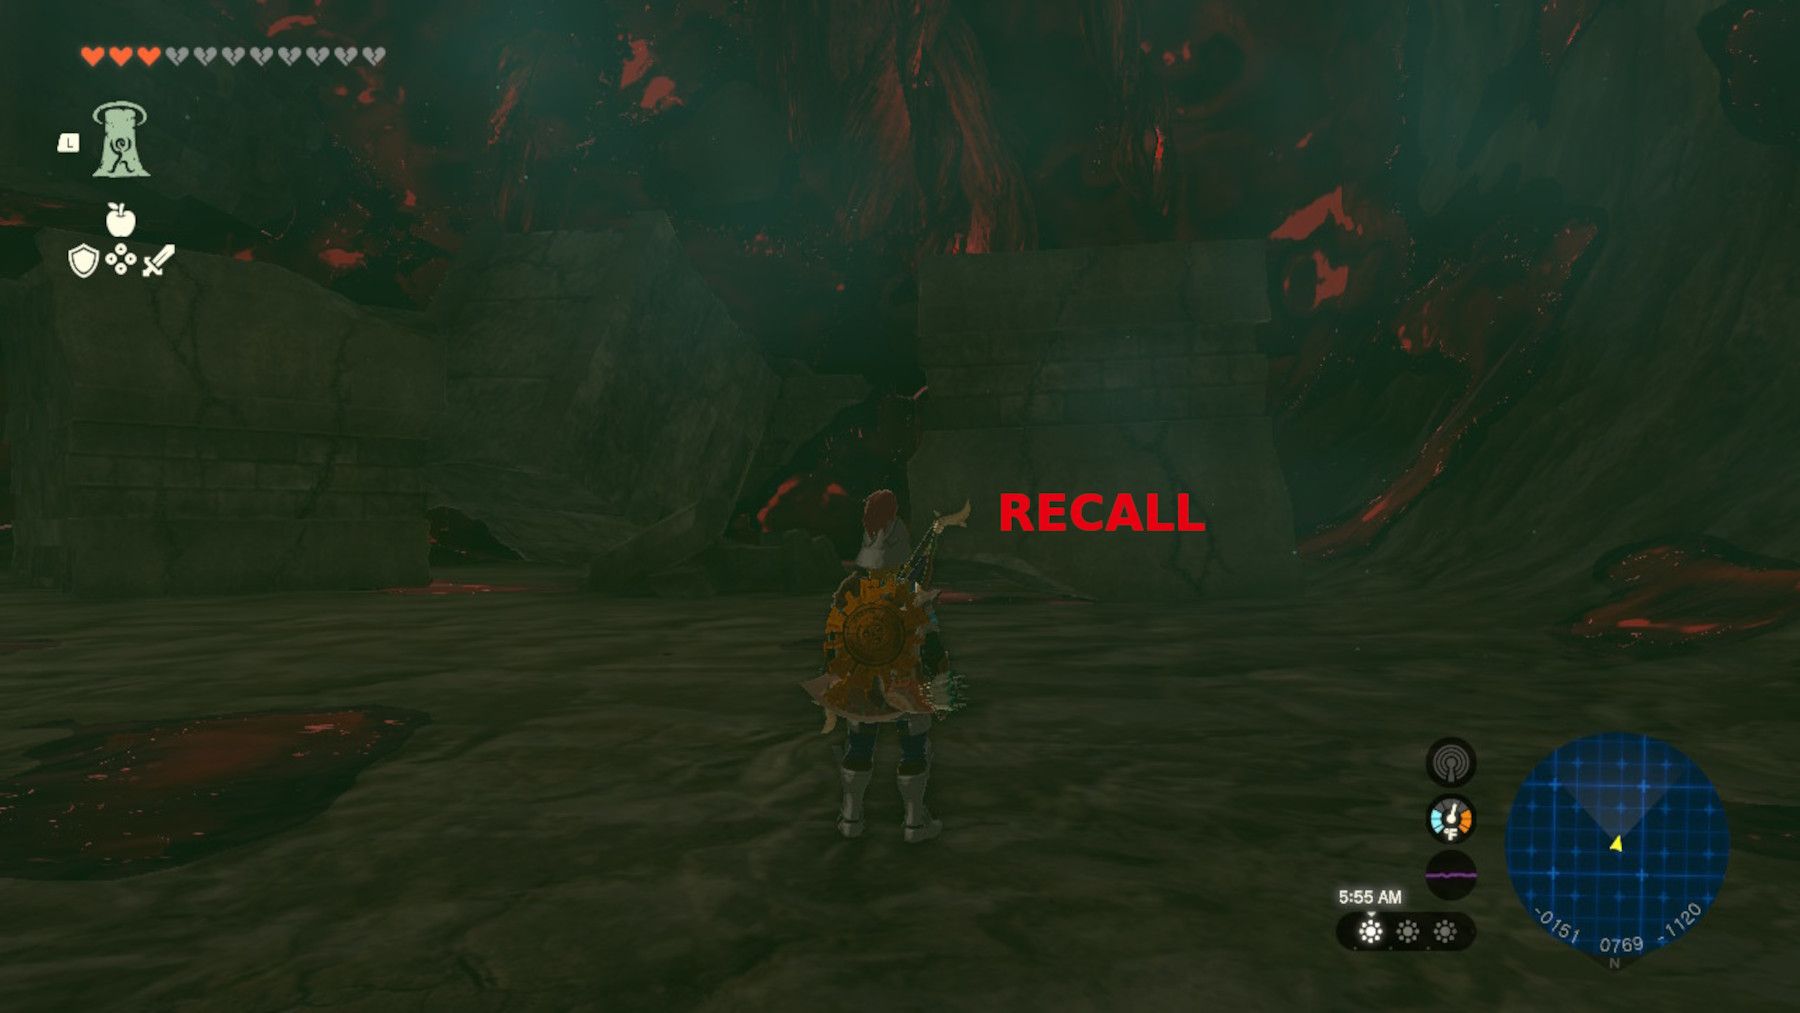
- Follow the path to a falling block at -0156, 0756, -1119.
- Stand on the block and use Recall to rise to the path that is above.
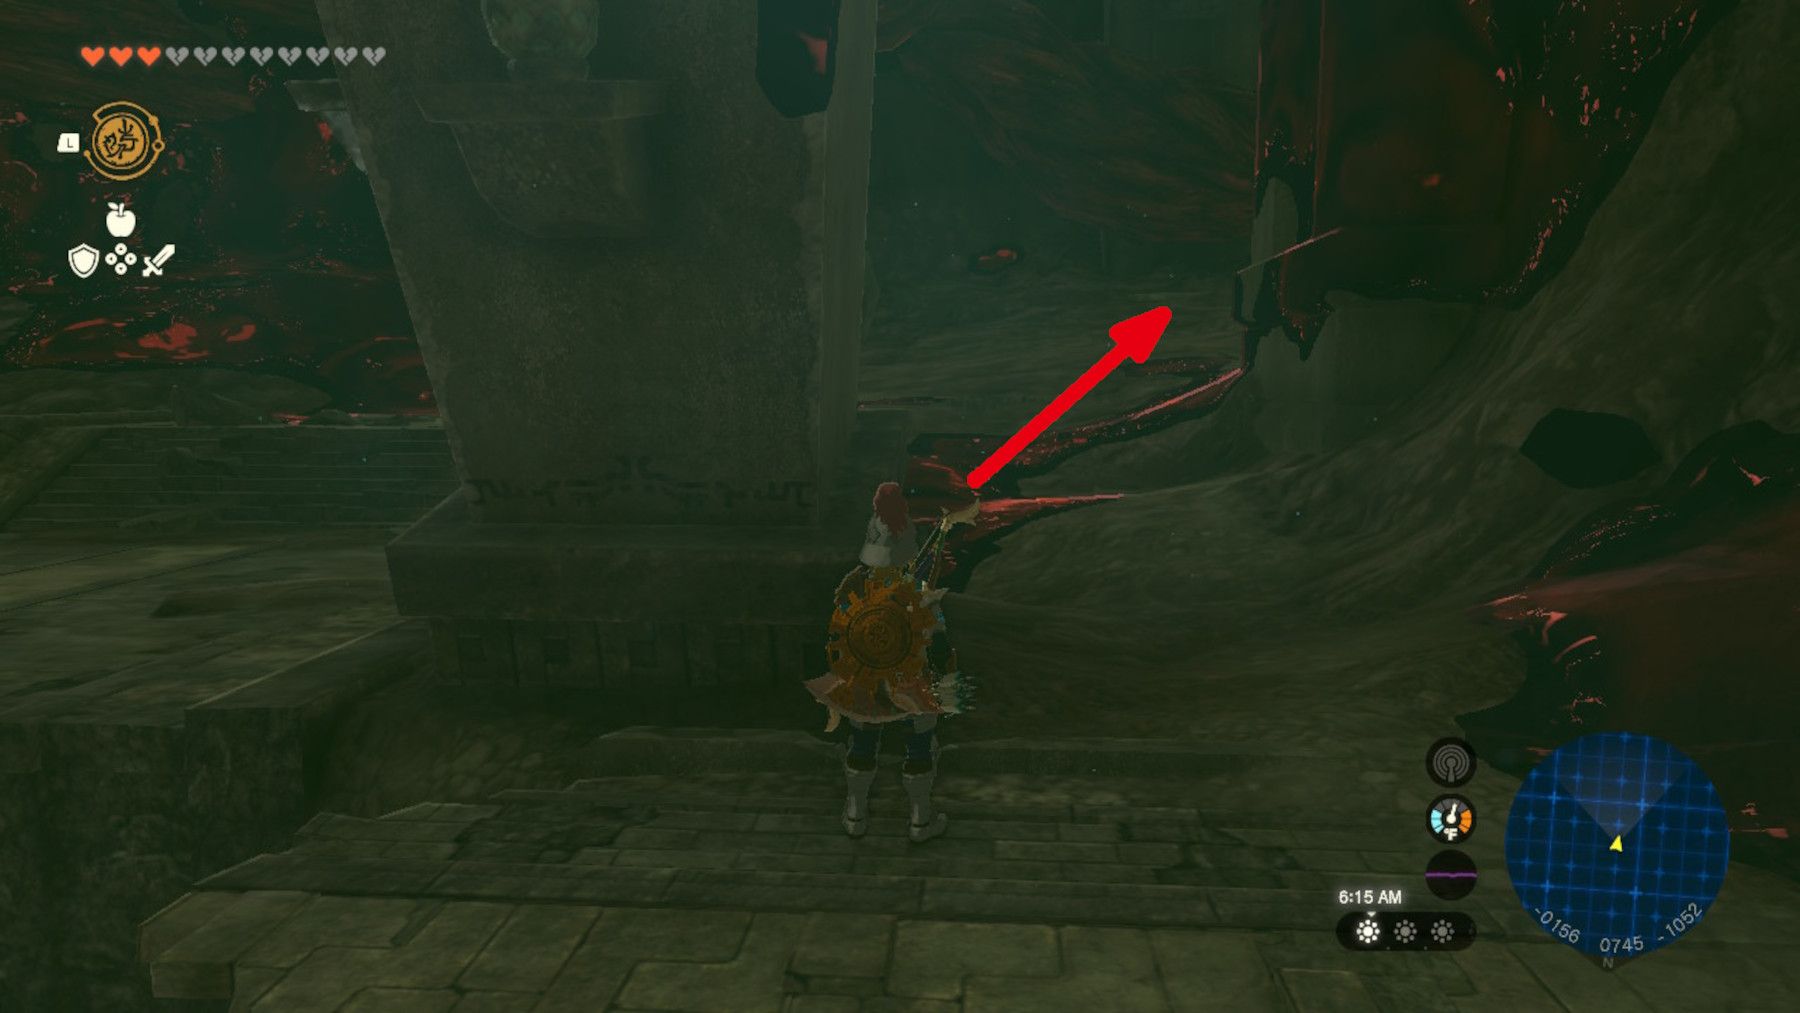
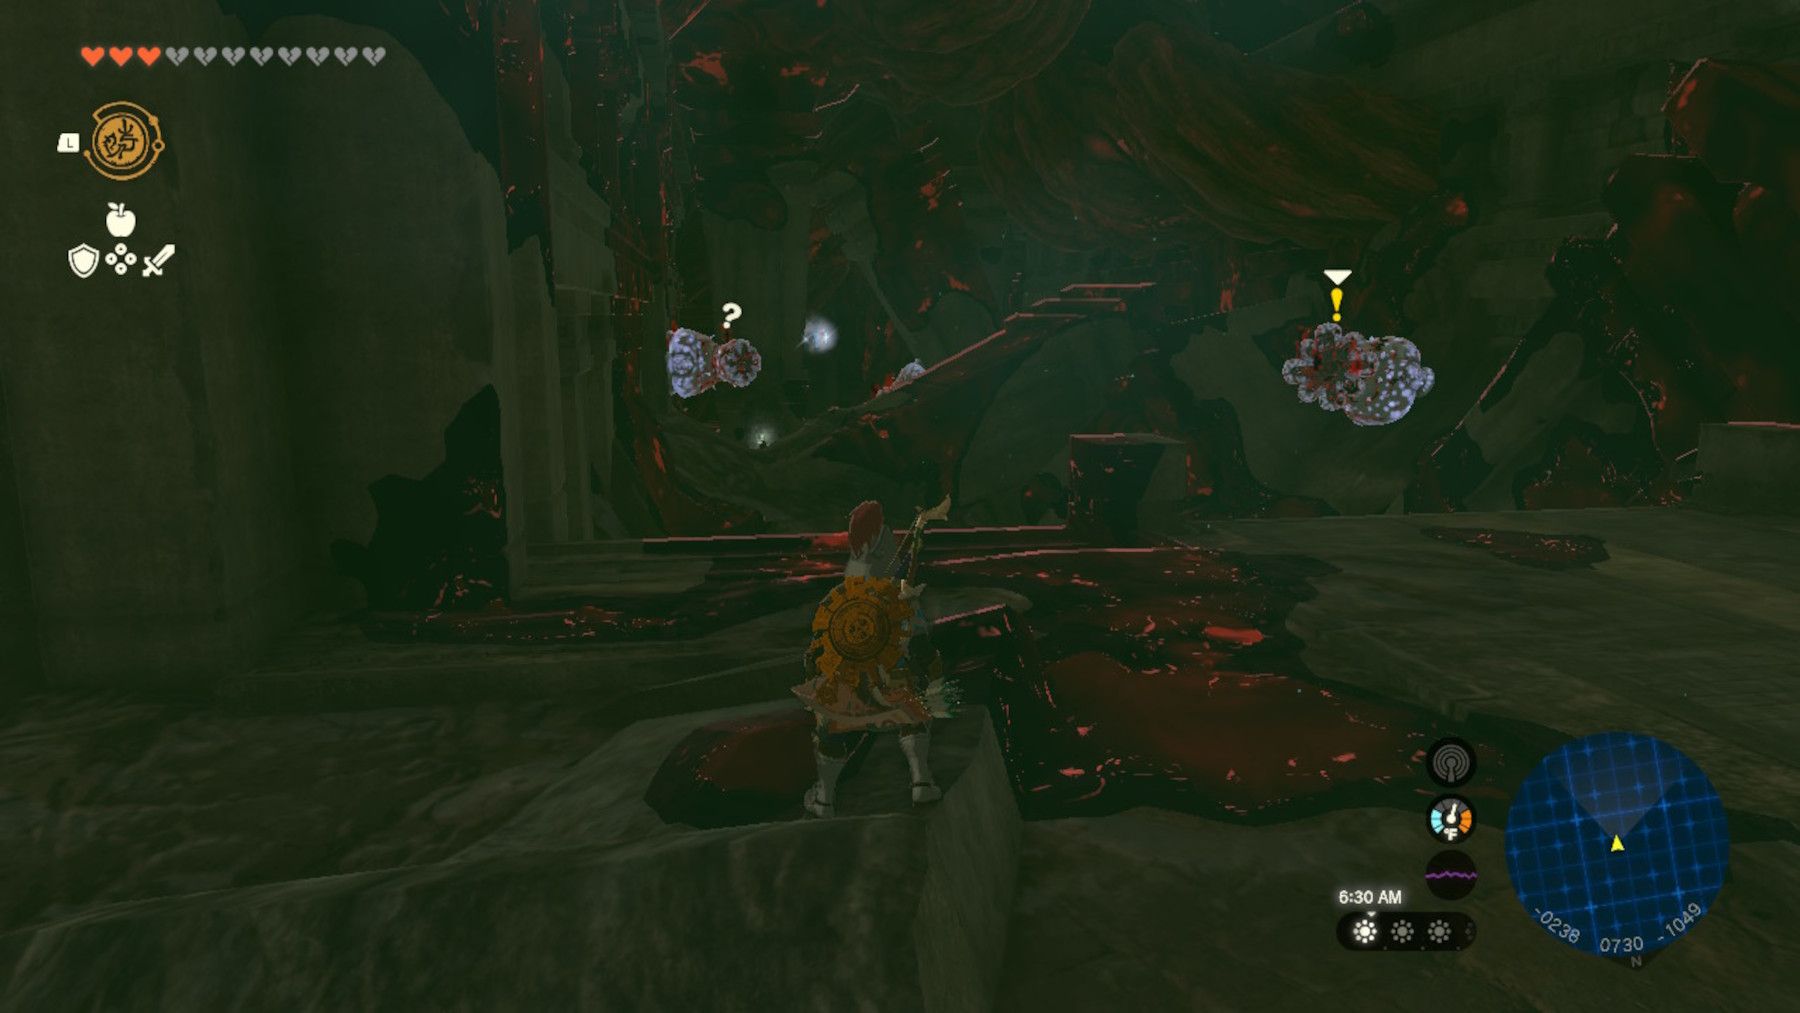
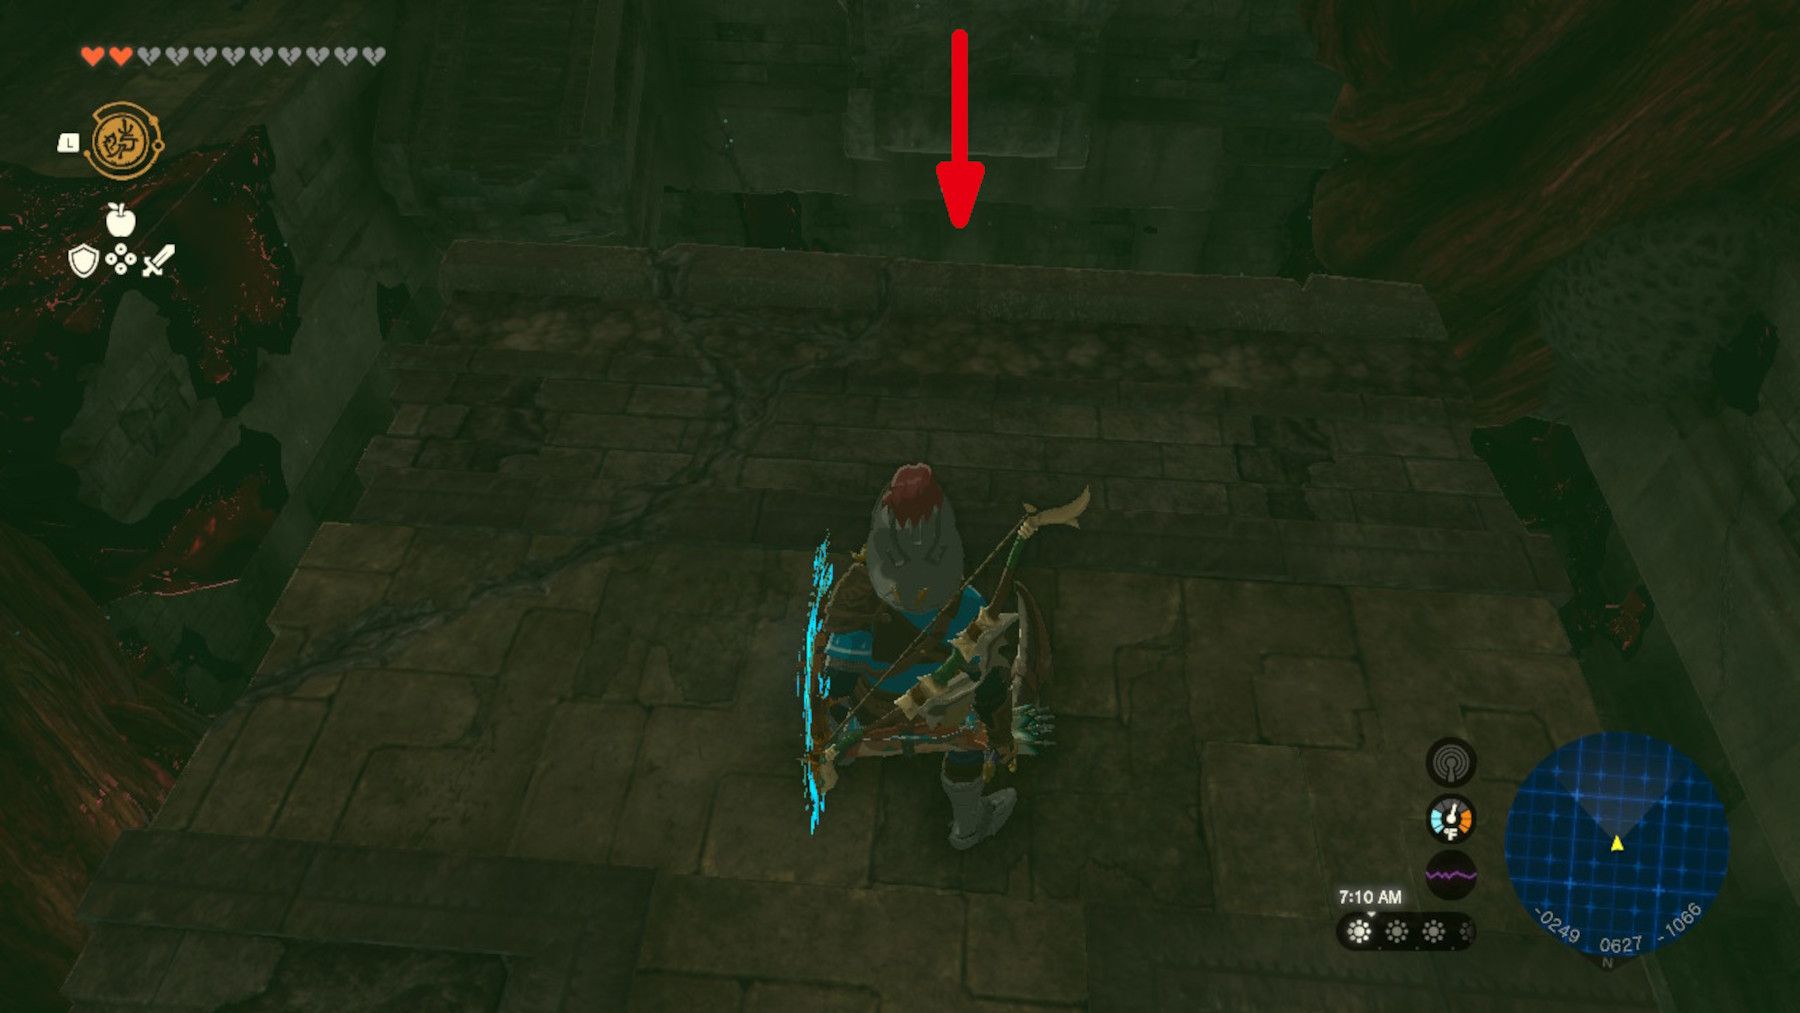
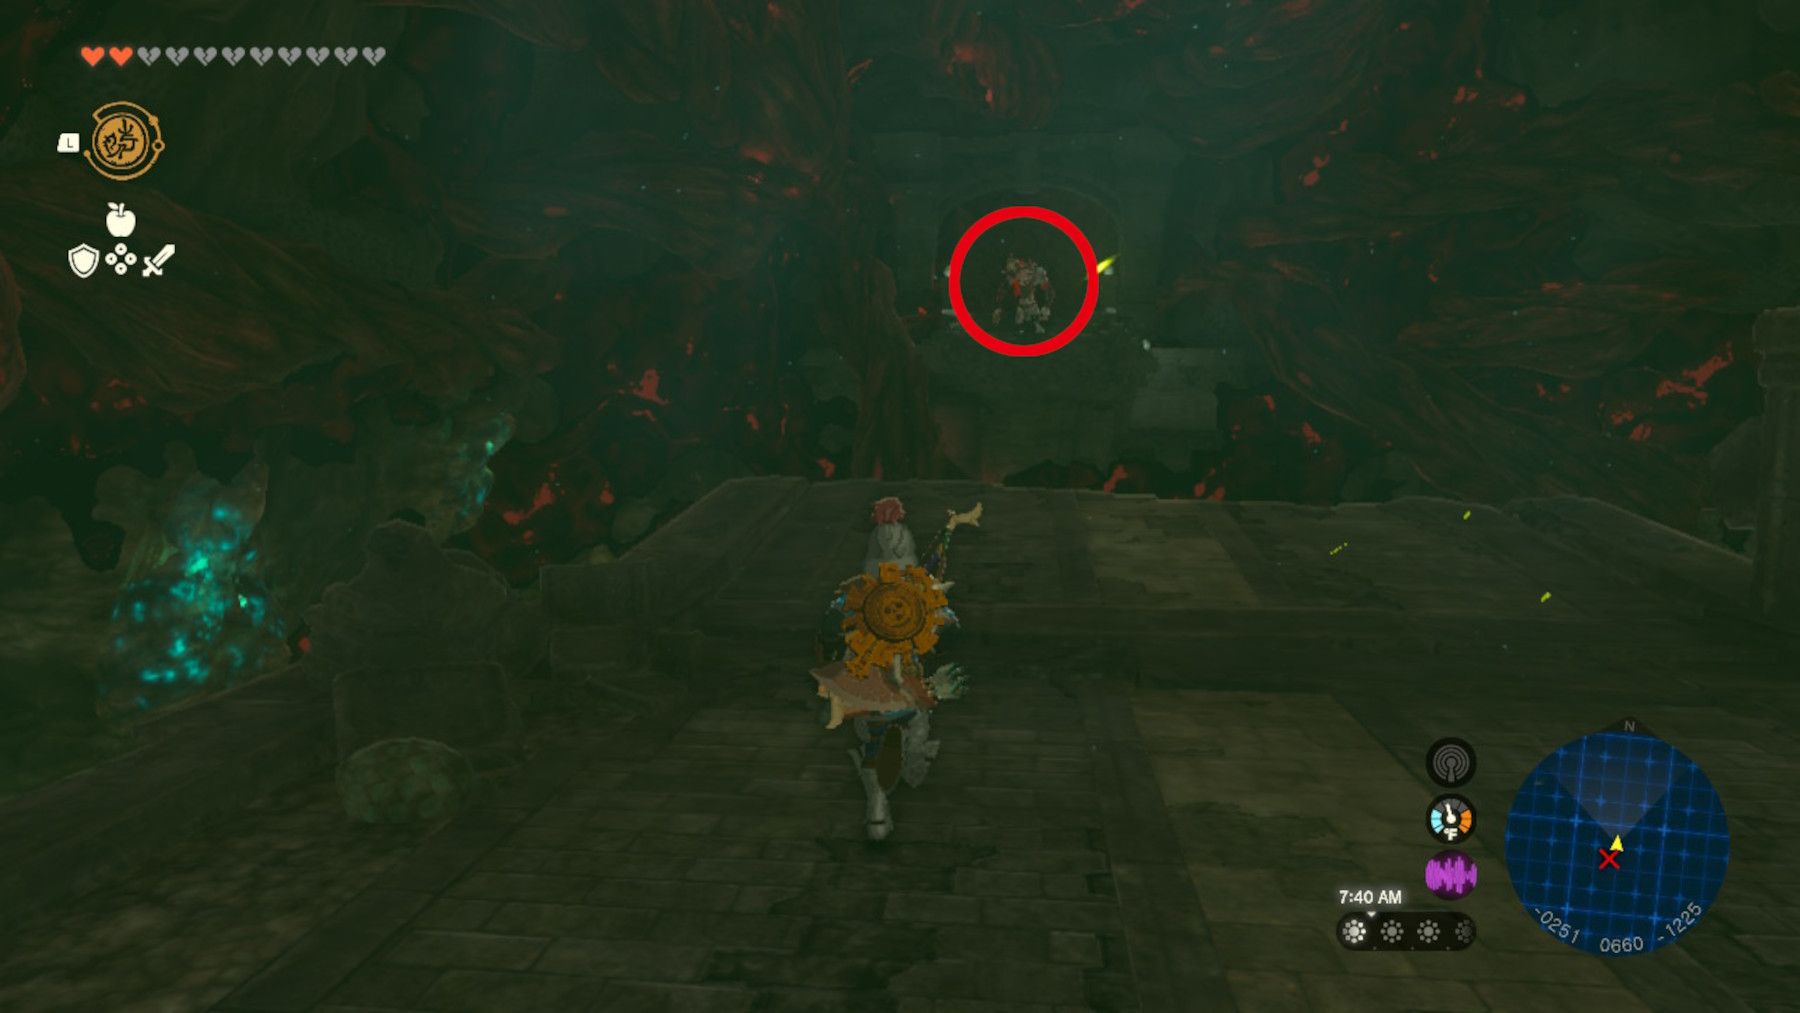
- Follow the path, passing by Ice Like and Ice Keese, to reach a falling block at -0250, 0626, -1058.
- Glide to the bottom of the room (-0249, 0608, -1215).
- Go north, pass through the arena with the Gloom Hands, and climb to the elevated platform with the Moblin.
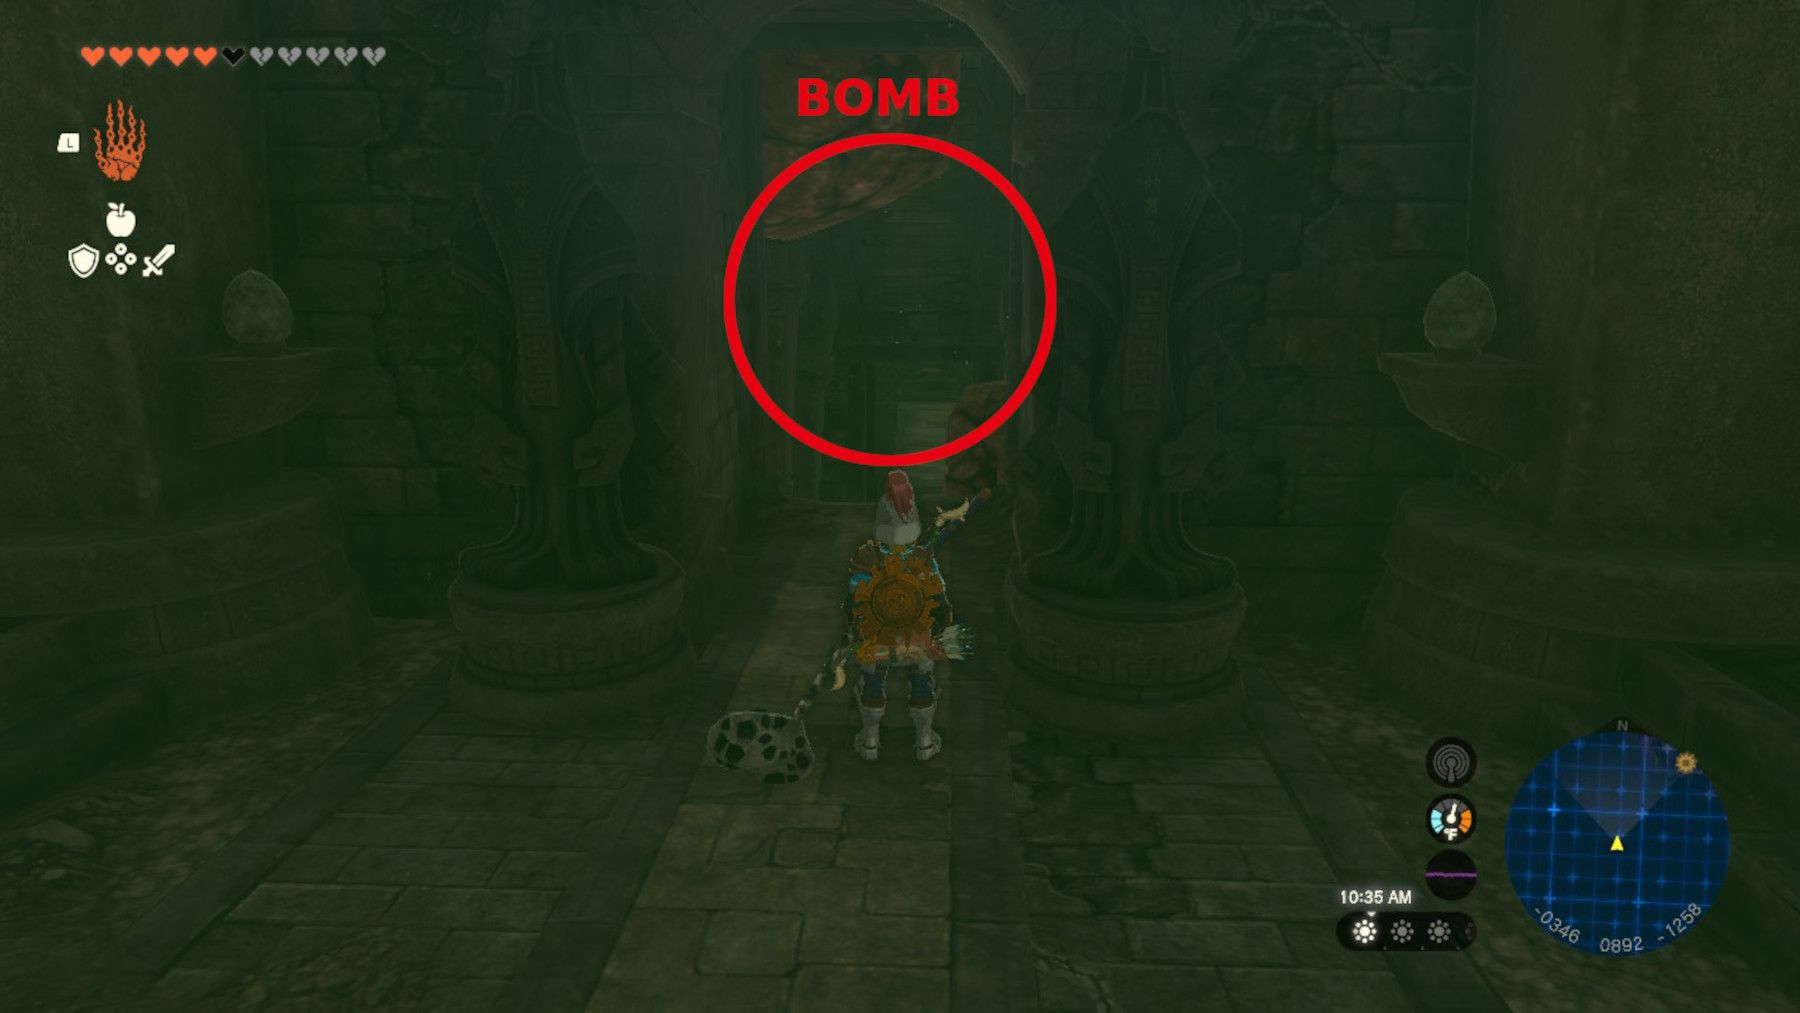
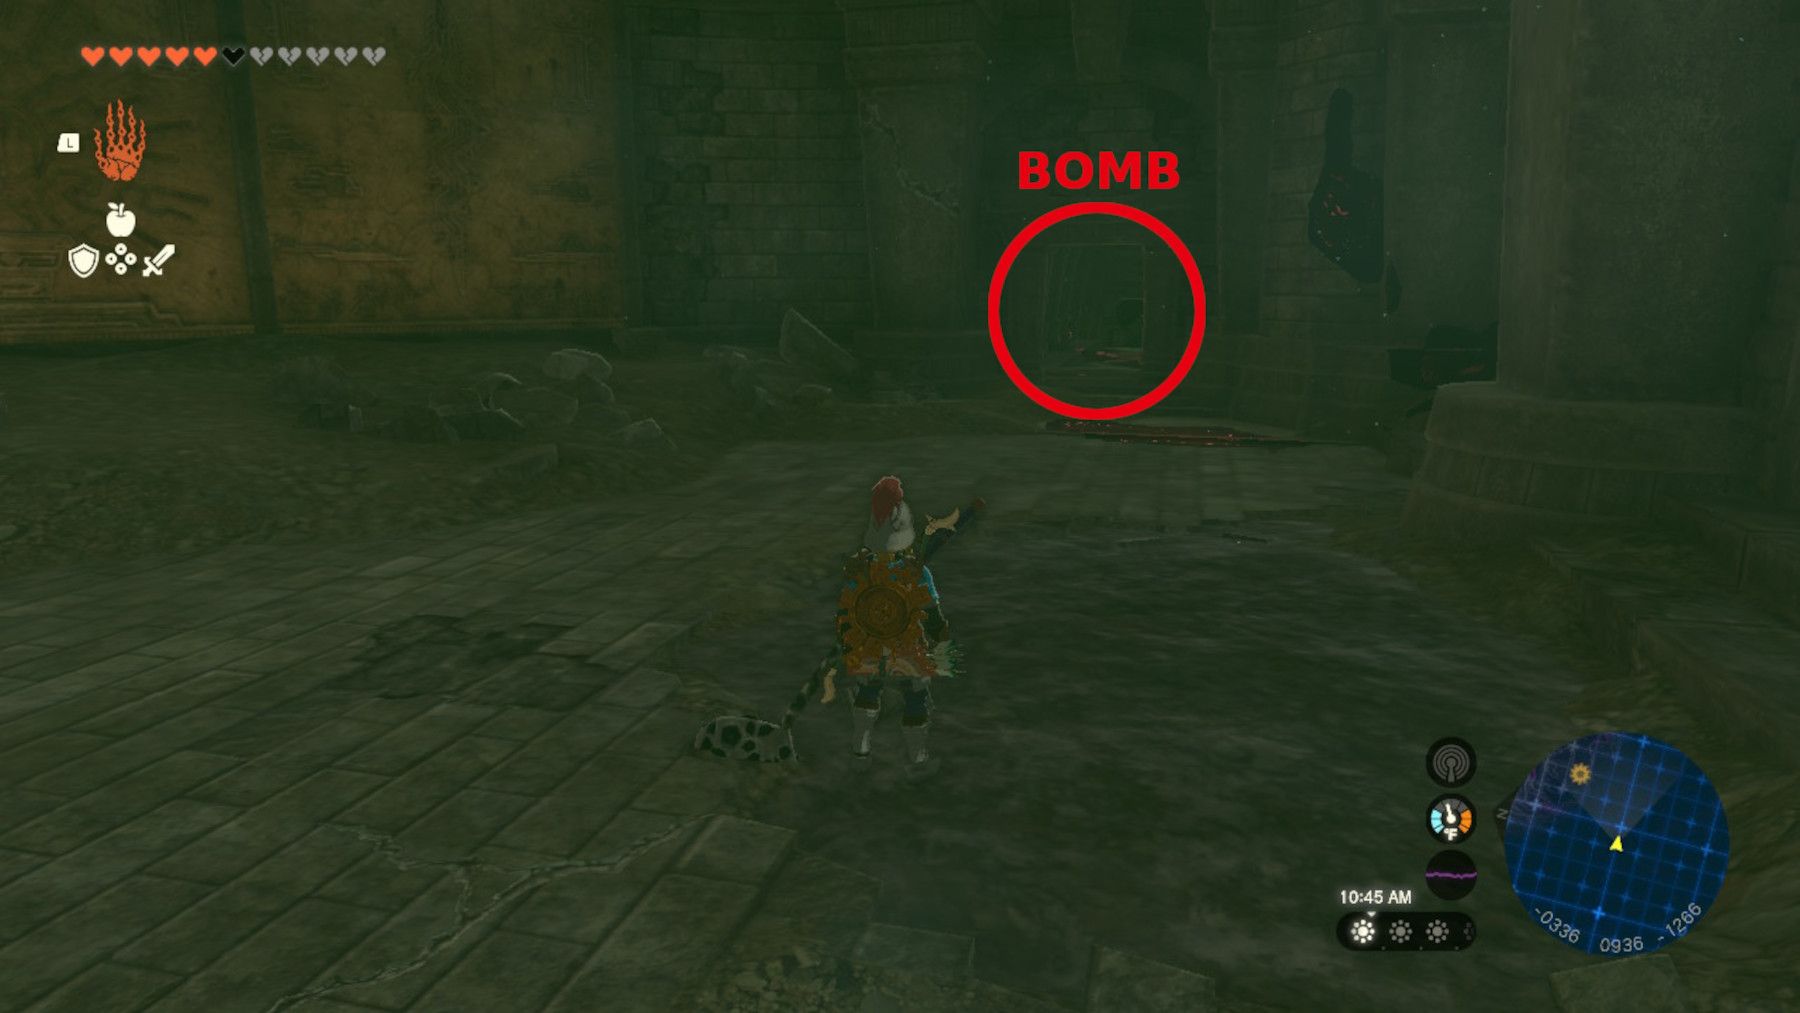
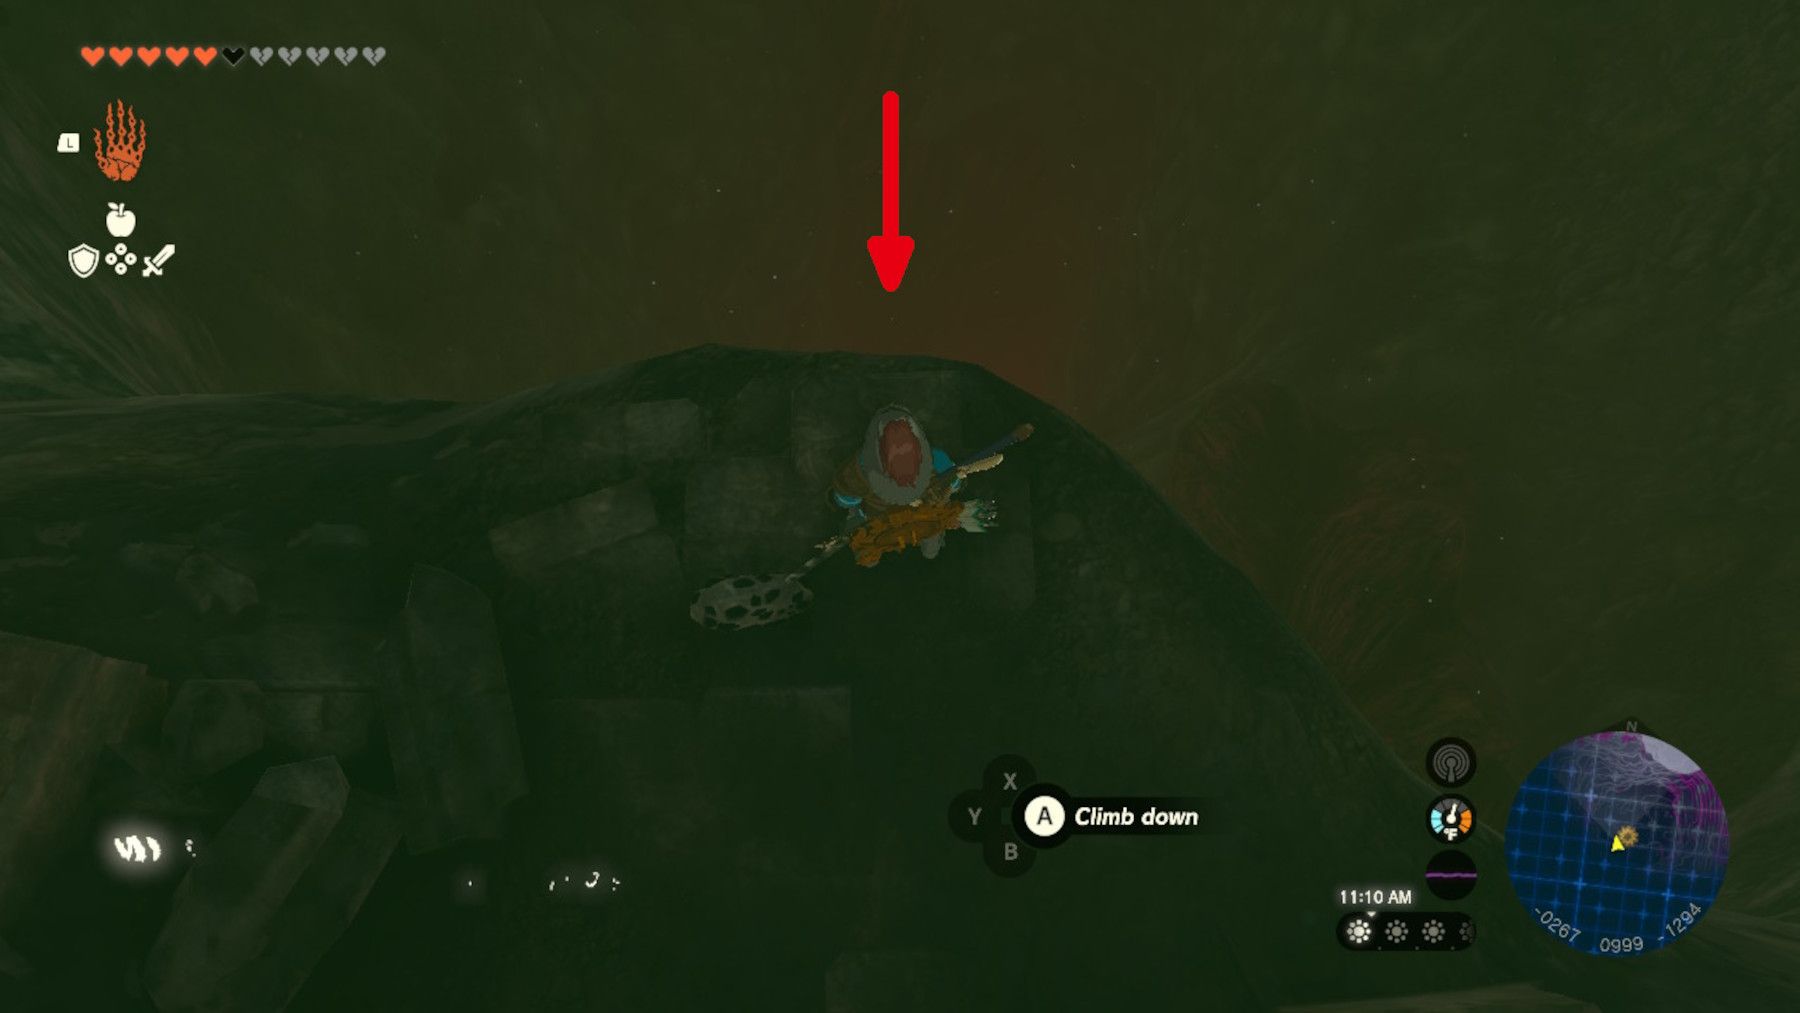
- Follow the path through the Forgotten Foundation, using a Bomb Flower to break through the cracked rocks at -0346, 0893, -1258.
- Follow the path into the room with the murals, turn eastward, and break the cracked rocks to reveal a passage.
- Use the passage to reach the Imprisoning Chamber and glide down from the ledge at -0267, 0997, -1294.
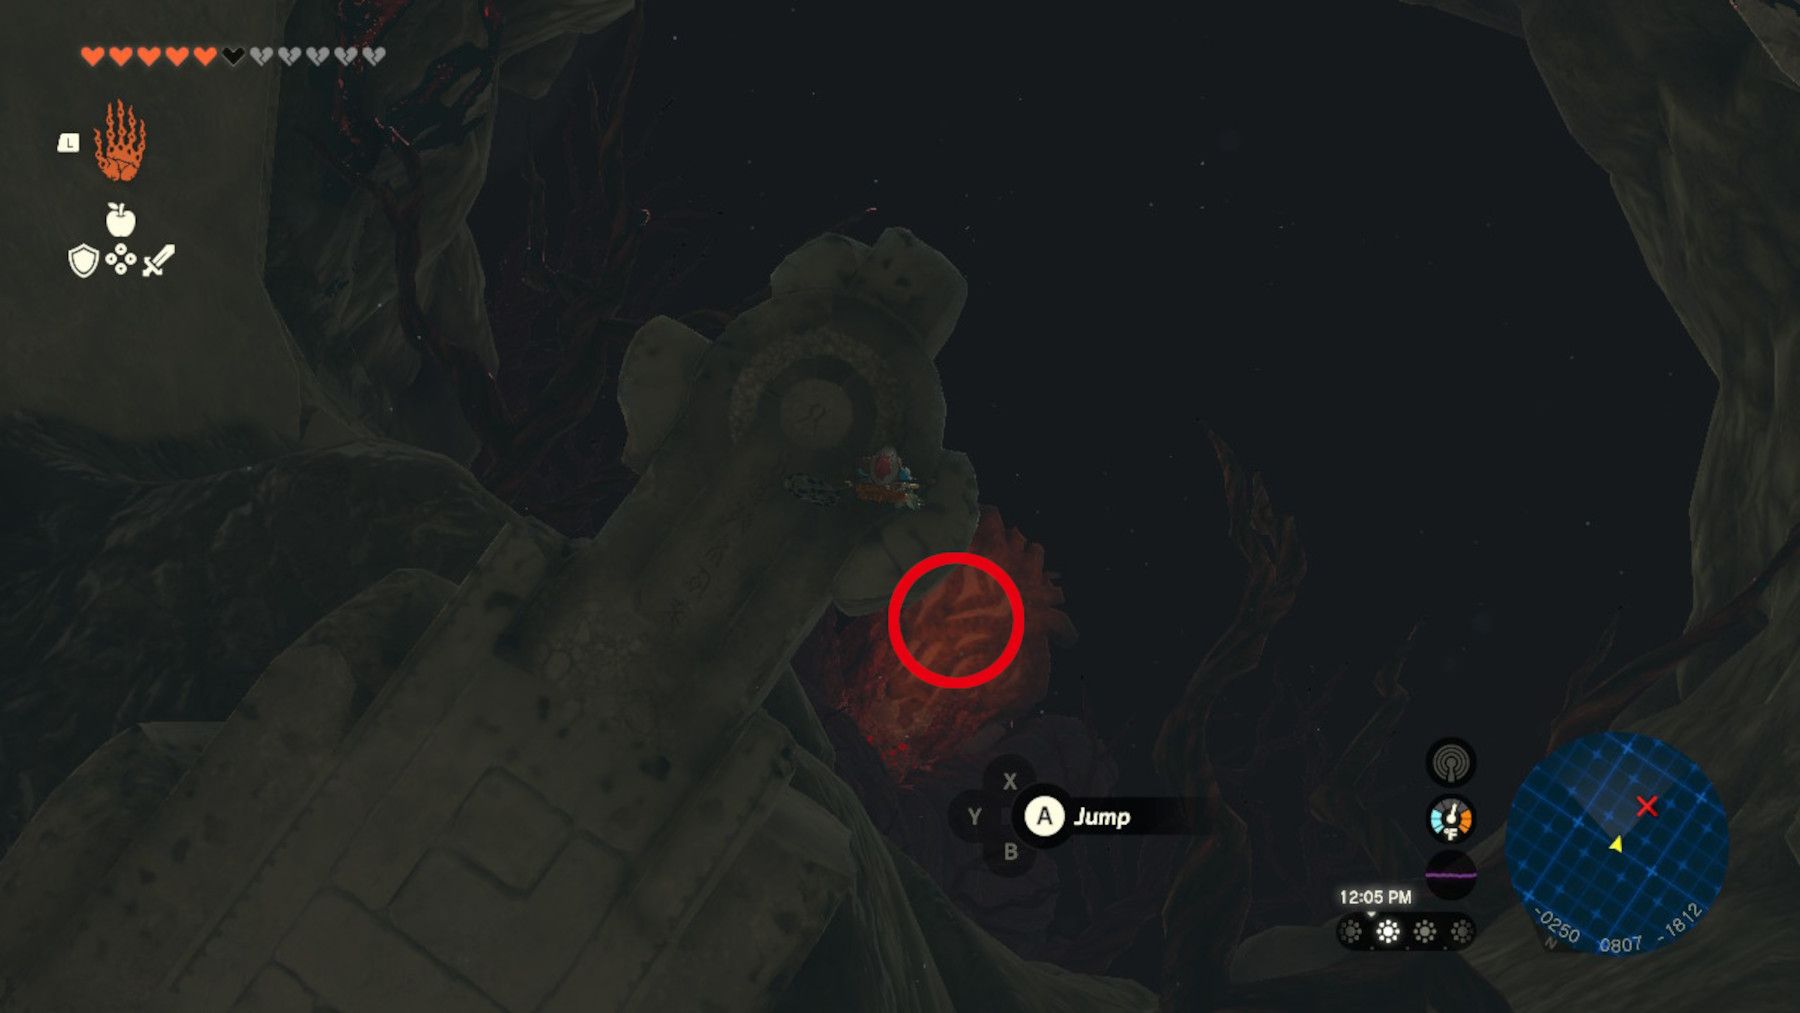
- Go south and glide down from the ledge at -0249, 0806, -1812.
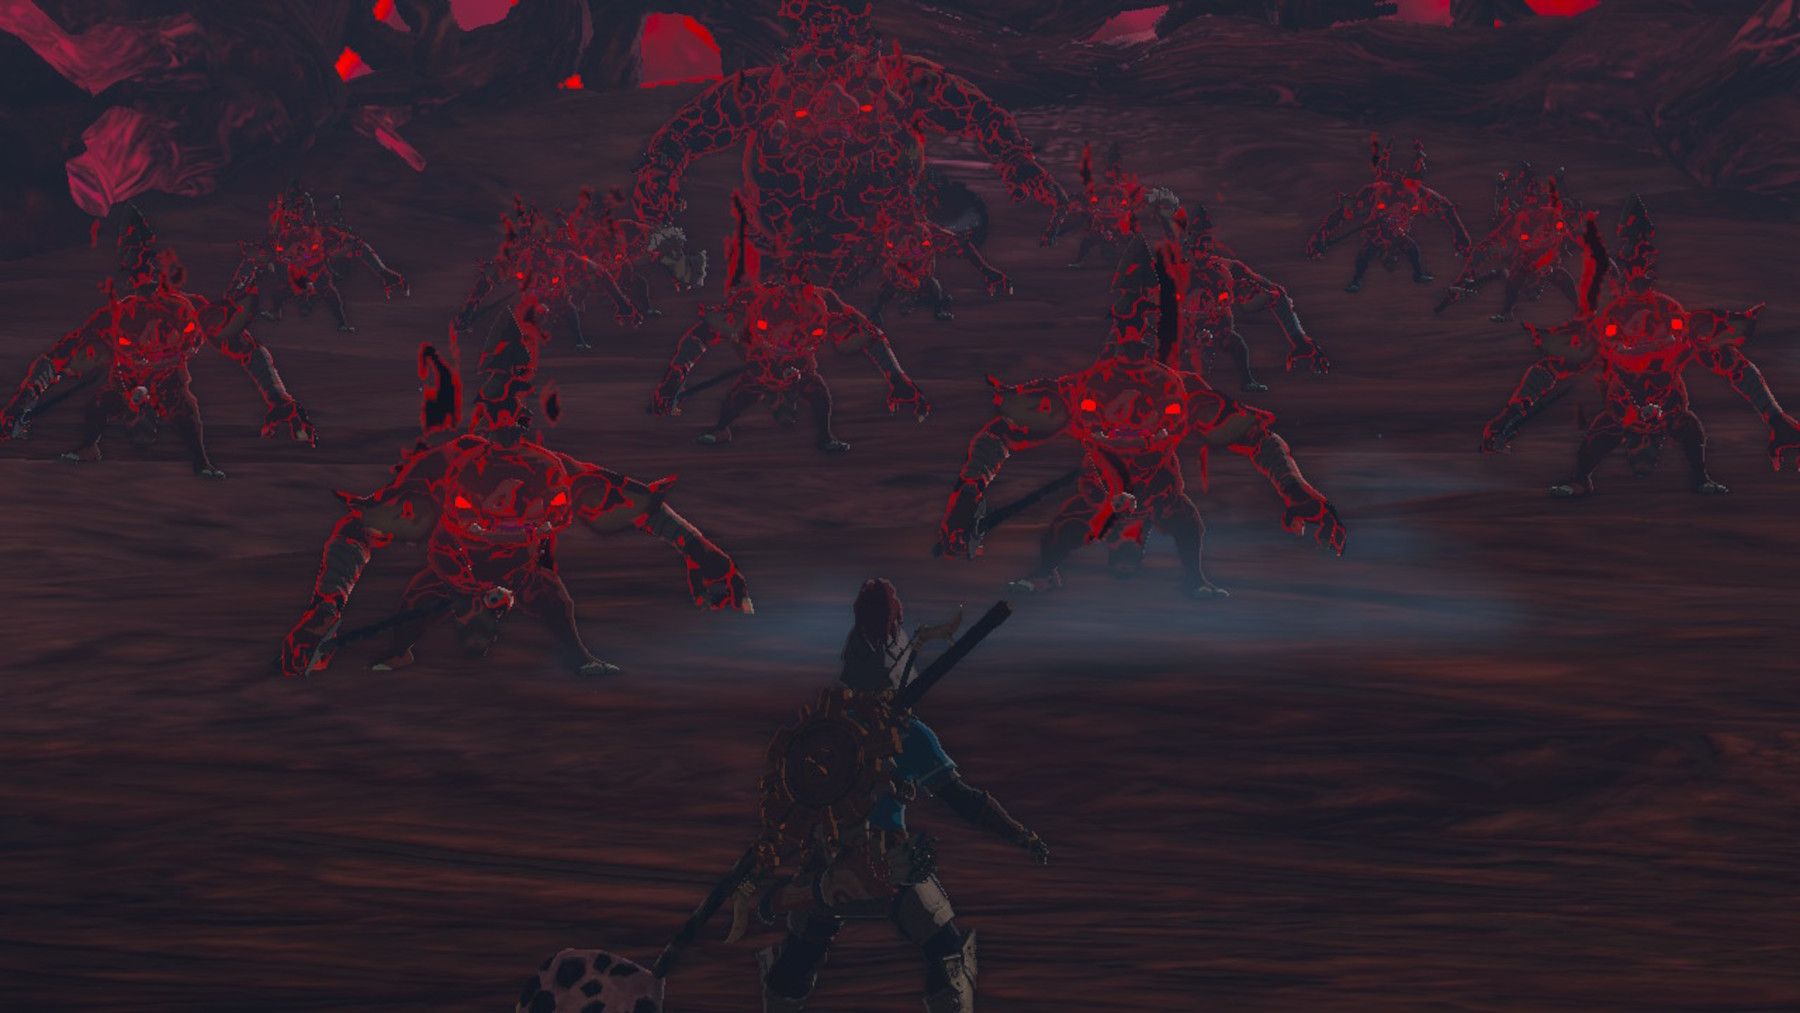
- Land on the red platform to fight the Demon King's Army. Use arrows fused with Bomb Flowers and Fire Fruits to quickly clear these waves.
- Go north to encounter Demon King Ganondorf at -0250, 0980, 02447.
Beat Demon King Ganondorf
The battle with Ganondorf unfolds over four phases, each of which is fully detailed below. Before getting into that detailed breakdown, here are some general tips that are applicable to the vast majority of the fight:
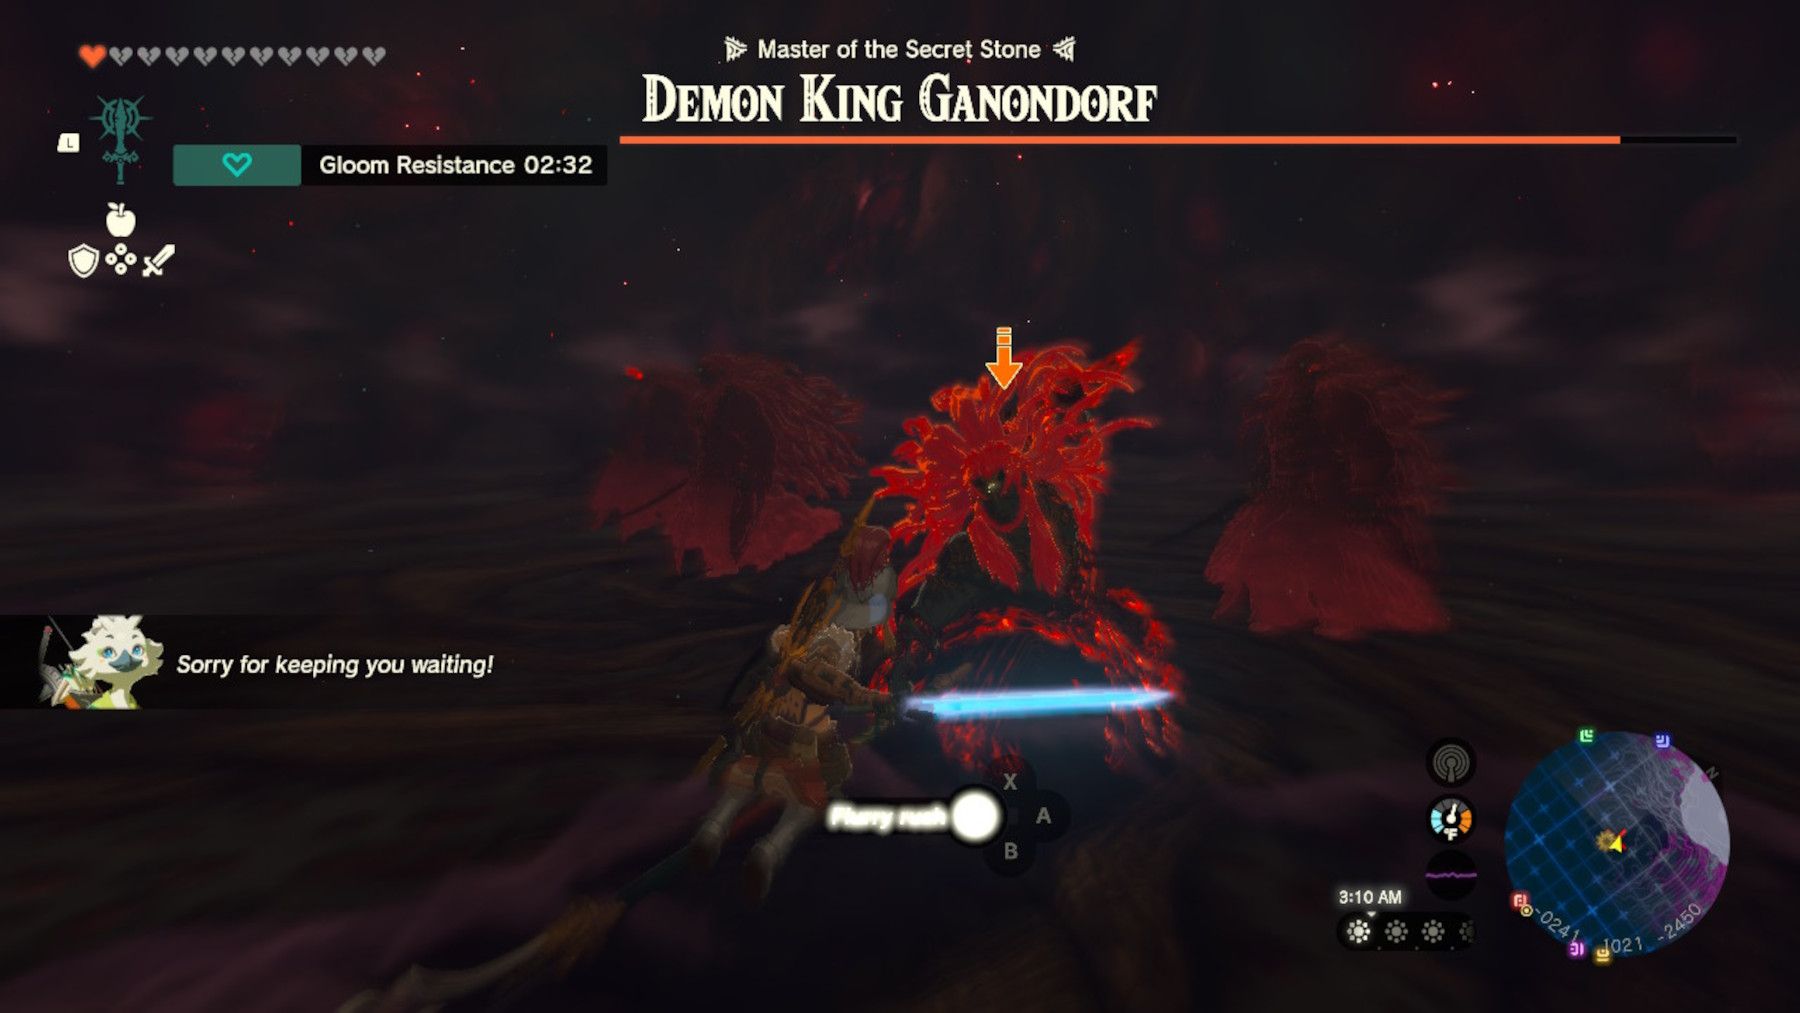
- Focus on consistently performing perfect dodges in order to set up Flurry Rushes.
- Only release block when going for a dodge or executing a Flurry Rush.
- Maintain high health by consuming TotK's standard healing foods and Gloom healing foods as needed.
- If a player is a feeling under-prepared, they can leave by loading a save prior to arriving at Ganondorf and then using fast travel.
Phase 1
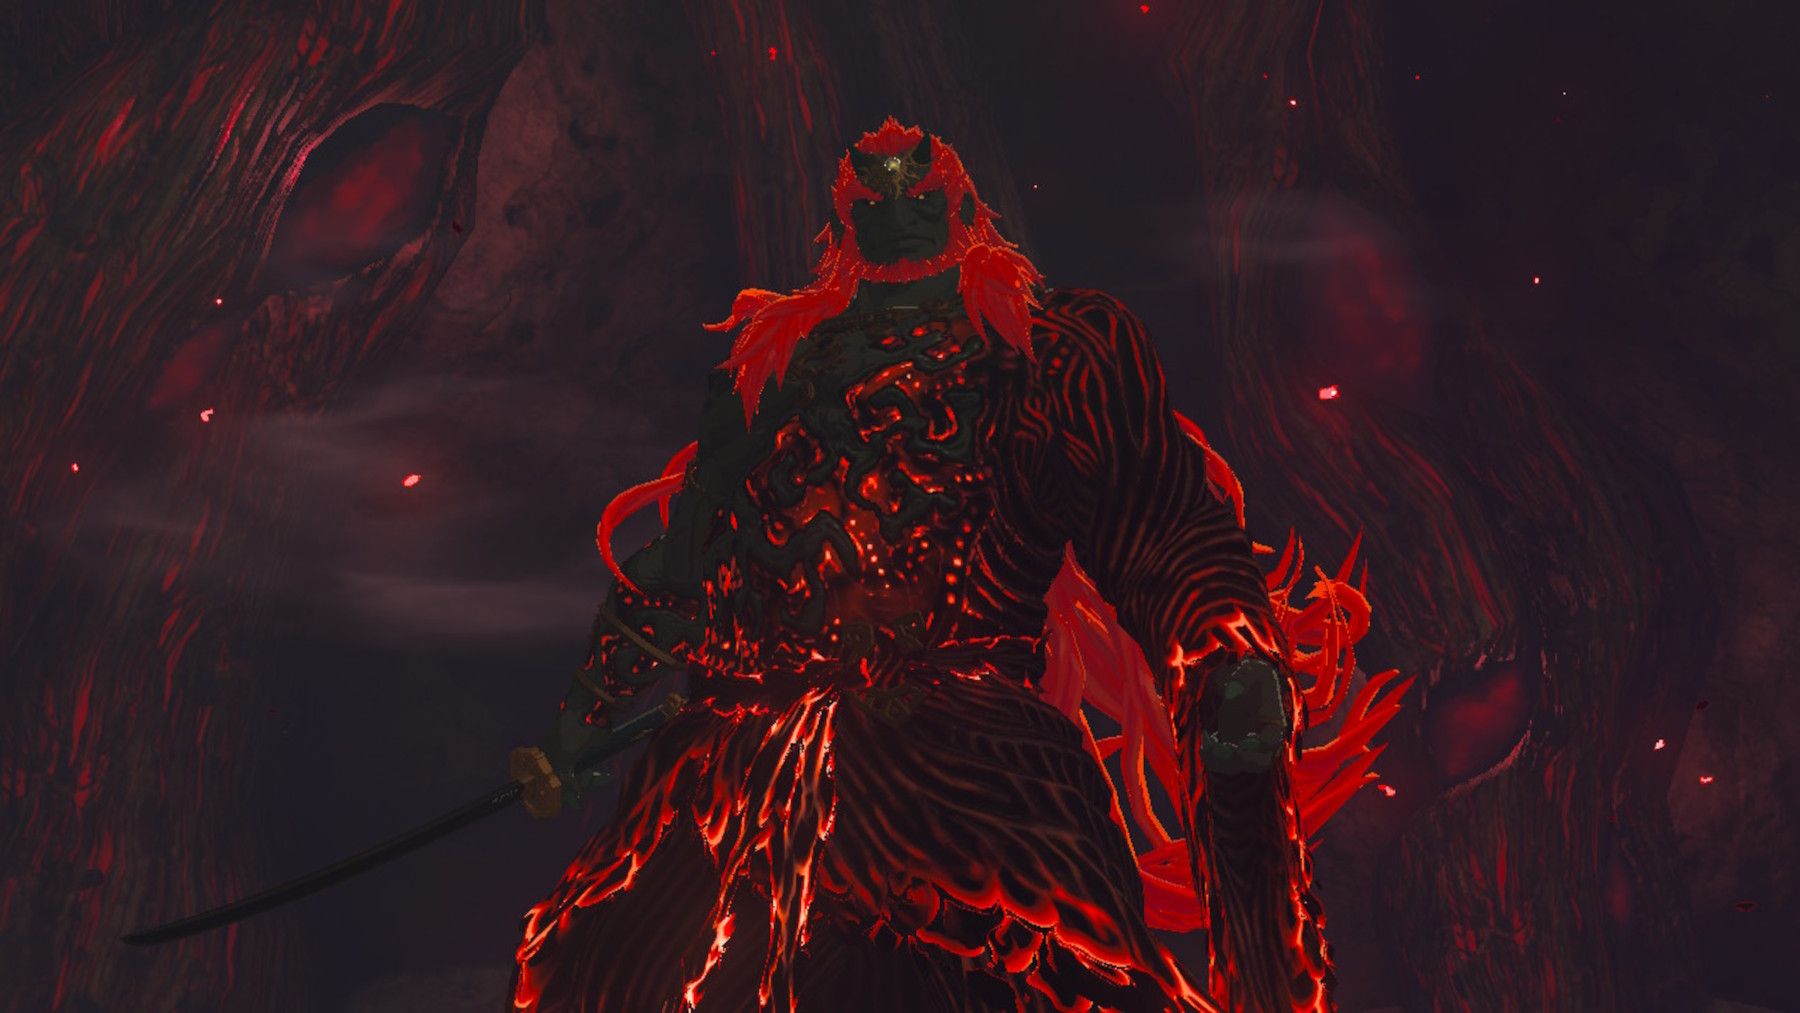
The beginning of this fight sees TotK's Link stand alone against Ganondorf, and the Demon King will cycle through four weapons during this phase. Those weapons are a sword, spear, club, and bow, and here are recommendations on how players should deal with each one of them:
Sword
Players should work to keep Ganondorf at a distance when he is using his sword, as this forces TotK's Demon King to use two attacks that can be easily dodged. In the first of those attacks, Ganondorf will run toward Link with his sword out to the side, and players should dodge backwards just before the boss swings to set up a Flurry Rush. The other attack also sees Ganondorf run toward Link, though this time around his sword is pointed upward. Players can perform a sideways dodge to avoid this attack and then followup with a Flurry Rush.
To note, it is possible to use the sword attacks that TotK's Ganondorf performs when he is near Link to set up Flurry Rushes. However, the Demon King will occasionally execute charged spin attacks from this position, and they deal considerable Gloom damage when they connect. While it is fairly easy to avoid this attack simply by backpedaling continuously, taking it out of the equation entirely by staying far from Ganondorf is likely a safer strategy.
Spear
Maintaining distance is also the recommended strategy when Ganondorf is using his spear, as this will cause him to perform a lunge attack that can be easily avoided with a sideways dodge to set up a Flurry Rush. The charged lunge that he executes from afar can also be perfect dodged for a Flurry Rush counter, though the required timing can be a bit tricky to hit consistently.
Club
Once again Tears of the Kingdom players should stay far from Ganondorf when he is using his club in order to bait him into an attack that can be easily dodged. That attack sees the Demon King jump into the air and attempt to smash the club down on Link, and a backward dodge when he is at the height of his jump should set up a Flurry Rush.
Ganondorf will also perform an attack with his club in which he charges the weapon over his head and slams it down. While this attack is being charged, players should use the paraglider to ride the resulting air current upward, and they can land several headshots with a bow as they fall back to the ground.
Bow
The bow is more of a transitional weapon for Gandondorf, and he will occasionally bring it out when Link is far away. If that occurs, players should simply avoid the projectiles by sprinting and close the gap to force the Demon King to change weapons.
Phase 2
After fully depleting Ganondorf's health, the Demon King will call forth his mimics and gain a massive health bar. Fortunately, TotK's Sages join the fight at this point, and players should allow them to occupy the mimics while they battle Ganondorf in another portion of the arena.
With respect to how that battle should be approached, fans should use the exact strategies that were employed during Phase 1. Indeed, Ganondorf's assault remains the same for this second phase, and players that focus on dodges and Flurry Rushes should get through it quite quickly.
Phase 3
Getting Ganondorf's second health bar to 50% will initiate the beginning of Phase 3, and players will once again be facing the Demon King with no support. While this phase plays out very much like the first one, there are two important modifications of which fans should be aware.
The first of those modifications is that the Ganondorf's moveset is slightly expanded, as the vast majority of his weapons get a new attack that is capable of completely destroying Link's hearts. The second modification is that players must now perform two consecutive perfect dodges in order to damage the Demon King, as he will now avoid the first Flurry Rush.
To deal with the first modification, players should simply avoid the Gloom attacks with fast movement, sprinting through the gaps between the red hazards that look to harm Link. For the second modification, fans should continue to use the established strategies in order to set up a first Flurry Rush, which Ganondorf will dodge. The Demon King will perform a followup attack immediately after this dodge, and players should then execute a backward dodge (when the foe is using a sword or club) or a sideways dodge (when he is using a spear) to perform the second Flurry Rush.
To note, if a player is having trouble performing two consecutive perfect dodges, they can also try taking a more aggressive approach. More specifically, Zelda fans can force Ganondorf into dodges with standard strikes and then perfect dodge his followup attack to connect with a Flurry Rush. This strategy can be a bit dangerous, though, as players can get punished for throwing out standard strikes that are not well-timed.
Phase 4
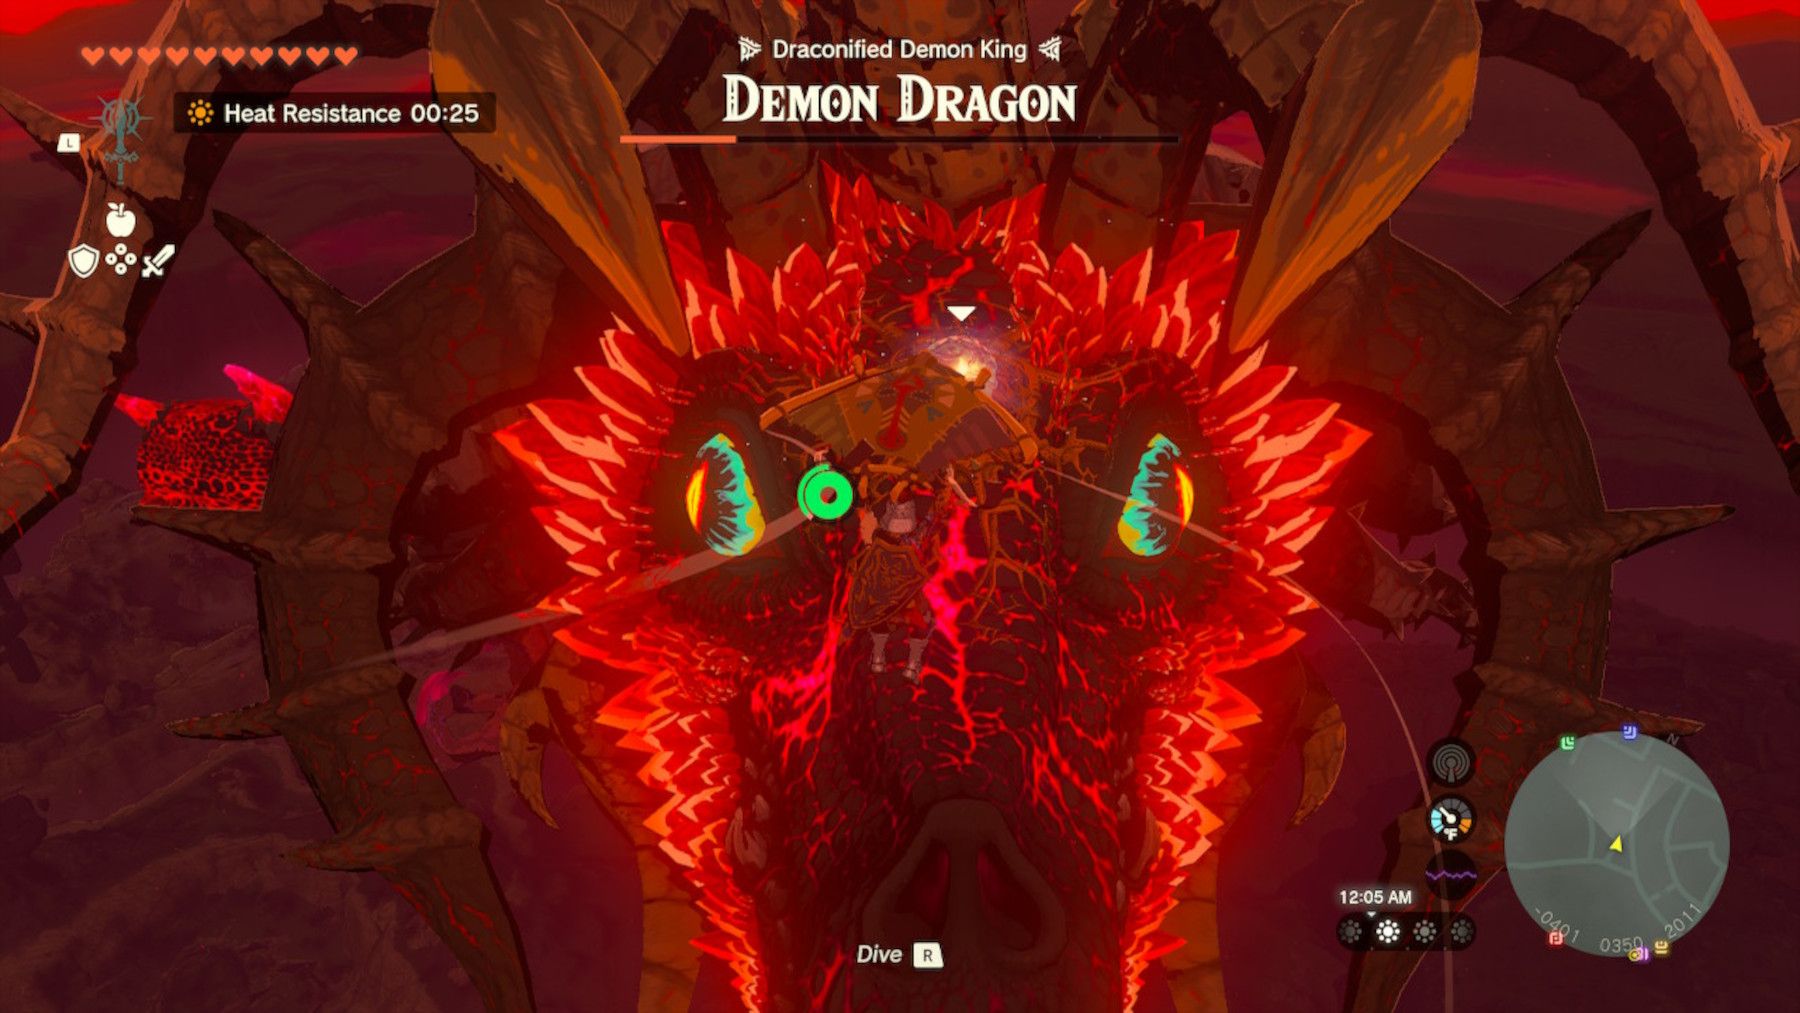
Upon emptying Ganondorf's second health bar, the Demon King will turn into the Demon Dragon, and fans must now fight him in the sky. This is almost certainly the easiest section of this boss battle, as players must simply glide onto the dragon's back, dodging the red bolts as they descend, and destroy the four masses of eyes that are exposed. Notably, Link will take Gloom damage while running across the Demon Dragon, though that will be healed every time that he is thrown off.
After the four masses of eyes have been destroyed, a Secret Stone on the Demon Dragon's head will be revealed. Players must now set their sights on landing near that stone and striking it with a melee weapon to trigger a cutscene and complete the Destroy Ganondorf main quest in Tears of the Kingdom.
The Legend of Zelda: Tears of the Kingdom is available on Nintendo Switch.

