This chapter of Hogwarts Legacy begins with players gaining access to several very important main quests, which unlock vital skills and abilities that will be used later on in the game. They also have the opportunity to seek out a Goblin ally in the form of Lodgok, who is a friend of Sirona Ryan.
Players of Hogwarts Legacy will likely have noted several areas that they are unable to access due to locks of various levels that are preventing access to parts of the Castle and various buildings out in the world. Luckily, this is the chapter when players finally gain the ability to open locks, with stronger unlocking spells becoming available in exchange for a new collectible.
The Caretaker's Lunar Lament
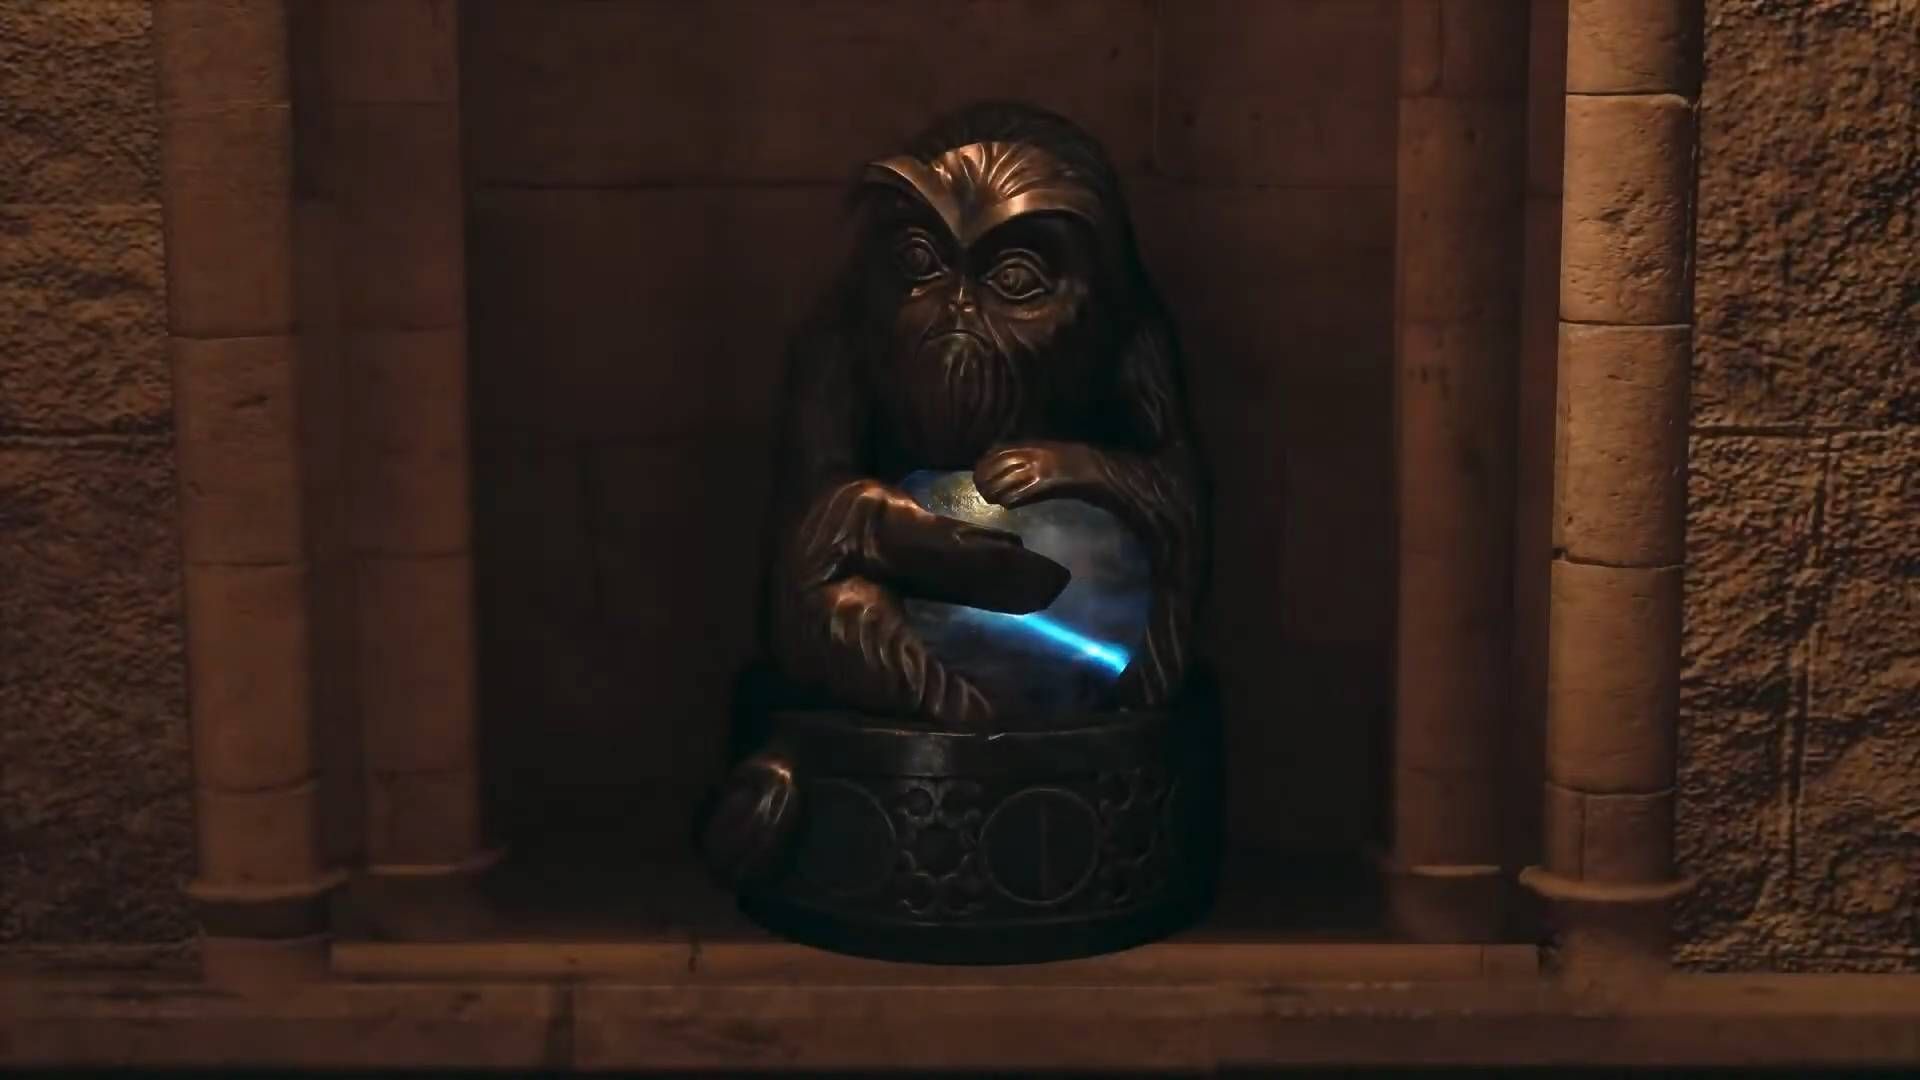
Players are contacted by the Hogwarts Caretaker Gladwin Moon, who needs their help with something. On arriving he explains that mysterious Demiguise Statues clutching moons have appeared all over the castle, Hogsmeade, and the various Hamlets in the area. Due to his fear of the creatures, they are making it difficult for him to do his job as Caretaker, and he wants the player's help in removing the statues. Luckily, removing the moon from a statue causes it to vanish, though the moon can only be removed at night. After retrieving the first moon and listening to his explanation of the situation, he will task players with removing two such statues from the Faculty Tower.
In order to allow the player to break the rules and gain access to forbidden areas like the Tower in search of Moons, Gladwin Moon teaches the player the unlocking charm, Alohomora. After completing the spell minigame and unlocking Alohomora level 1, players can open up the lock on the tower and head inside. The Alohomora minigame has players rotate the analog sticks to move parts of the lock, with the goal of finding the position that causes a section of the lock to start spinning. Do this with both rings of the lock, and hold the lock rings in that position, and it will pop open.
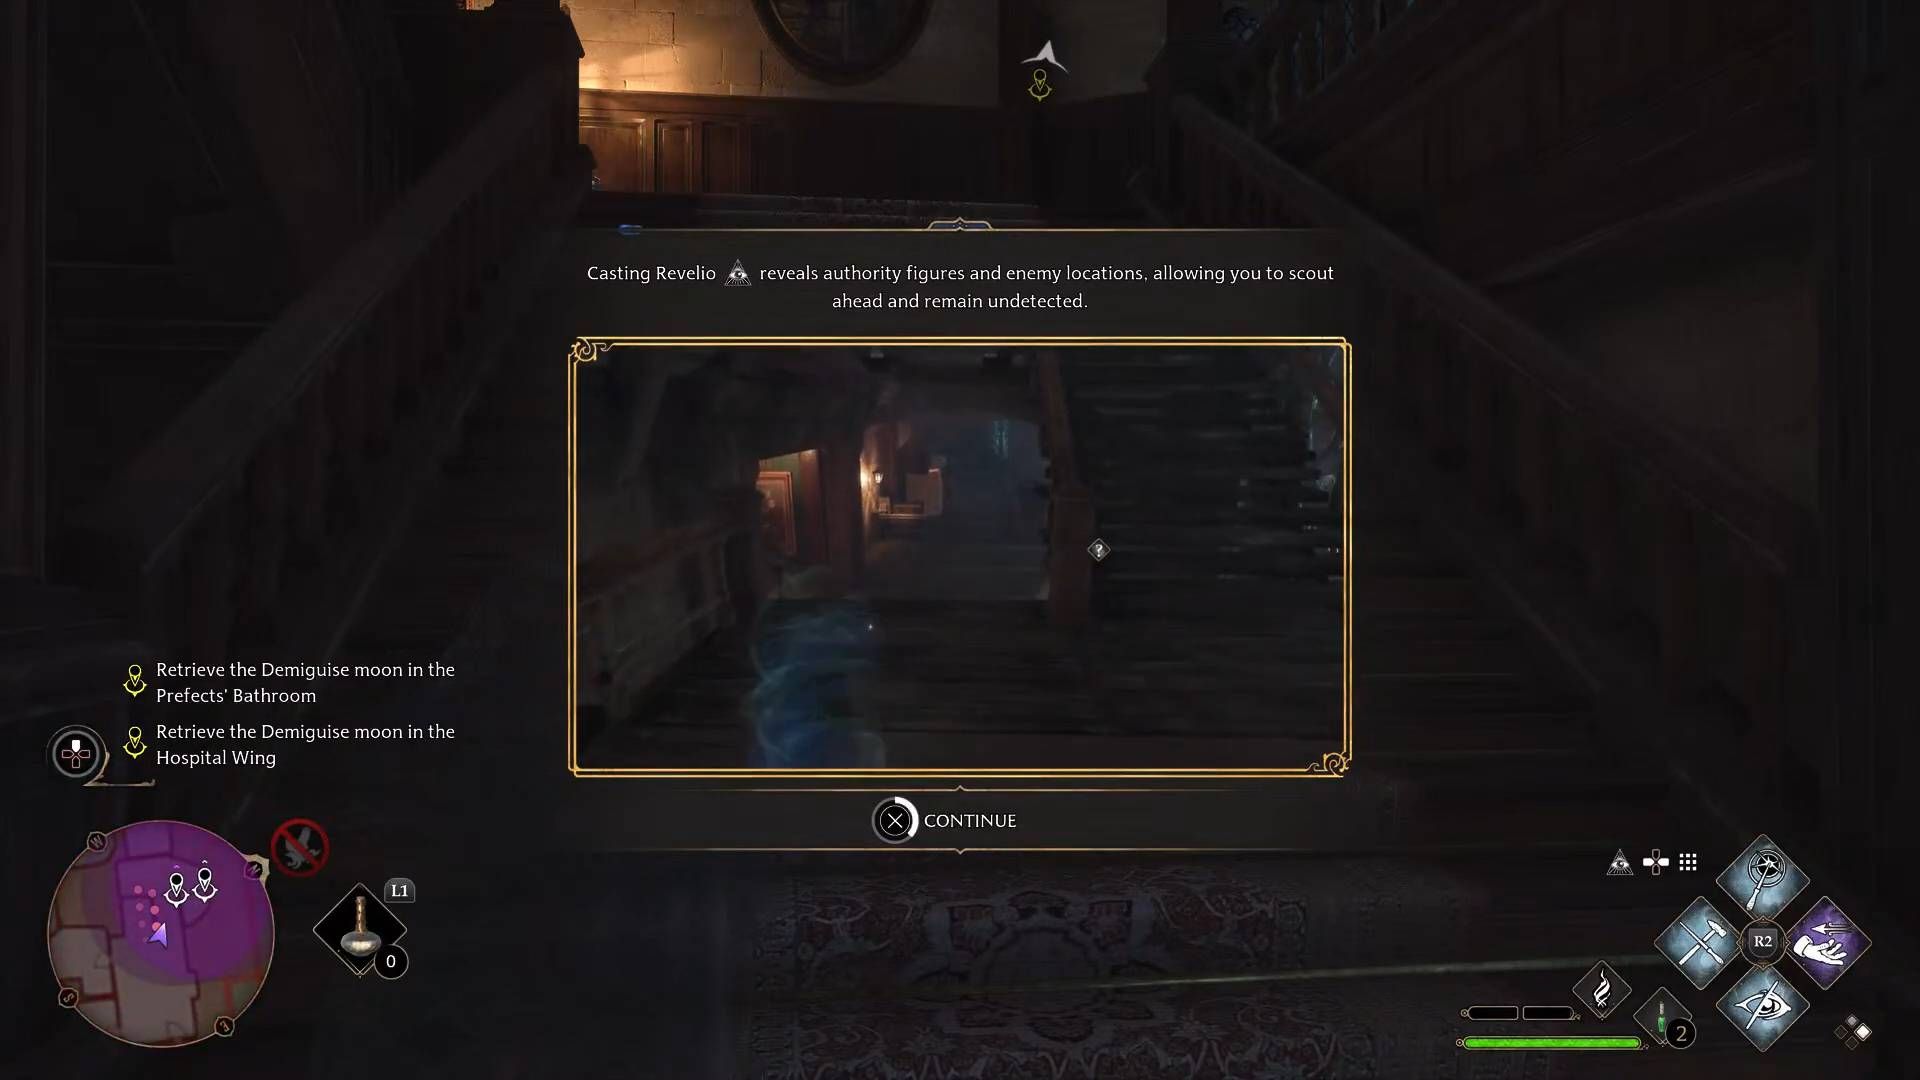
Once inside, players should head upstairs (triggering a tutorial on how Revelio can be used to spot possible threats through walls) and then keep going up another floor, taking note of the well-positioned hiding spot halfway up. Move slowly and use Revelio, and listen in on the conversation between Professors Weasley and Sharp. Players can either slip past them to the right or wait for them to finish and hide in the aforementioned hiding spot on the stairs until they leave.
Head up the spiral staircase to find a Prefect standing near a Levioso Statue. Distract them with a Basic Cast aimed down the corridor to the left, then open and head through the door on the right to find the Prefect Bathroom. Sneak around the left side to reach the moon without bothering the Prefects, and then head back the same way. If the Prefects start moving, head back down the left side and through the door next to the entrance for an easy hiding spot.
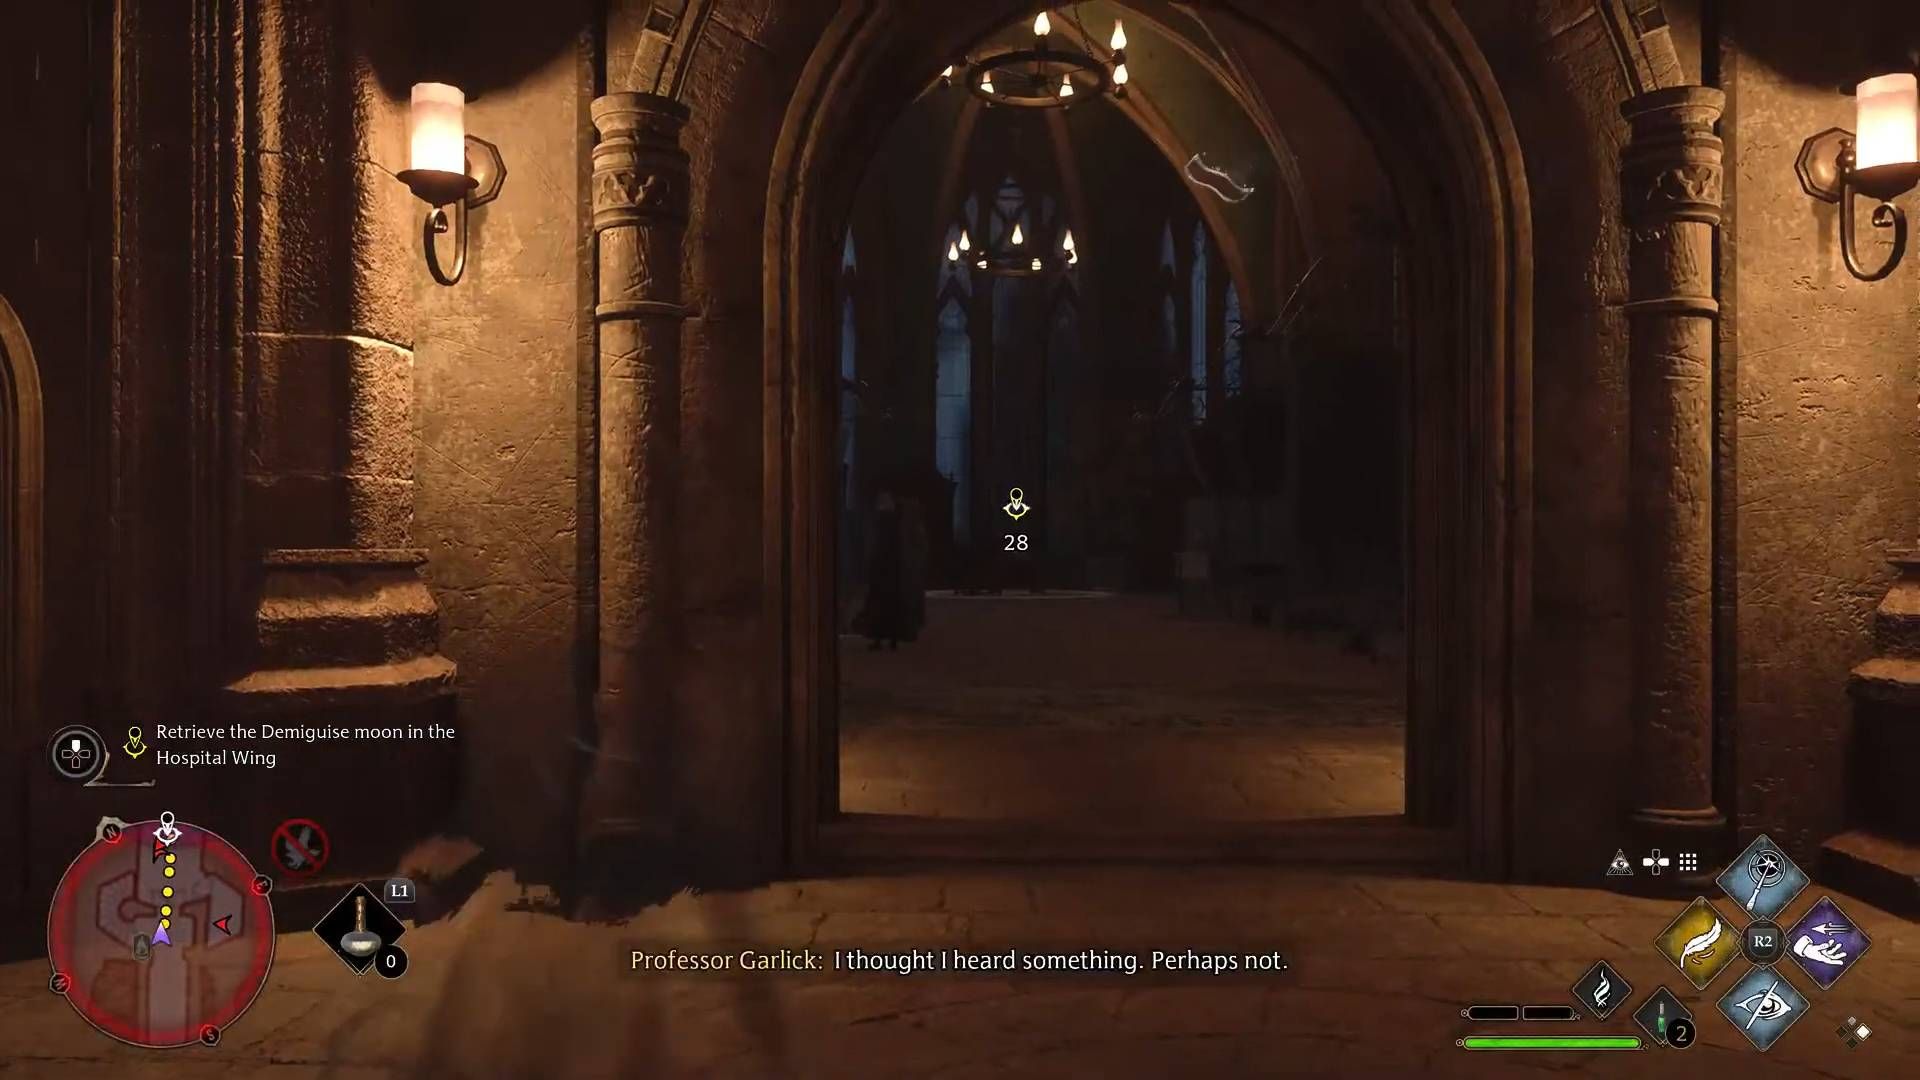
Once this is done, dodge the Prefect and head up the spiral staircase near the Levioso Statue to get to the Hospital Wing. Professors Garlick and Hecat are here, talking about the Quidditch Ban and sharing their thoughts on who might have won the cup this year. It is possible to slip past without bothering them as long as Noreen Blainey isn't looking, but players needing a distraction should use the Basic Cast. Make sure not to trip over any of the chamber pots, since they make a lot of noise, and grab the moon at the end before slipping back out. After retracing their steps to the entrance of the Faculty Tower players can report to Moon and finish this quest.
Doing this unlocks the Demiguise Moon collectibles and their associated sidequest, which grants the upgraded versions of Alohomora and thus the ability to open more difficult locks.
Beasts Class
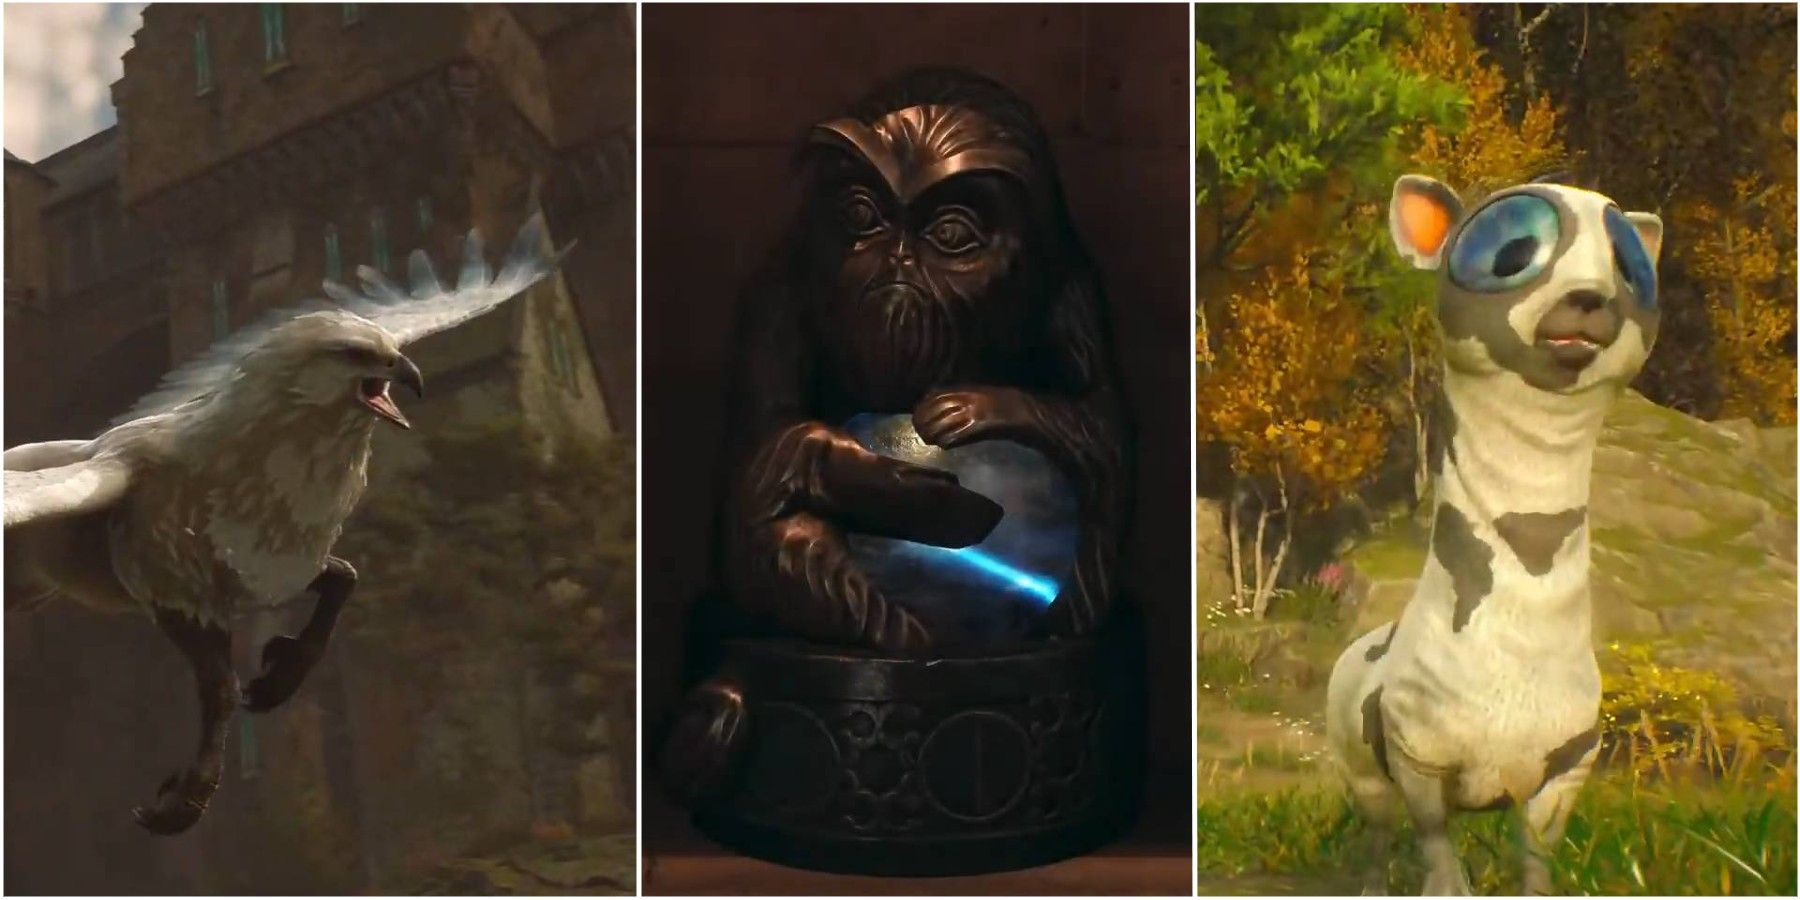
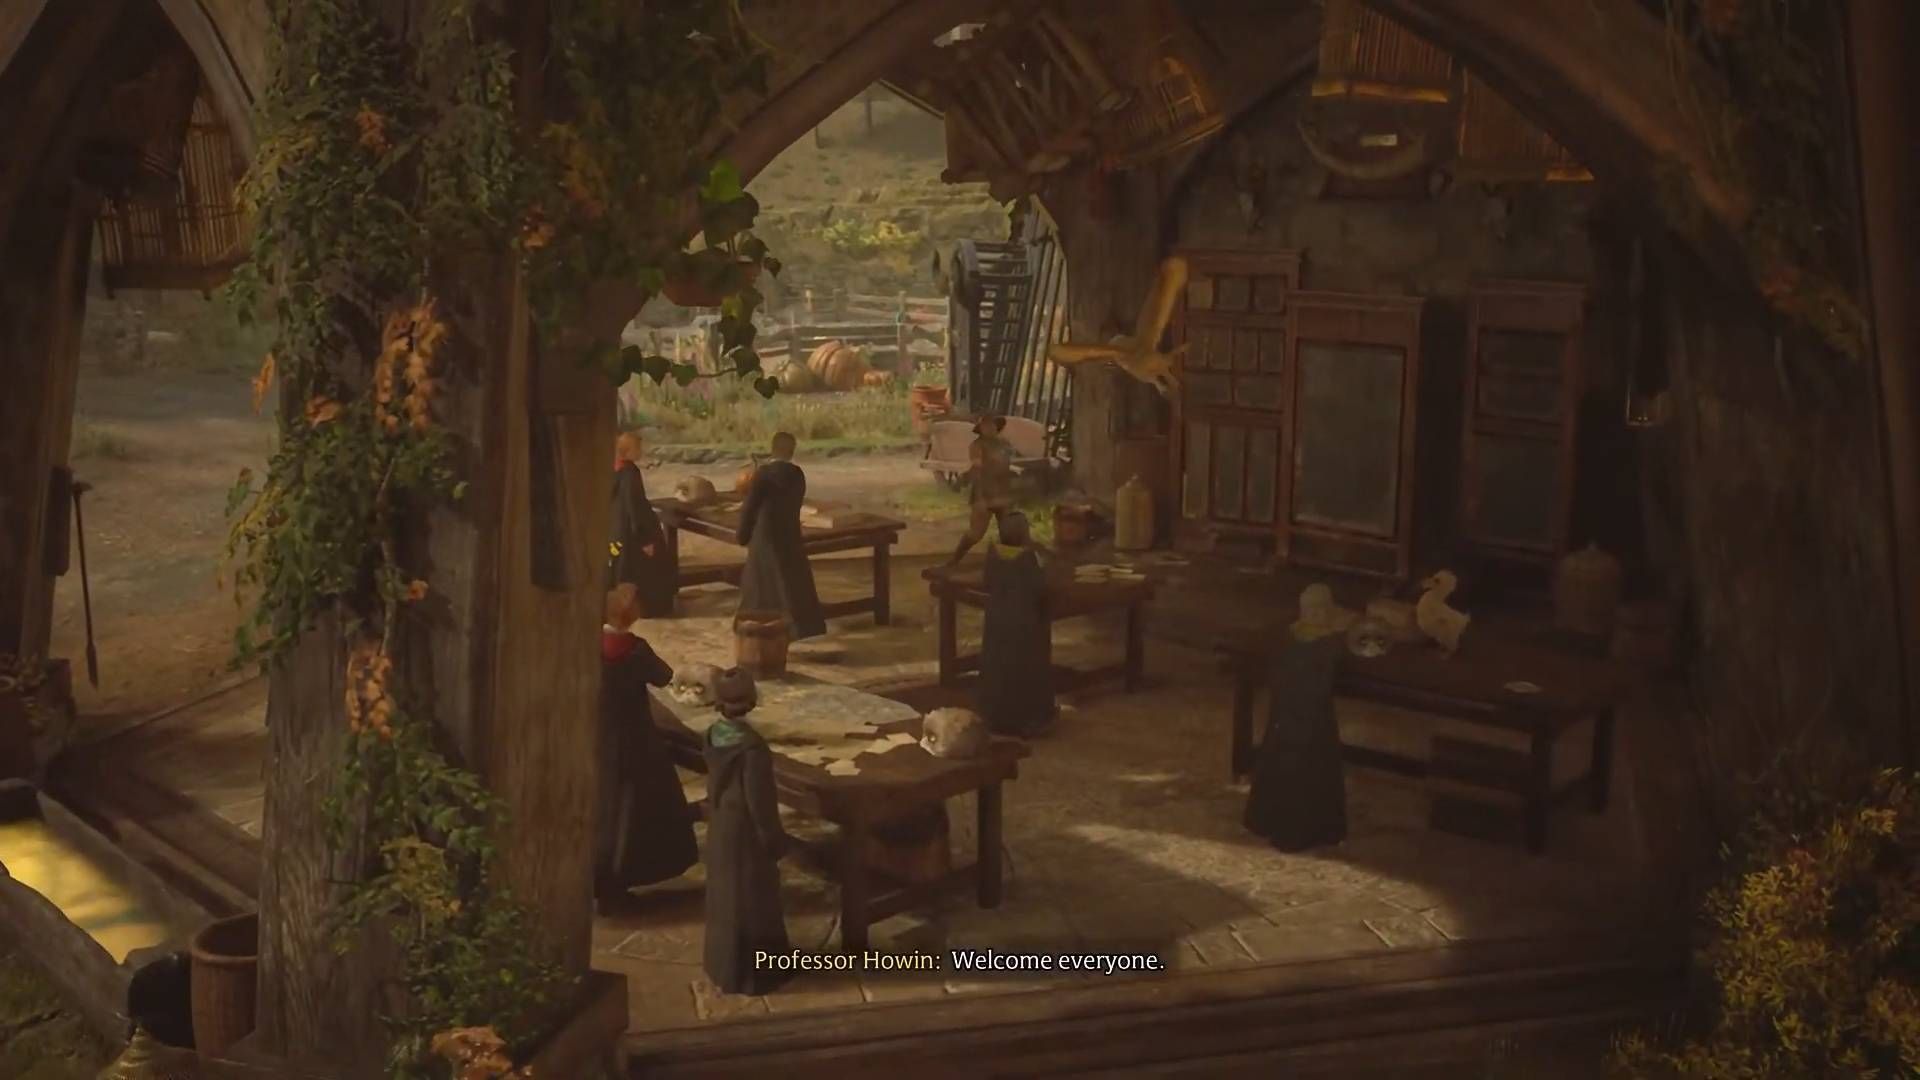
The Care of Magical Creatures Class begins by introducing players to Professor Howin and Hufflepuff Student Poppy Fielding. After Howin's opening lecture, Poppy offers to let the player practice on her Puffskein, Gerald. Much like a spell, the brush can be used by assigning it to the Spell Palette and pressing the corresponding button. The same is true of the beast feed, and after brushing and feeding Gerald Howin asks Poppy and the Player to take care of the Kneazles.
After a rather nasty encounter with a pair of students trying to yank some whiskers off one of the Kneazles, players get to feed and brush the Kneazles. Professor Howin thanks the player for helping Poppy with the two thieving students, but asks that they allow her to handle it next time. After this, Poppy brings players to meet Highwing the Hippogriff, who she befriended after rescuing them from Poachers. Be sure to show proper respect and bow before approaching a Hippogriff. Feed and brush Highwing and chat with Poppy to learn more about the Poachers in the area, and then this quest is over.
The Helm of Urtkot
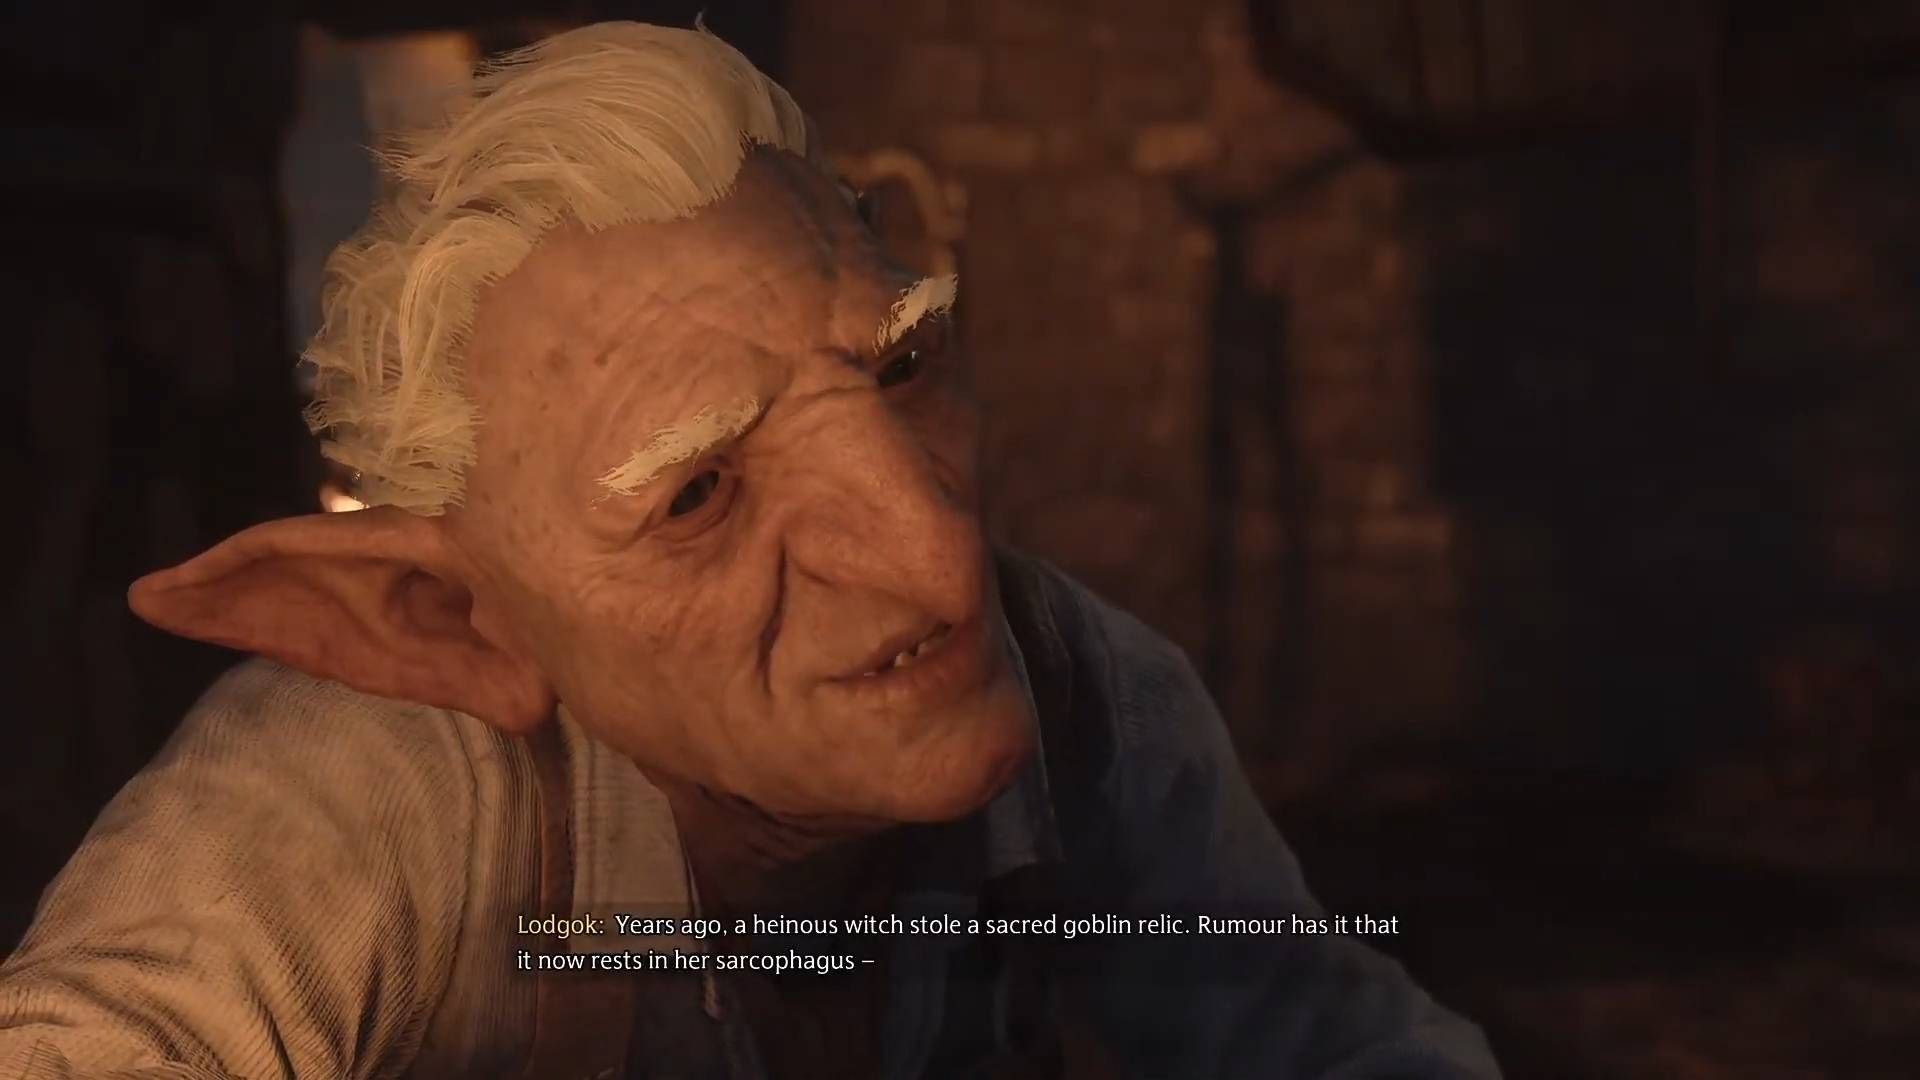
This quest begins by meeting with Sirona at the Three Broomsticks, who directs players to a goblin who might be able to help them learn more about Ranrok's plans. After tracking down Lodgok, he offers to try to find out what Ranrok is planning by bringing him a gift to patch up an old disagreement they had. The gift in question is a Goblin relic that is now locked away in a place only a wizard could reach.
After meeting Lodgok and walking to the tomb where the relic is concealed, players will need to proceed onward alone. Inside the tomb players will need to find a moth and guide it to a door to open the door, similarly to the various moth paintings found around the game world. This first door is only missing a single moth, which can easily be found down the path to the left of the door.
After passing through the door, players should check on the left for a chest before continuing onward. In the round room there are two moths and a door that can be pulled open with accio. The accio door conceals the third moth along with a chest, so lead the three moths to the moth door (also located in the round room) to open it and carry on.
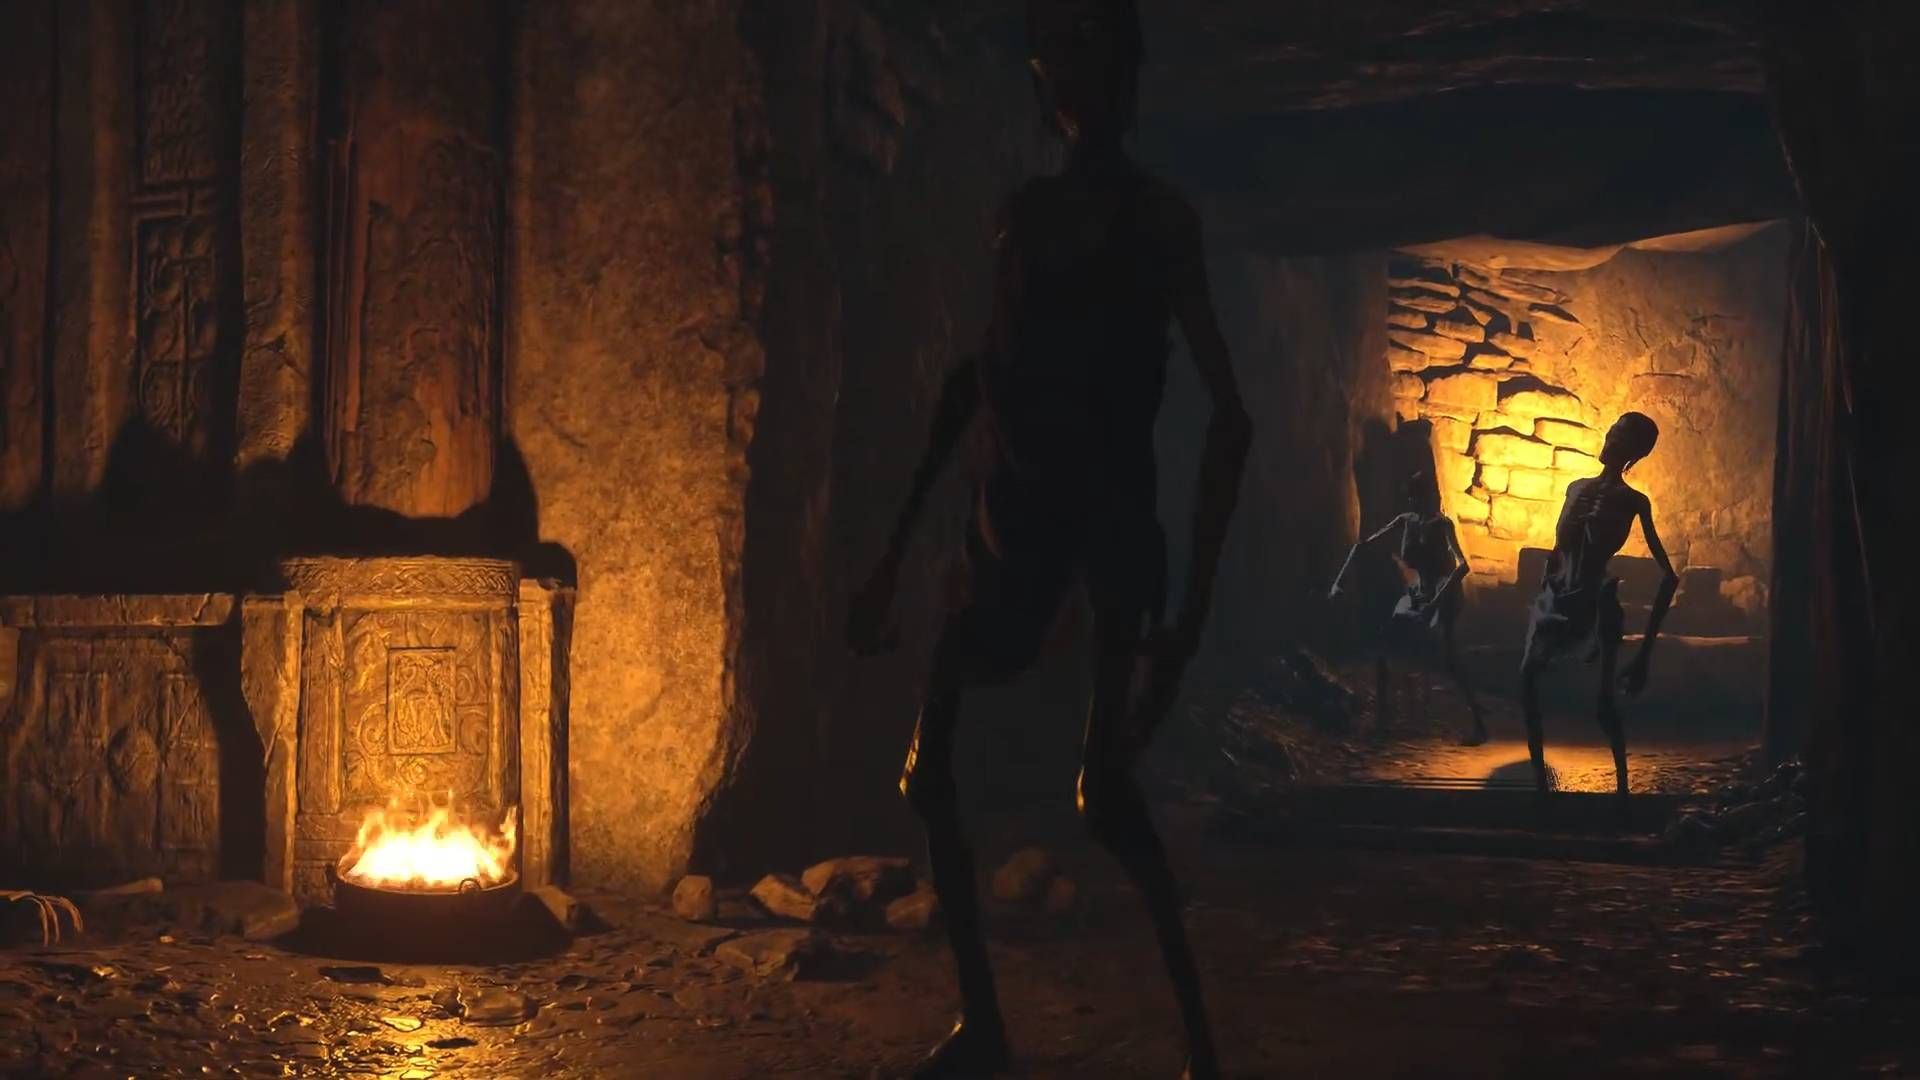
In the next room, players will encounter Inferi, undead created with dark magic that are invincible until struck with fire attacks. incendio and confringo are ideal for damaging them and removing their immunity to damage, and incendio mastery can toast groups of them at once. Continuing past the Inferi players will find a new type of moth puzzle. The mechanism in the middle of the room will open up when there is a moth in it and can be spun using depulso to raise a climbable platform leading to a side room. There are two moths in the main room and one in the aforementioned side room, and all three are needed to crack open the next moth door, so it's lucky they can be pulled back out of the central mechanism.
Grab the moth from the upper room and drop back down to put it in the door, and add the one from the mechanism and the spare from the main room to make up the three necessary for opening the door. Climb up the ledge to the right after passing through the door to reach a side room where a bone bridge can be constructed. This is done by levitating the skeletal remains onto the holders near the entrance to the room and allows players to reach a chest. Some of the remains are inside alcoves that must be pulled open using accio.
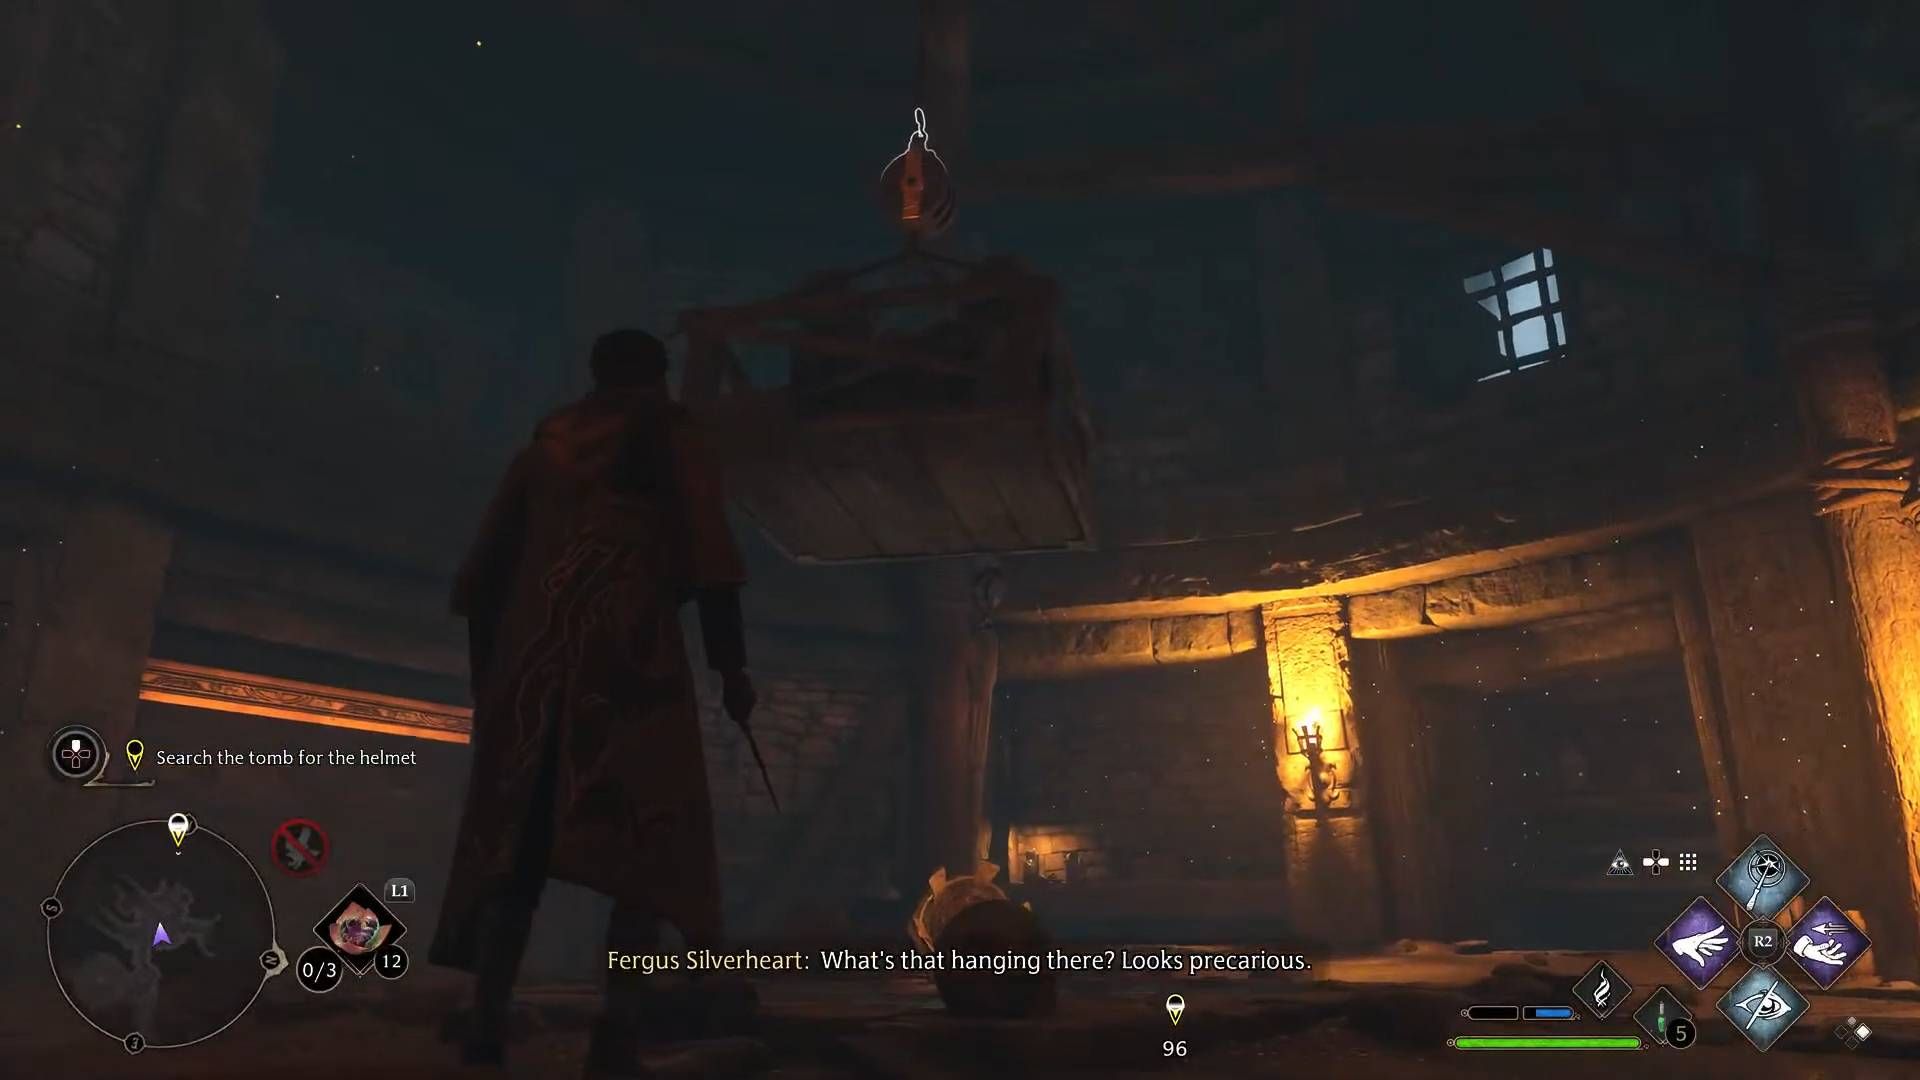
Heading back to the moth door and heading in the opposite direction leads to a room with some barrels and crates hanging from the ceiling, which can be knocked down by hitting the mechanism on the rope, breaking a hole in the floor. Accio can be used to open up a door to a side room with a moveable box and some ledges to climb onto with chests.
Drop through the hole in the floor and swim through to find a large puzzle room with another spinning mechanism in the middle and more moths in the area. Take out the Inferi and then move a moth to the mechanism in the center. This mechanism raises a platform that can be used to climb up towards the door, and also a pillar with something that can hold a moth on it. Move another moth from the lower area onto the aforementioned pillar, and it can be used to raise that moth to the upper platform and slot it into the door. Grab a second moth from next to the door, and a third from the opposite ledge by using the platform to get across to it and back again. There's also a side passage near the third moth that leads to a room with a chest.
Head through the final moth door to find a dead Ashwinder where the helm should be, indicating that players will need to grab it from some Ashwinders if they hope to give it to Lodgok. Use the secret passage at the back of the room to exit the tomb and speak with Lodgok. Head to the campsite he mentioned and take down the Ashwinders and the troll they've had the misfortune to run into to snag the helm for him, then head back to Lodgok one last time to finish the quest.
The Elf, The Nab-Sack, & The Loom
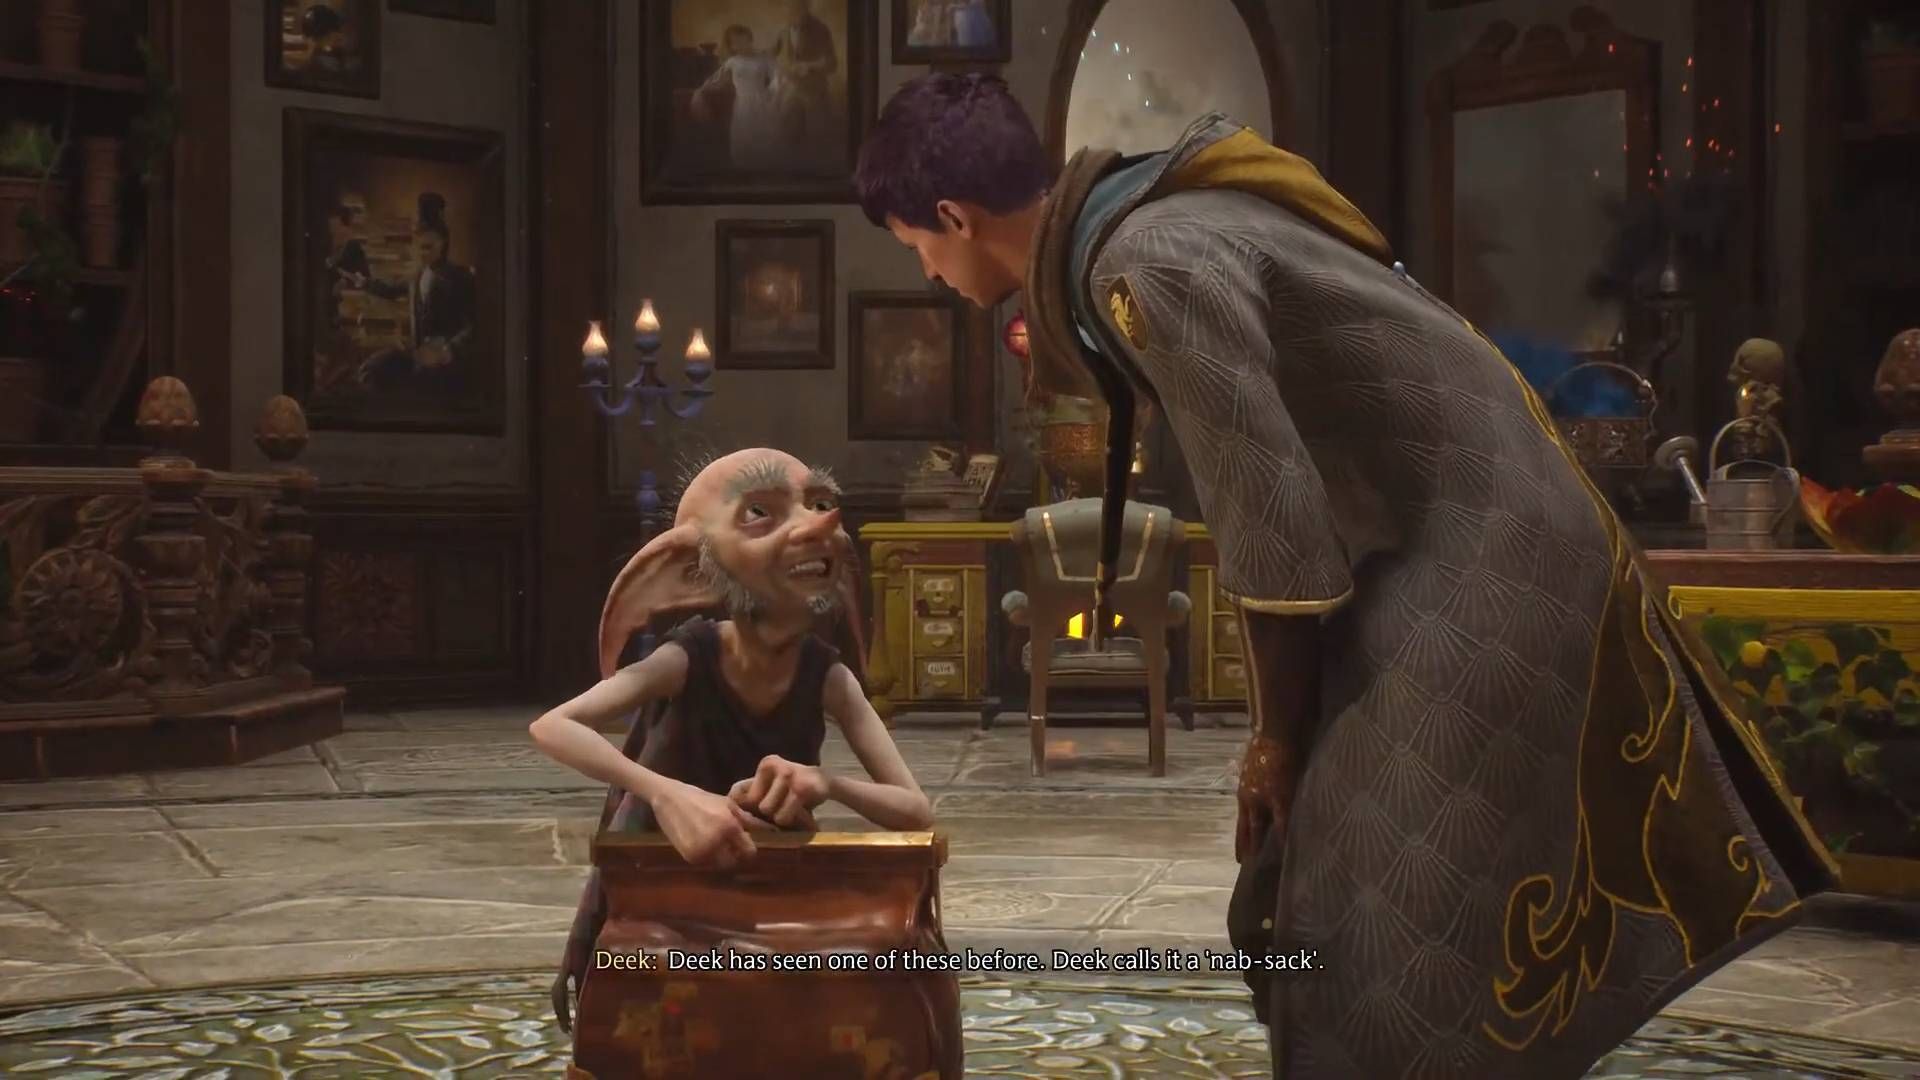
This quest starts in the Room of Requirement with Deek, and teaches players how to rescue magical creatures and upgrade their clothing. Speak to Deek to receive the Nab-Sack, and he'll bring players to a group of Puffskeins that can be used as practice. The Nab-Sack is equipped and used in the same way as a spell, and once activated players just need to hit the prompted buttons until the creature is pulled inside. If the creature escapes the range players can potentially still capture them by getting back in range and continuing to use the Nab-Sack, though this can be tricky.
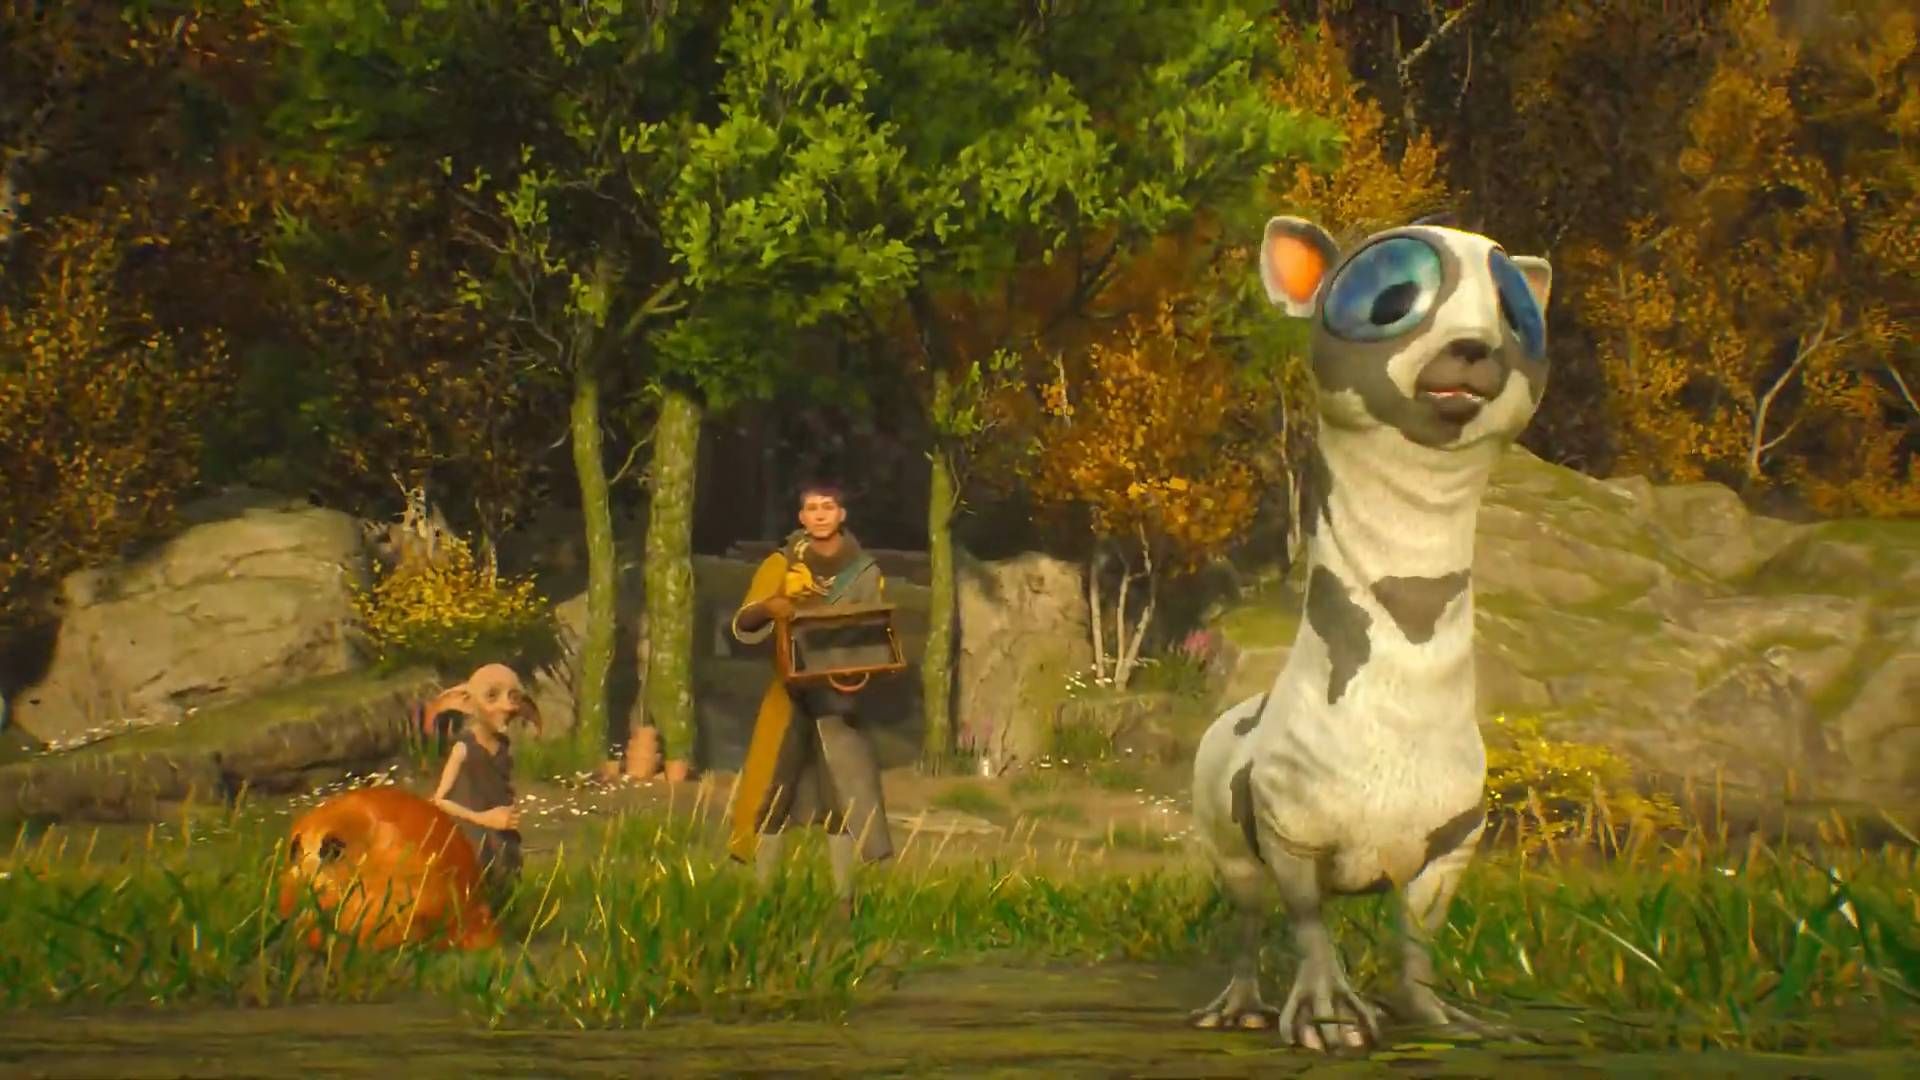
After the Puffskeins are captured, Deek leads players to a Jobberknoll habitat, and then finally to a herd of Mooncalves, to continue practicing. Using levioso and/or arresto momentum can hold a beast in place until it can be successfully captured. With all these beasts captured it's time to head back to the Room of Requirement, where a new space will appear for safely housing magical beasts.
Release all the beasts, then brush and feed them and collect some fur and feathers, and return to Deek for one more tutorial. Deek will teach players how to conjure and use the Enchanted Loom, which allows them to use items collected from magical creatures to upgrade and add traits to clothing. Perform each of these tasks once and speak to Deek one more time to complete the quest.
In The Shadow Of The Estate
Now it's time to take Sebastian up on his offer and go visit his sister and uncle in Feldcroft. Meet Sebastian in Feldcroft, and he'll guide the player to his uncle's home, where an argument ensues between him and his uncle. After speaking with everyone, Sebastian will ask the player to come and see the place where Anne was cursed. Follow Sebastian, fighting Goblins along the way, and eventually, a Loyalist Commander will show up. These are tougher goblin loyalists that have shields and fight with axes but shouldn't be much of a threat to suitably prepared players who remember how to break each shield type.
With the Goblin Loyalists dealt with, Sebastian tells the story of how Anne got cursed. Head into the ruined building nearby to find a destroyed portrait, and then check the well outside to have the protagonist recognize this house. Explaining Isidora and the Keepers to Sebastian, players proceed further into the house and find a set of stairs leading below. Collect the journal pages to find out more about Isidora, then blast through the wood blocking the way to find a crystal wall that seems to lead to the Undercroft at Hogwarts. Speak to Sebastian, head through, and investigate the newly revealed Triptych and the note it contains to end the quest.
Hogwarts Legacy is available now for PS5, PC, and Xbox Series X/S, and coming soon to PS4, Xbox One, and Nintendo Switch.

