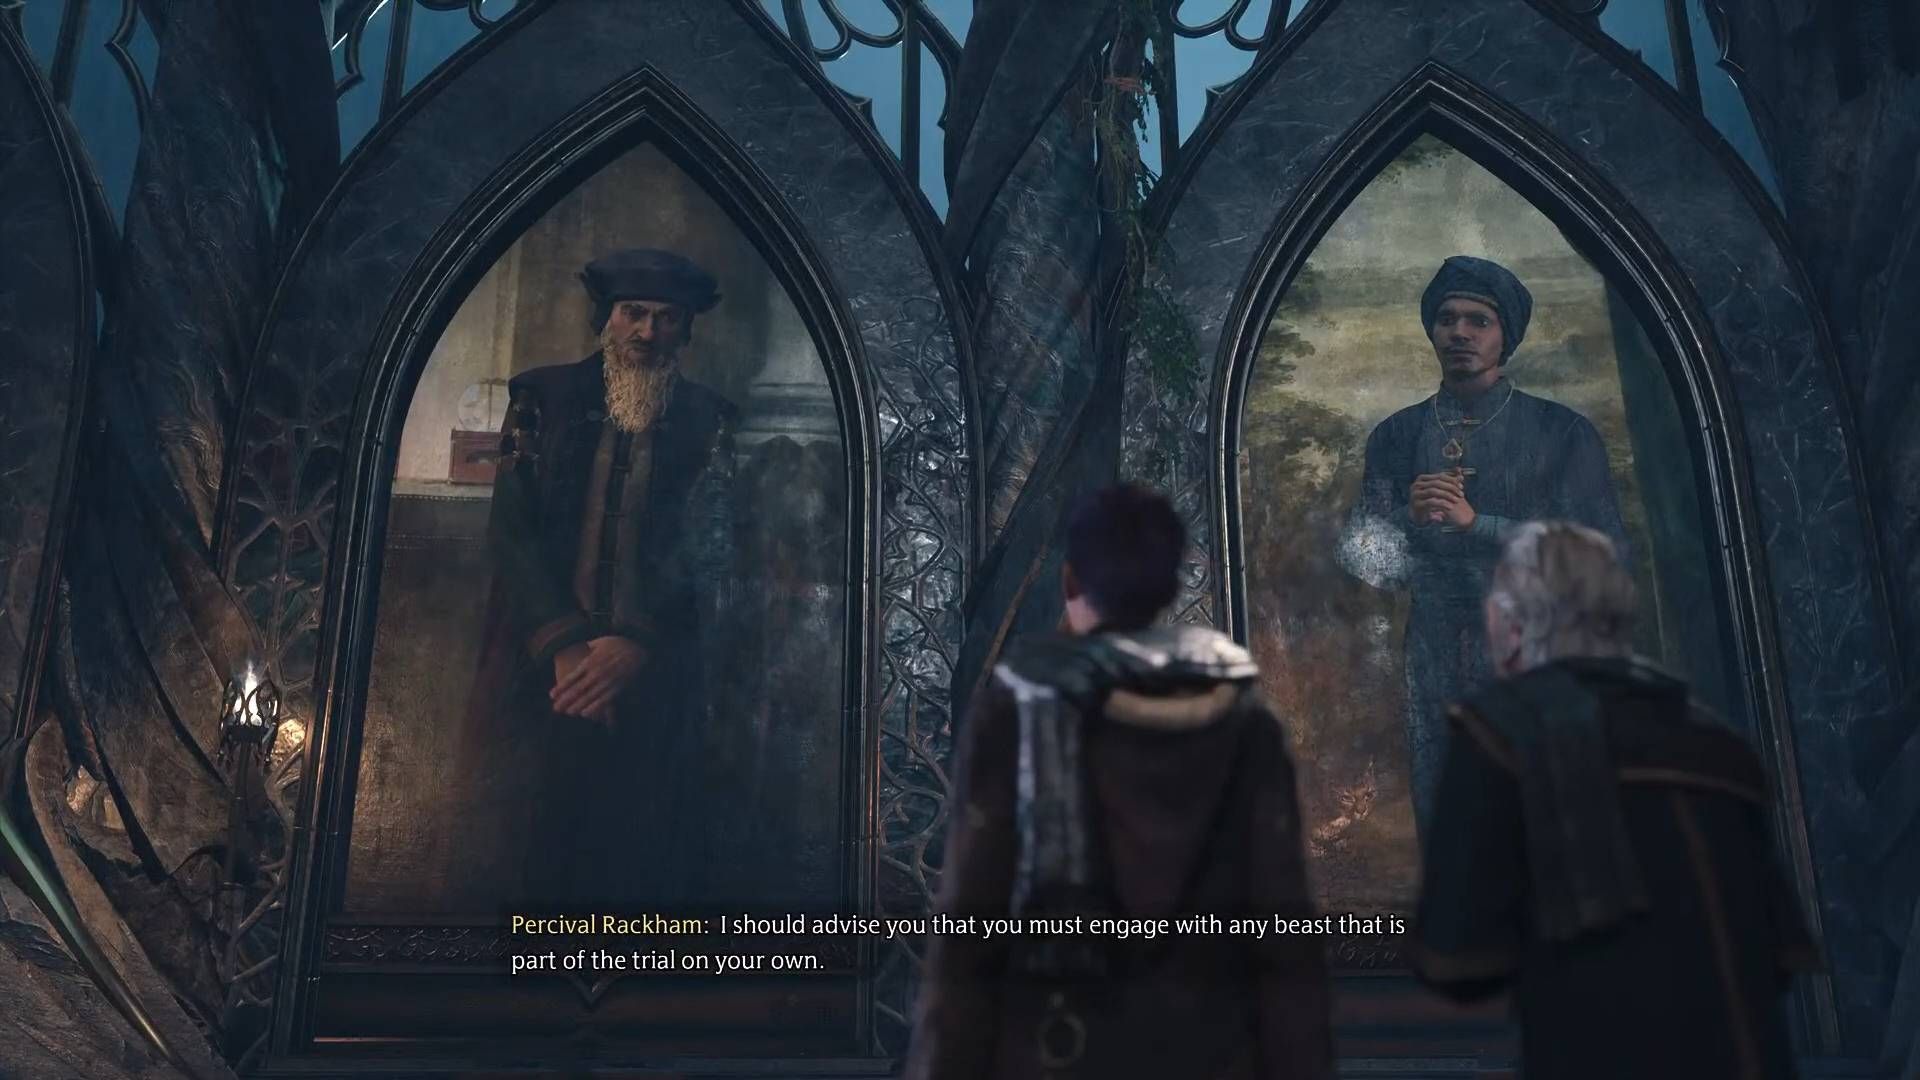
In this Chapter of Hogwarts Legacy, players continue the search for the pieces of Isidora Morganach's triptych, meet once more with Lodgok, and take on the last of the Keeper's trials.
This chapter of Hogwarts Legacy begins with a trip to the southern coast area to meet up with Sebastian in the shadow of the mountains and investigate goblin loyalist activity in the area.
In the Shadow of the Mountains
In order to begin this quest, players will need to make their way south and pass through some goblin-occupied caves that lead out to the southern coast. From there, players can meet up with Sebastian to get started.
He's still sore about us having a goblin friend but wants to keep investigating the triptych and has seen loyalists in a nearby cave similar to the cave where the last piece of the triptych was found.
Follow the path indicated on the map, clearing out goblins and grabbing some loot along the way, making sure to stop and investigate the nearby Thestral nest Sebastian points out. This triggers some extra dialog and provides an excellent opportunity to rescue some Thestrals for the Room of Requirement.
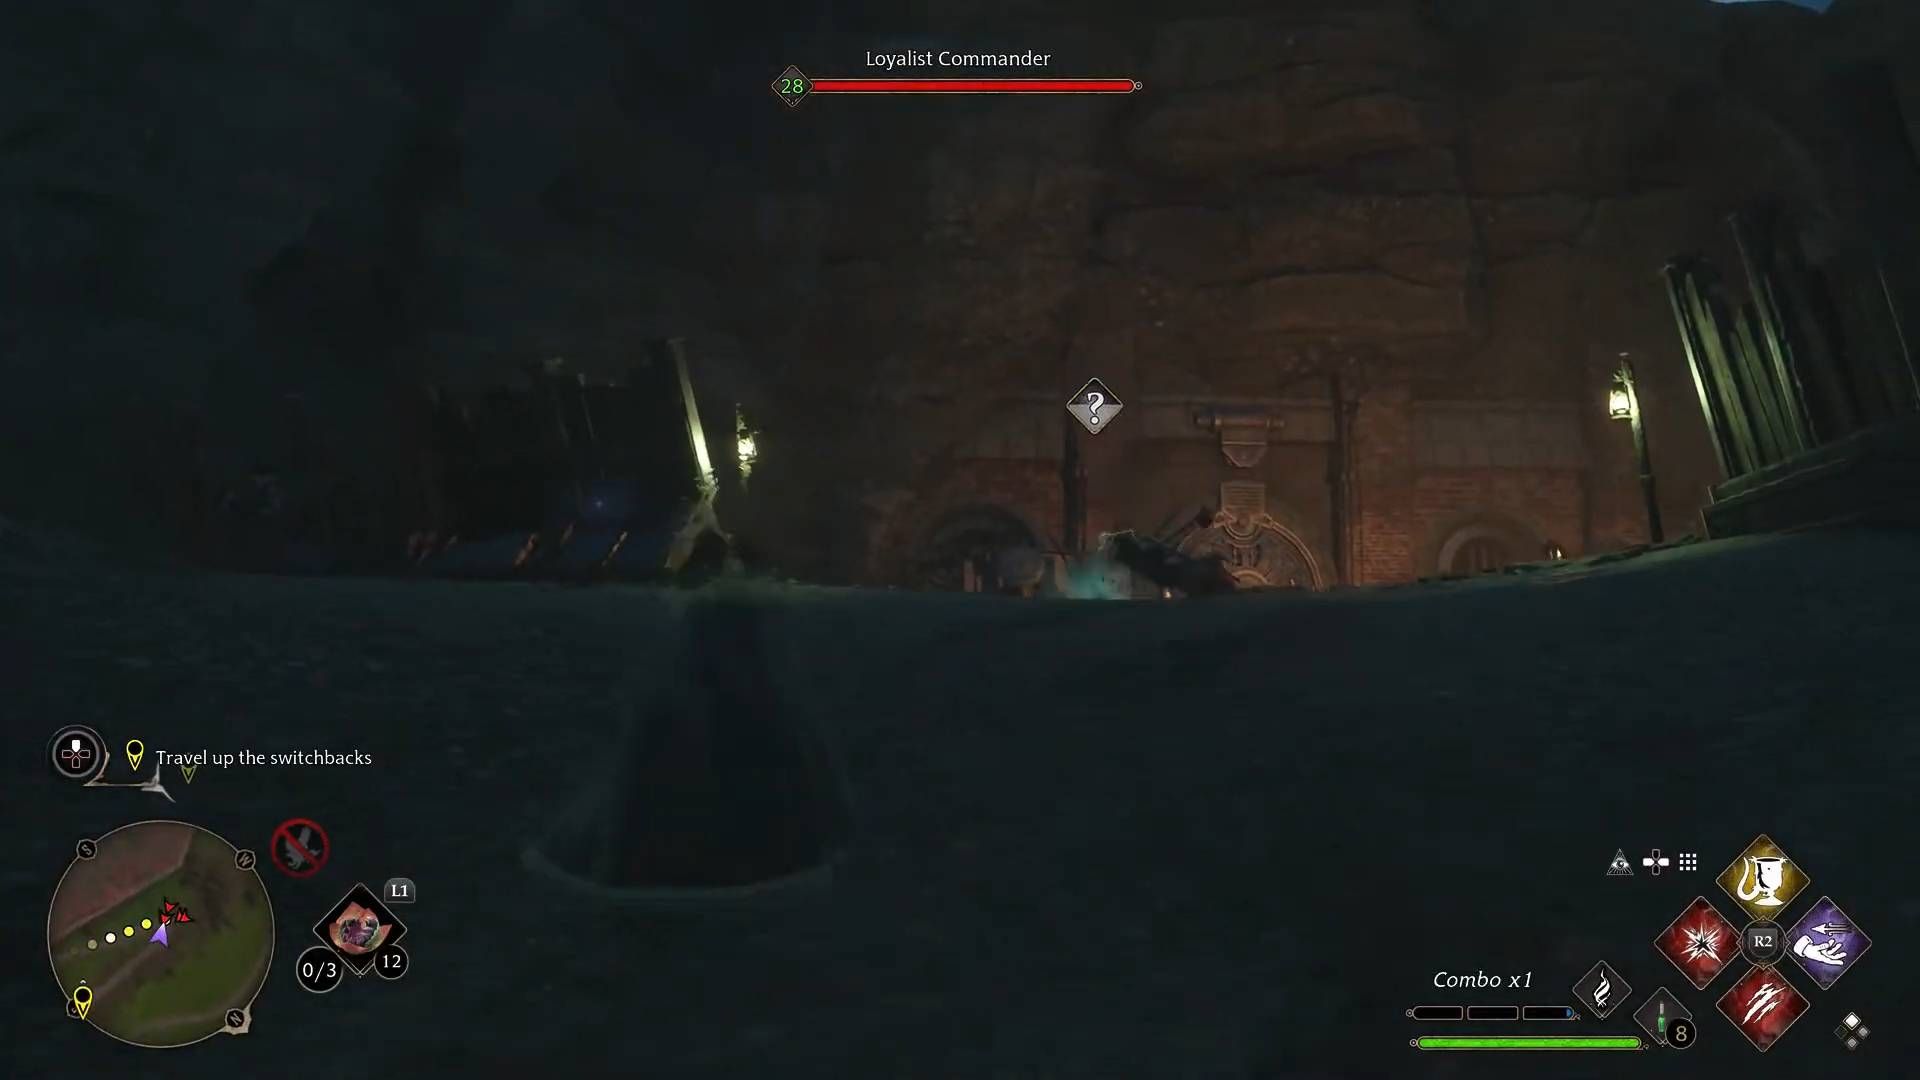
A short way down the path from the Thestrals is a large goblin camp where loyalist commanders can be found, who have dangerous leaping attacks that can be interrupted using Descendo to deal some serious damage.
After an argument with Sebastian, once the camp is cleared out, players should check the tents for a collection chest and then carry on climbing up the mountain to reach the cave and the goblins guarding it. Take them down, clear the air with Sebastian, and it's time to head inside and find the triptych piece.
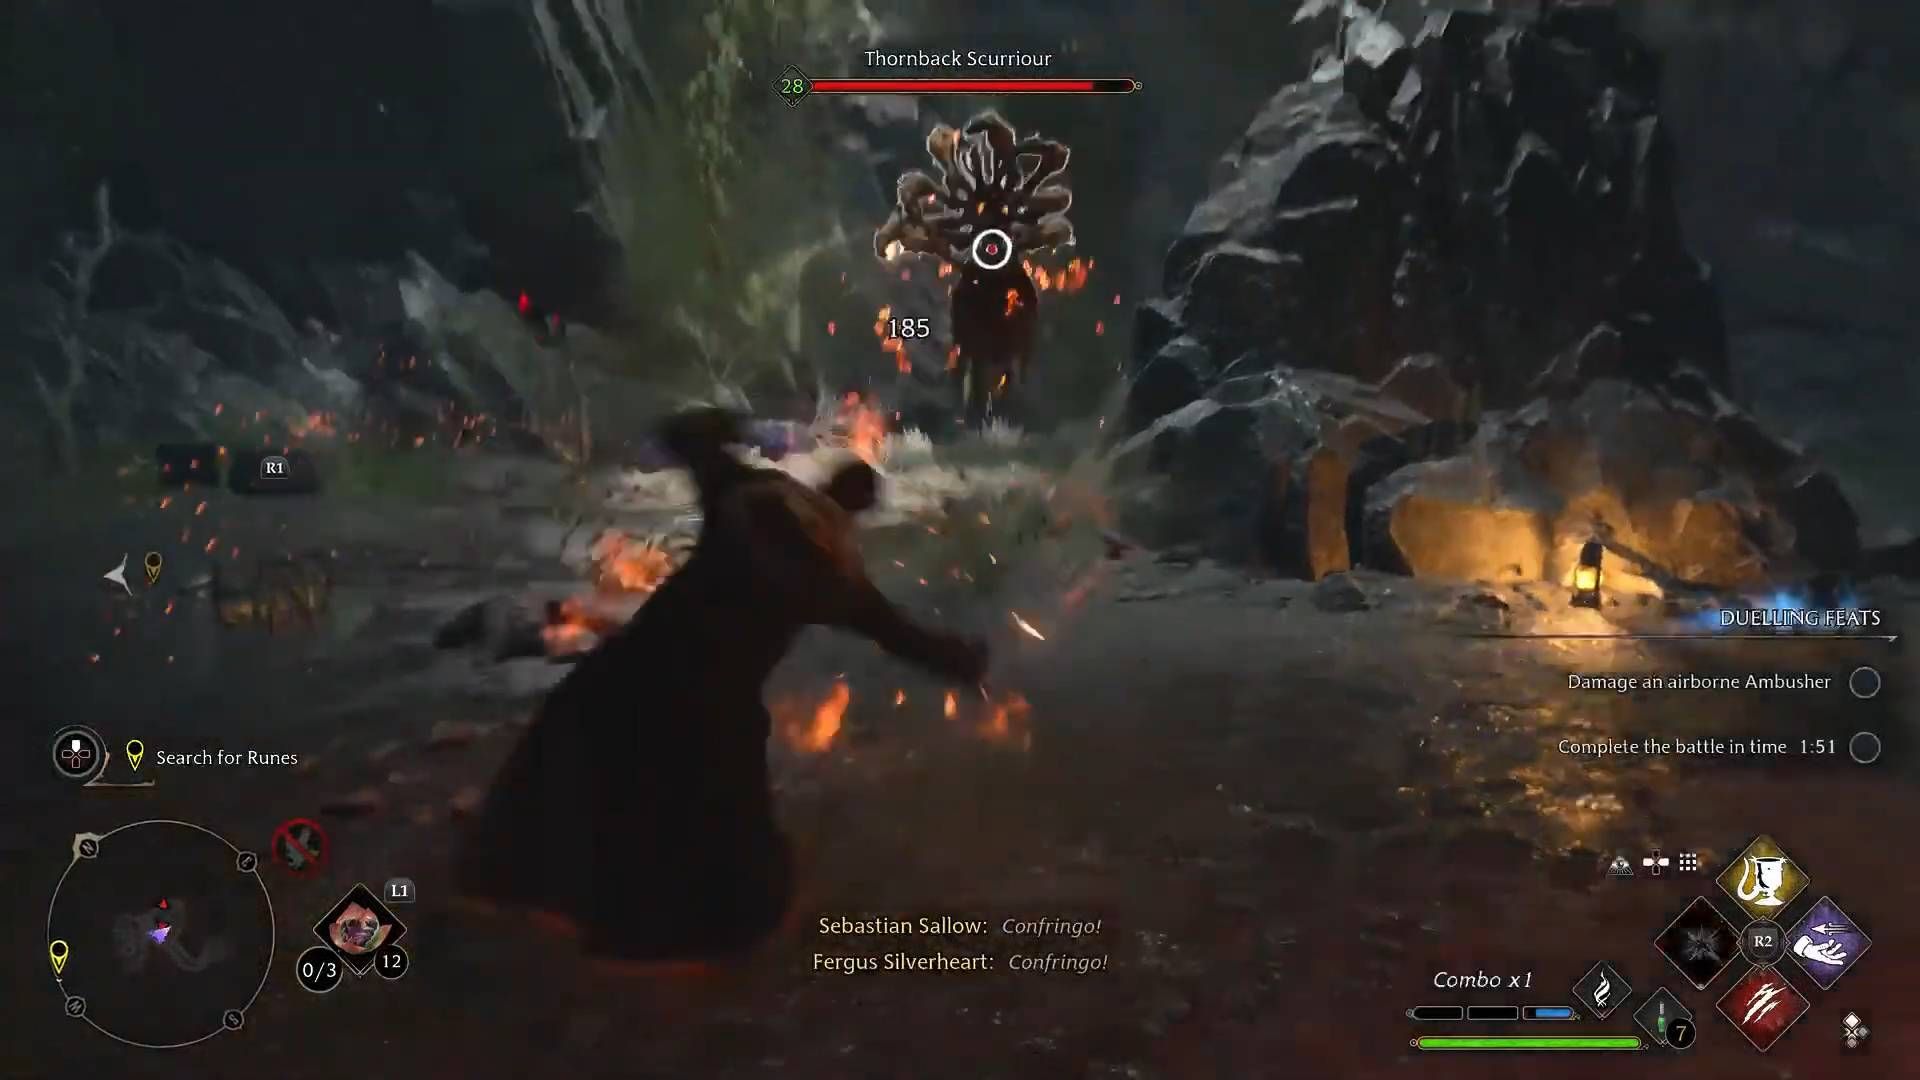
After entering the cave, players will quickly encounter numerous spiders. As always, fire is a very effective spider-repellant. Prioritize scurriours and the matriarch since they're the most dangerous ones. Once they're defeated, blast away the rocks blocking the left path to grab some loot, and then head back and take the right path, dropping down into the water to grab a chest and then wrapping around to get back onto the path.
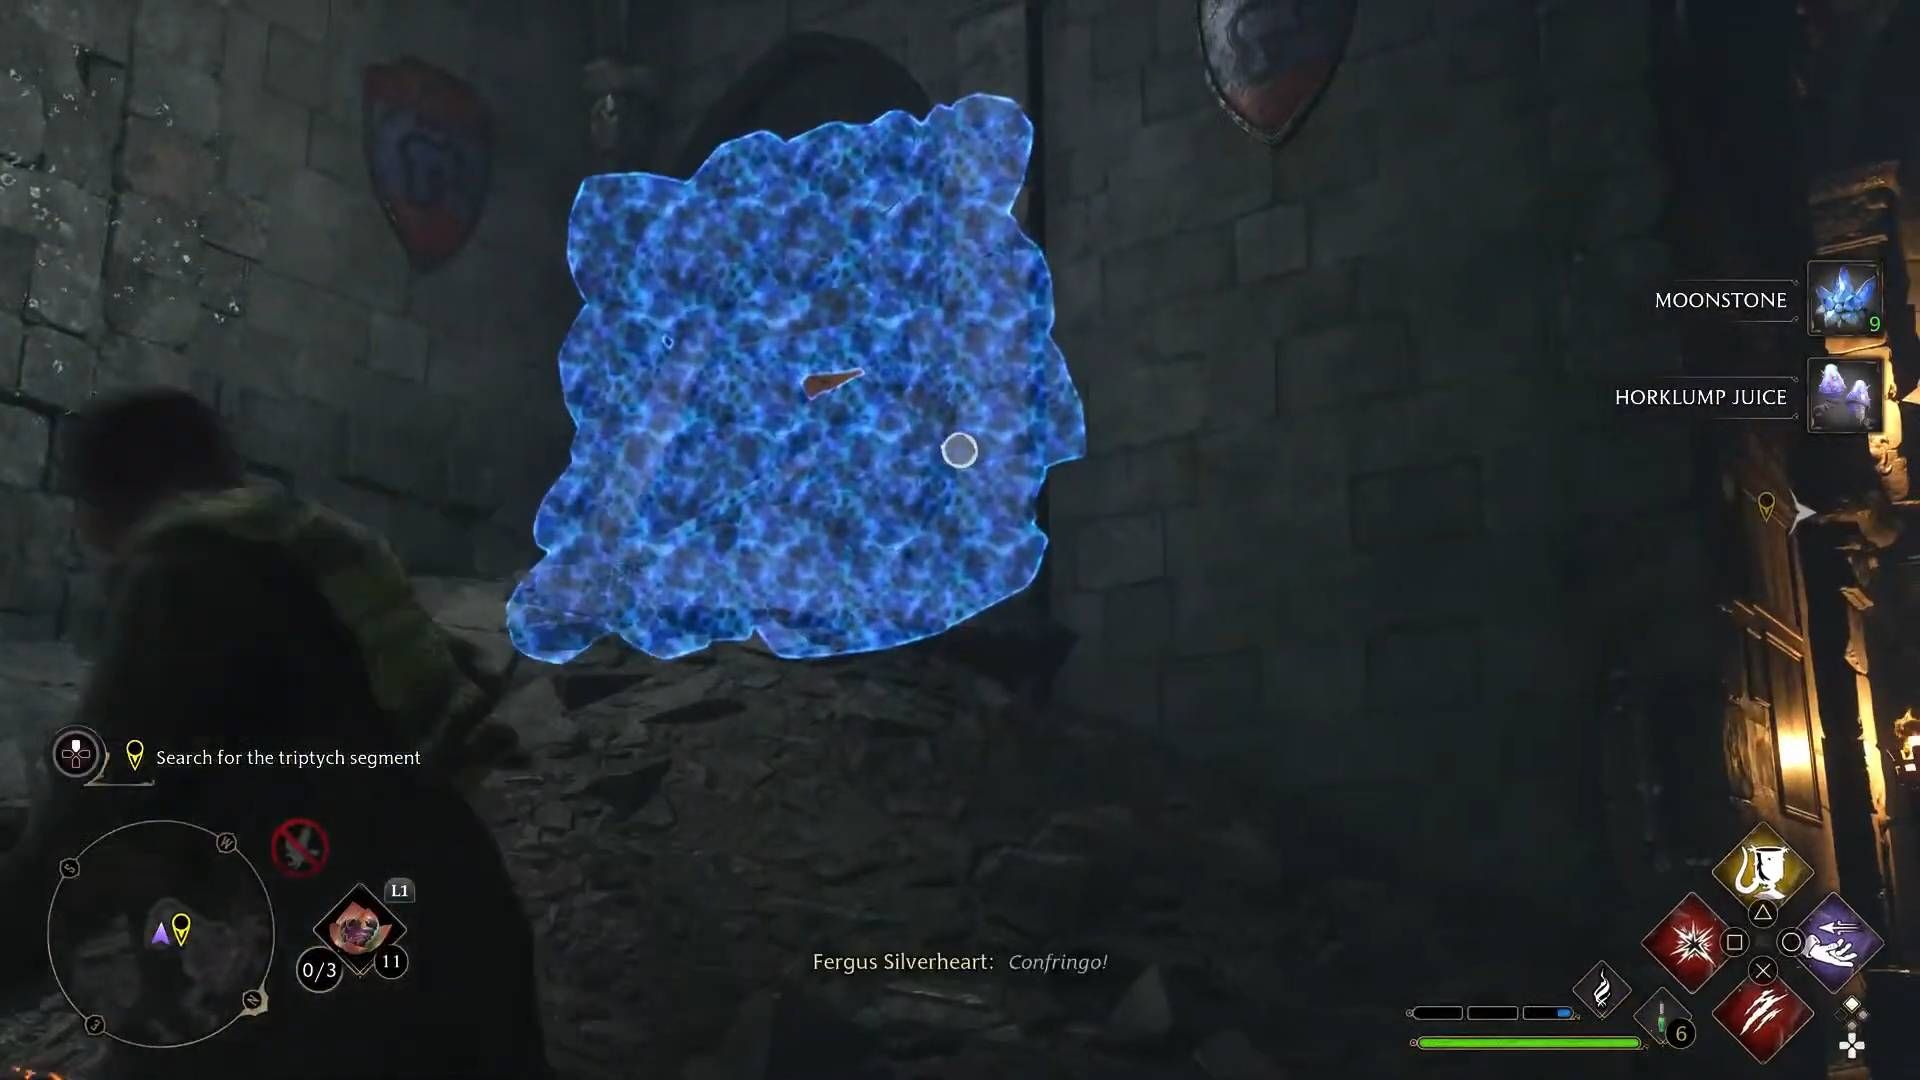
Press on, fighting off more spiders, to eventually find a staircase leading upward. Grab the chest by the pillar before climbing the stairs, burning through the webs, and blasting through the rocks. Use Confringo to burn away the egg sacks in the path beyond the rocks, so they don't hatch and create extra problems, then drop down into the big hall at the end of the path.
Fight off the spiders, including several matriarchs, and then it's time to solve another rune puzzle and open the door. Head into the side room to grab a chest, then burn the webs away from the three runes in the main hall and hit all three with Basic Casts to open the door. Before heading through, check the right side of the hall for a burnable web blocking a room with a collection chest inside it.
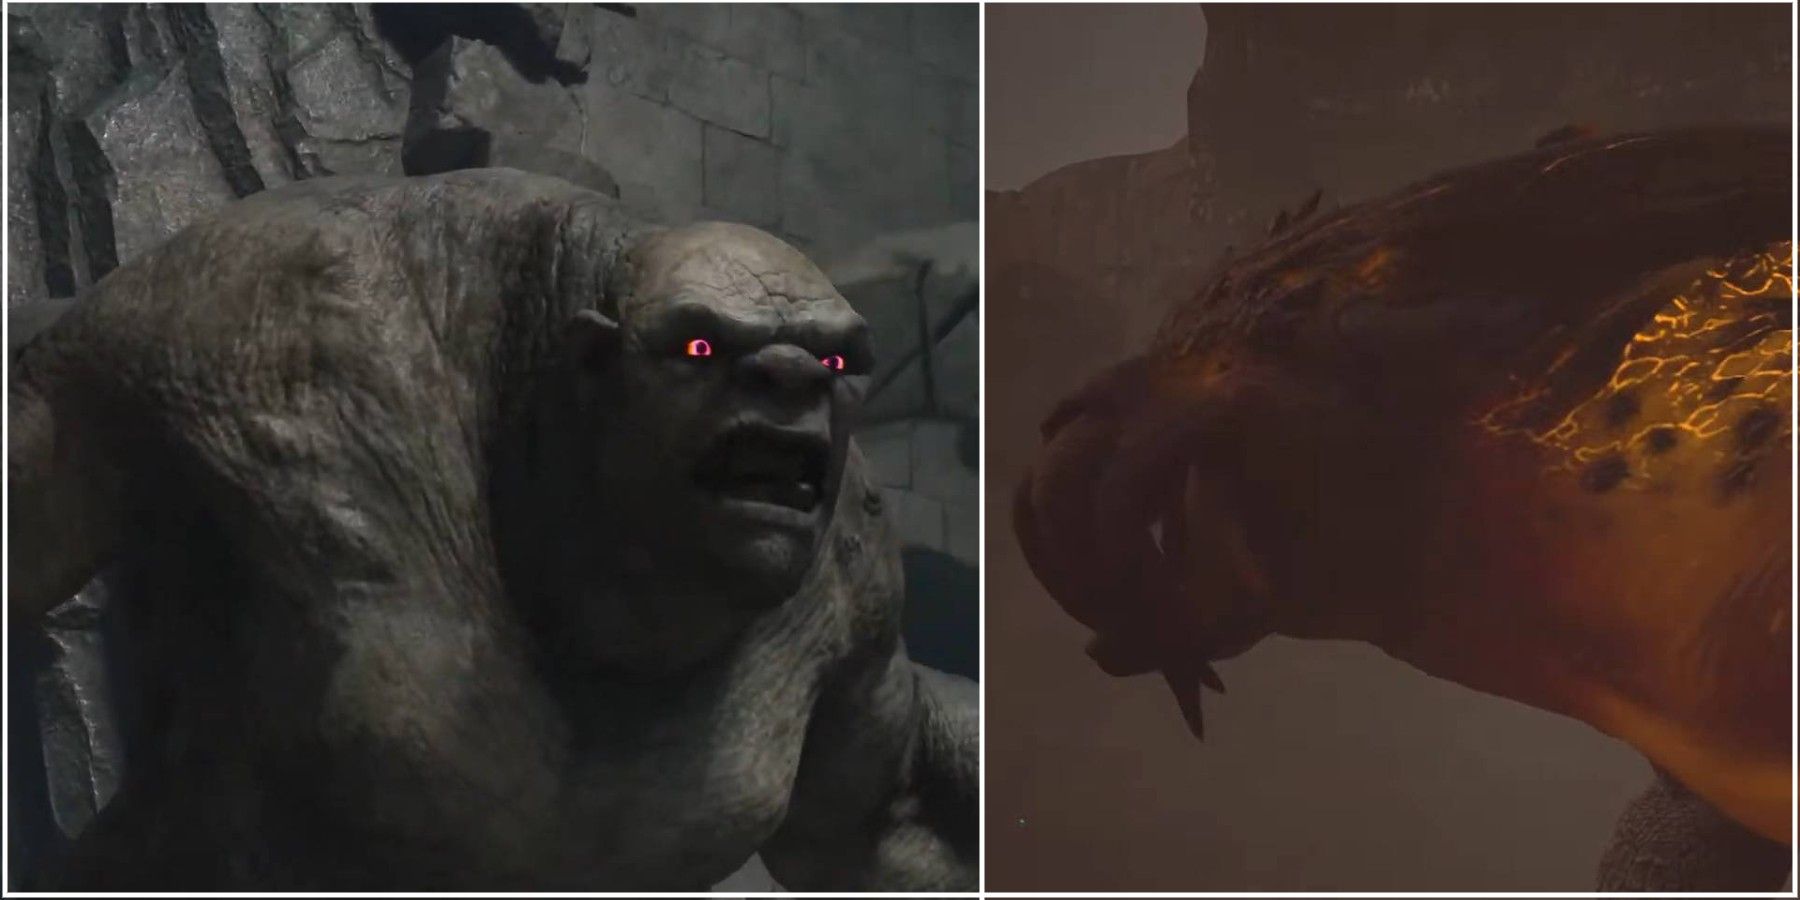
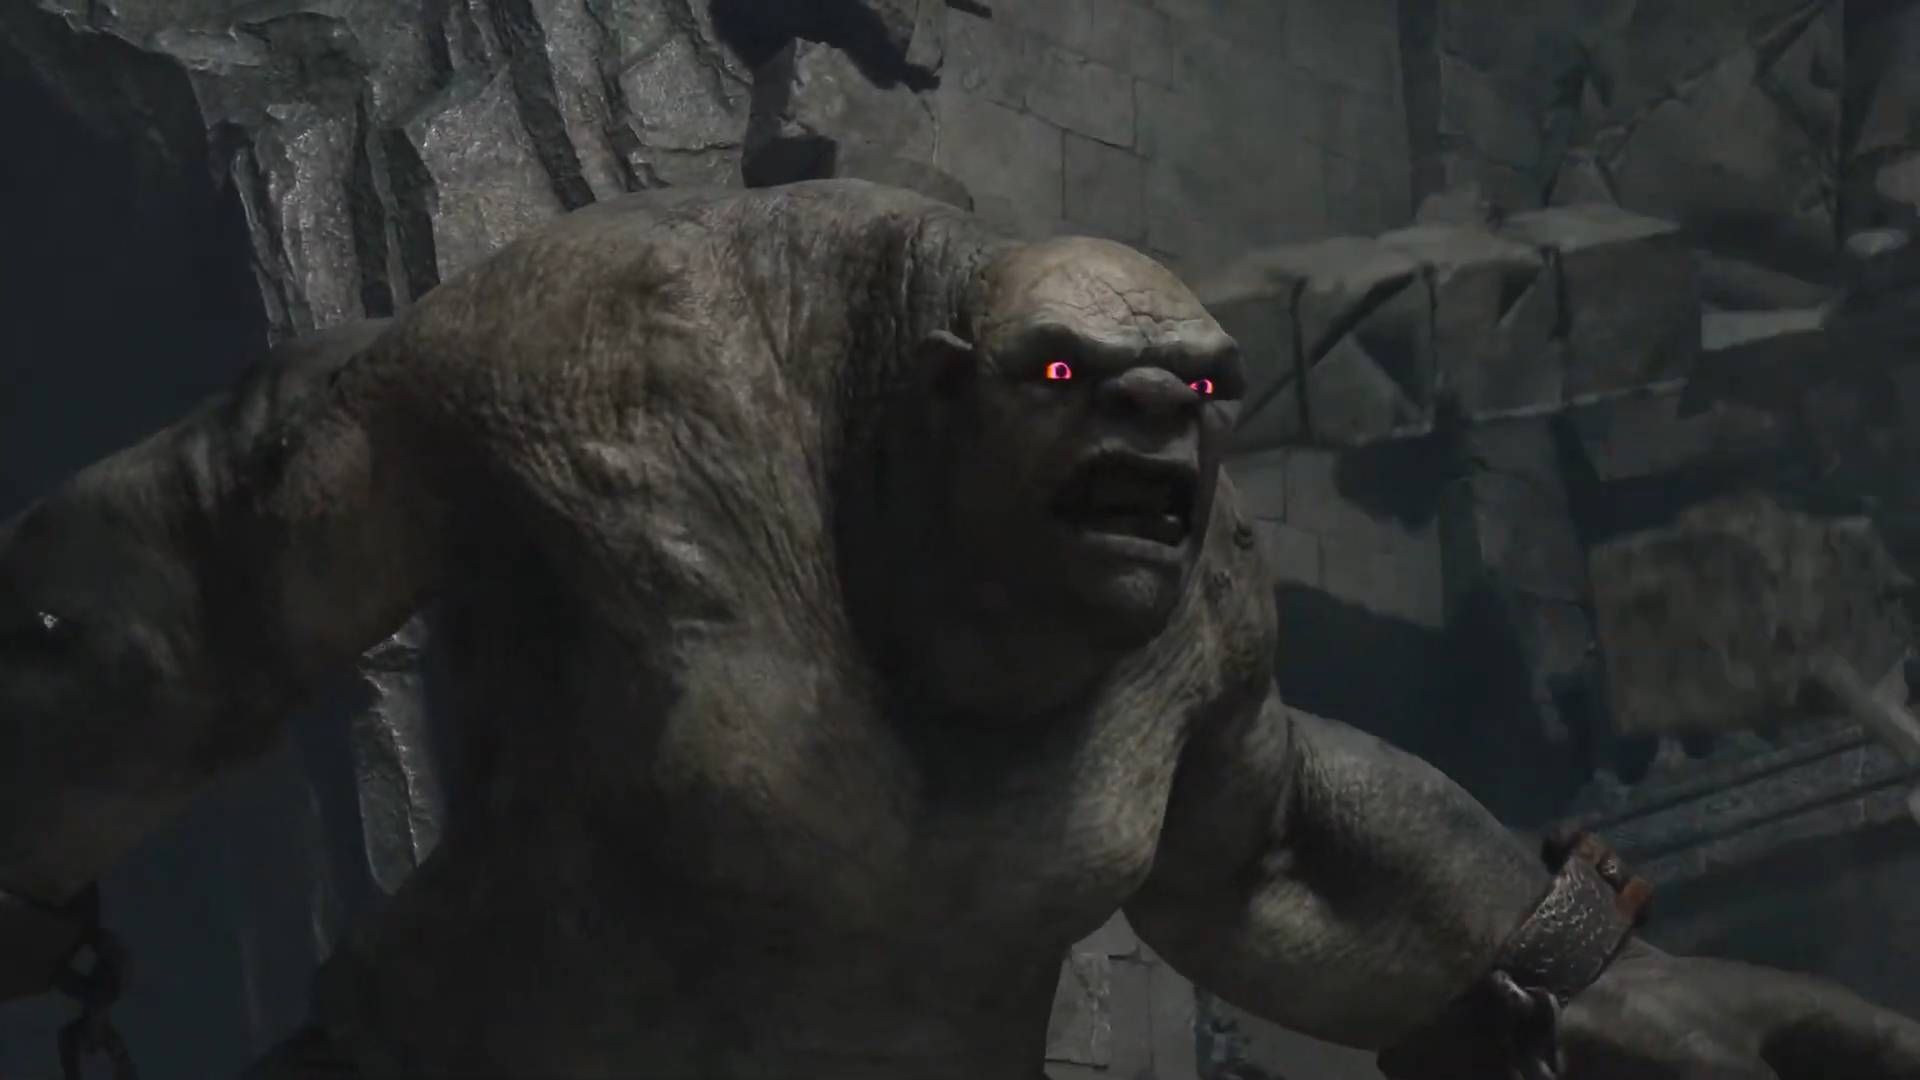
Head through the door in the main hall and slide down the slope to trigger a cutscene and meet a giant angry troll. Time for a fight, so here are some tips for fighting trolls.
Their charge attack will stun them if they collide with a wall or object, leaving them open to attack if players position themselves well and then dodge. After they slam their club into the ground, Flipendo can be used to smack them in the face with their own club for a huge amount of easy damage.
Finally, if their rock throw attack is blocked with Protego, the rock will bounce off and briefly become throwable with ancient magic, dealing a decent amount of damage. Keep these tips in mind, and the troll will go down in no time, and the spiders that back it up will still be easy to deal with using fire spells.
After the troll and its spider friends are defeated, players should head into the side room and use Incendio or Confringo to light the brazier in front of the statue, causing it to spin around and grant access to a chest. After this, players should head back to the main room and use Reparo on the stairs to get to the upper level.
In the next room, search for a chest and some journal entries from Isidora Morganach, then levitate the box and move it into position to use as a platform and climb up to the stairs leading out. Keep following the quest marker until a room with a collapsed exit is reached, then use Confringo, Depulso, or Bombarda to blow away the debris. Before heading further up, players should check the side room for another statue with a brazier, which reveals another chest when lit.
After heading up, players should break open the wall to the left of the door to reveal a third rune, and then hit the two runes furthest from the door, visible from the balcony that looks down on the lower room, and then head back towards the door and hit the rune behind the aforementioned breakable wall. This will open the door.
In the workshop beyond the door, players can find Isidora's final journal entry, the final piece of the triptych, and some loot. Speak to Sebastian and then find the crystal wall to teleport back to the Undercroft, complete the triptych, and reveal a Pensieve. Much like the keeper's Pensieves, this contains some of Isidora Morganach's memories, showing the moment she removed her father's pain from her perspective, along with her interactions with a goblin named Bragbor (who presumably created the ancient magic repositories Ranrok is looking for).
Sebastian will discuss Isidora's magic with the protagonist, suggesting they learn it and use it to help Anne. This is where the quest ends.
Lodgok's Loyalty
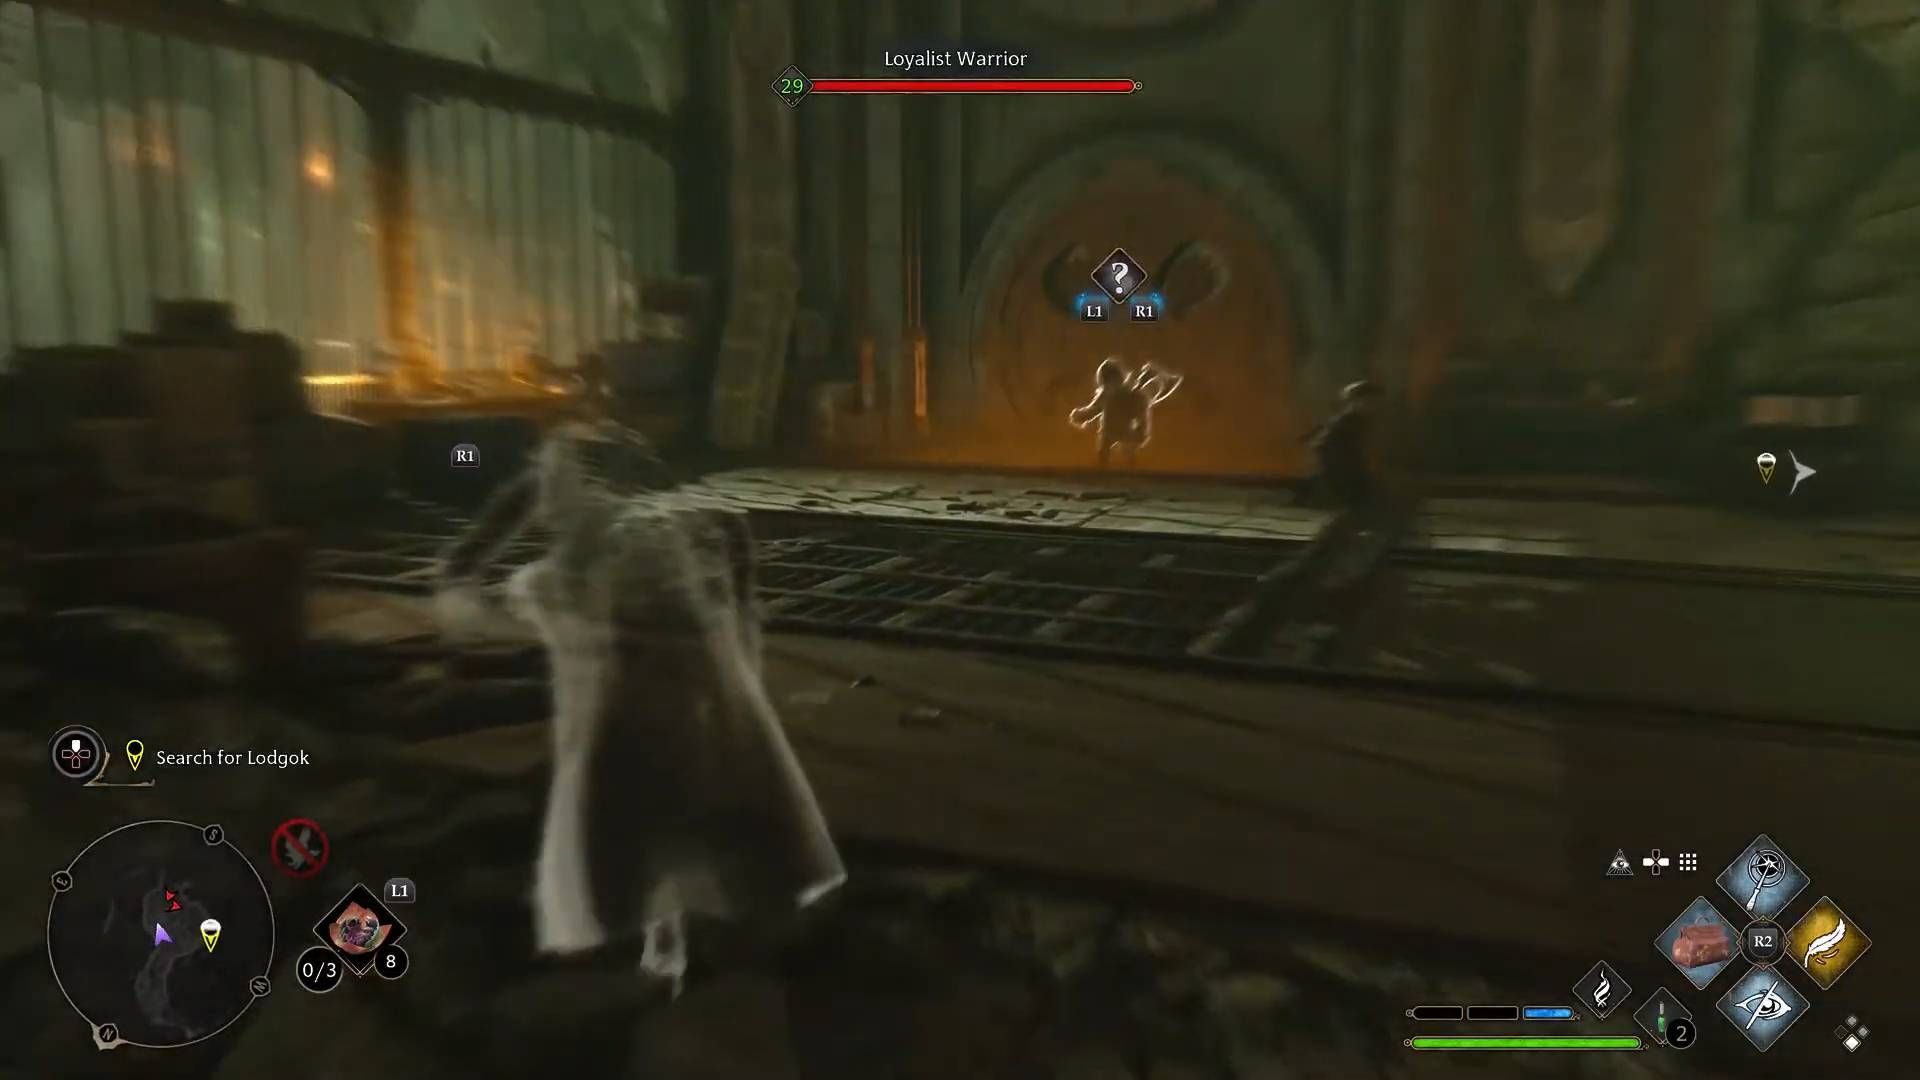
This quest begins at the mine mentioned in Lodgok's Owl Post, which is guarded by loyalists and their armored trolls. Players could skip past them with stealth or engage them in combat, taking advantage of the troll fighting tips in the previous section. Since Lodgok is nowhere to be seen, players must head into the mine and look for him.
Heading through the linear path, players will come to a room with some goblins to fight. After they've been defeated, loot the room and use the cart to head further into the mines. Continuing along, players should make sure to light the boiler on their way up some metal stairs since it will be important later. Carrying on in, players will find a platform with an Accio handle, so pull it over, hop on, and use Accio on the handle on the other side of the gap to pull the platform across.
After reaching an area with some more loyalists to fight and taking them down, players can check the path on the right (pulling down the box to use to climb up the ledge) for a gate blocked by a level 3 Alohomora lock that leads into a side area with chests to loot.
Heading back to the main path, the left side has some climbable ledges that lead to extra loot. After that, head back one more time and go through the gate that was directly ahead when the player arrived and light the boiler, then proceed to the elevator at the far end of the room.
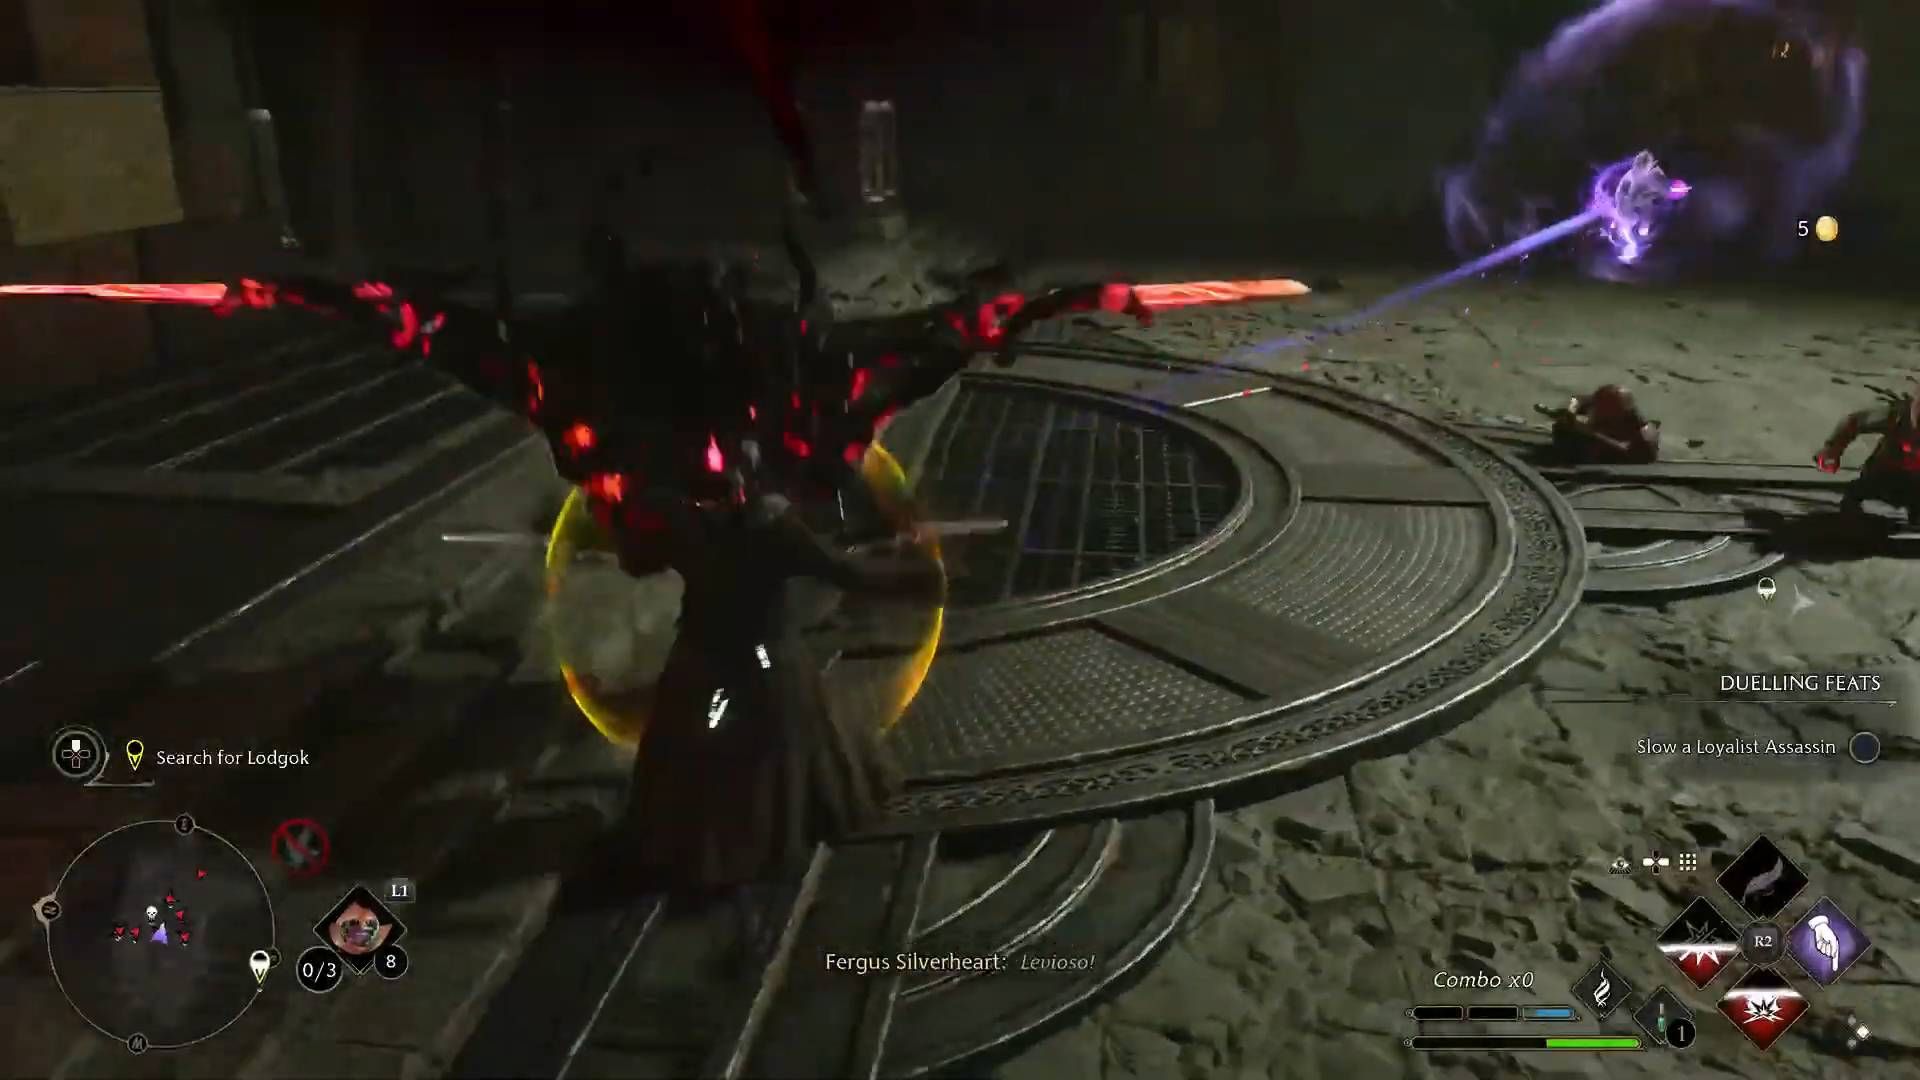
In the room the elevator arrives in, players will need to take on Grodbik, some loyalists, and an armored troll. Grodbik is very similar to other Loyalist elite enemies and requires no special tactics to defeat beyond breaking their shields with the appropriate spells.
After the room is clear, take the elevator back up and follow the quest marker, using Accio to move the platform and get across the gap. Fight off some more loyalists and then take the staircase to the right of the cart to get some loot, then head back and take the cart.
After riding the cart, players can finally reach the Accio switch that the boiler from the start of the area powers up. Pull it to unlock the door and grab the collection chest inside, then take the cart back and look for the elevator near the stairs.
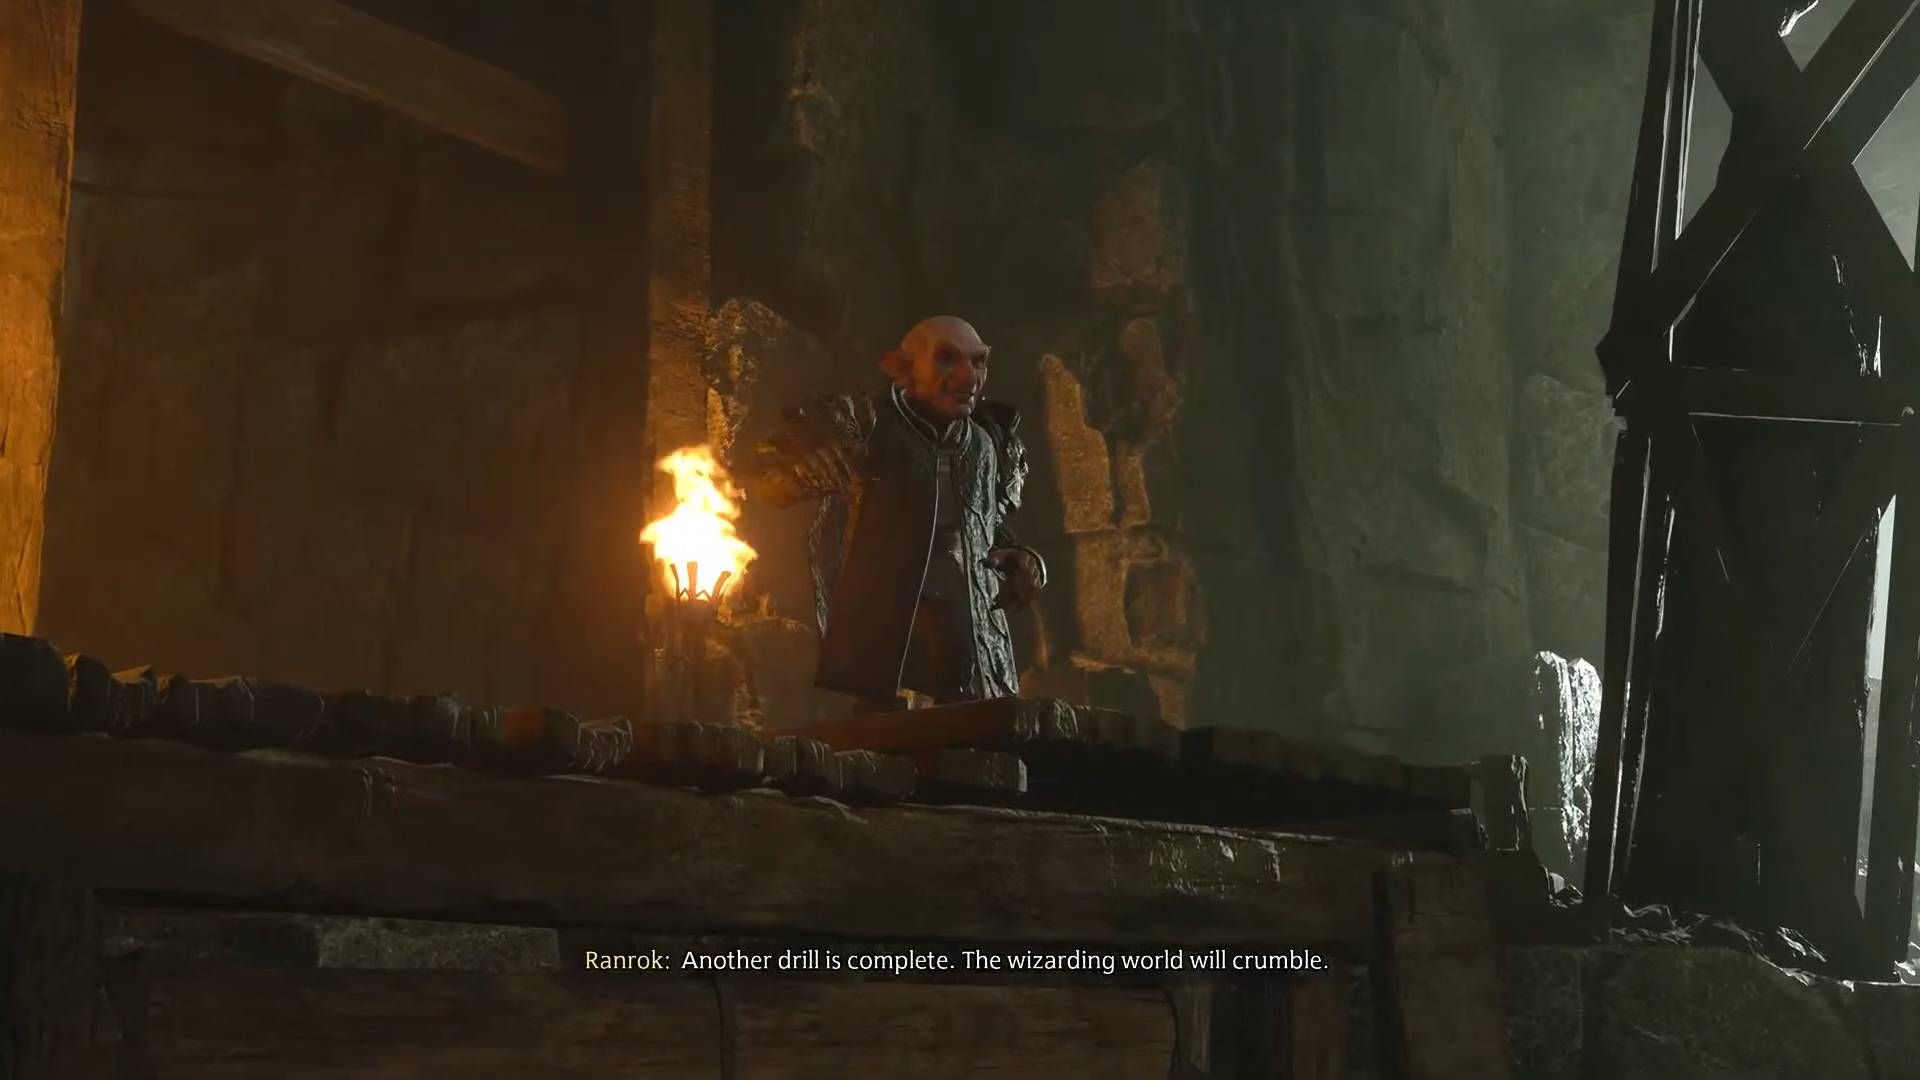
Light the boiler to power up the elevator and then take it up, following the path to find Ranrok and his drill. Take out the loyalists and the troll, then crush the drill by taking out the tunnel's support pillars using spells like Bombarda.
With the drill taken out, Ranrok will confront the player alongside Rookwood, who found Lodgok outside carrying Bragbor's last journal. This journal contains the location of the other magic repository, and Lodgok was planning to give it to us until he got caught.
Calling Lodgok a traitor, Ranrok kills him, and then Rookwood attempts to betray Ranrok using the killing curse. He misses, but in the ensuing confusion and the cave collapsing, the player is able to escape. Having lost a friend, the quest ends on a sour note.
San Bakar's Trial
Players can now head back to the Map Chamber to inform Professor Fig and the Keepers about Bragbor's journals. With the threat made clear, the Keepers guide players to the final trial, which is located in the southern coast region like many of the other quests in this chapter.
After meeting up with Professor Fig at the quest location and burning away the vines blocking the huge door up ahead, players will see a stone Graphorn. Professor Fig theorizes that the player will need to find a Graphorn and bring it here if they hope to pass through the door. Luckily, the "Lord of the Shore" lives in the area, so the Professor tasks the player with finding it and bringing it to the door.
Heading to the place the Professor indicated, players will find the Lord of the Shore without too much trouble. The difficult part will be convincing it to help since it immediately attacks and forces players into a boss fight.
The Graphorn is a deadly foe at close range, so it's best to engage it from a distance and dodge when it uses its various charging and leaping attacks. It takes lots of damage from ancient magic, so building up a combo and collecting the energy to unleash ancient magic as often as possible is a good plan here. Powerful damaging spells like Diffindo and Bombarda can also be very useful here. At half-health, a cutscene plays, and the Graphorn gets faster and more aggressive.
After defeating the Graphorn, players are given the option to either attack or kneel. Whatever option is chosen, the player is now able to ride the Graphorn back to the door, using its incredible charge to break through any poacher blockades in the way with ease.
Back at the door, stand the Graphorn on the platform with the footprints to open the way to San Bakar's Pensieve. The Pensieve is otherwise unguarded, and viewing the memory within reveals the ultimate fate of Isidora Morganach at the magic repository beneath Hogwarts.
Returning to the Keepers, the protagonist is told that the relics collected from each trial may be used to create a special wand, opening the path to the repository beneath Hogwarts, which Ranrok is likely drilling toward as they speak. With a goal in mind and the end of Hogwarts Legacy's story in sight, the chapter ends.
Hogwarts Legacy is available now for PS5, PC, and Xbox Series X/S. It's coming soon to PS4, Xbox One, and Nintendo Switch.

