This chapter of Hogwarts Legacy has players finally taking on Rookwood and his former ally and more dangerous antagonist, Ranrok. That means heading to Hogsmeade to speak to a man about a wand.
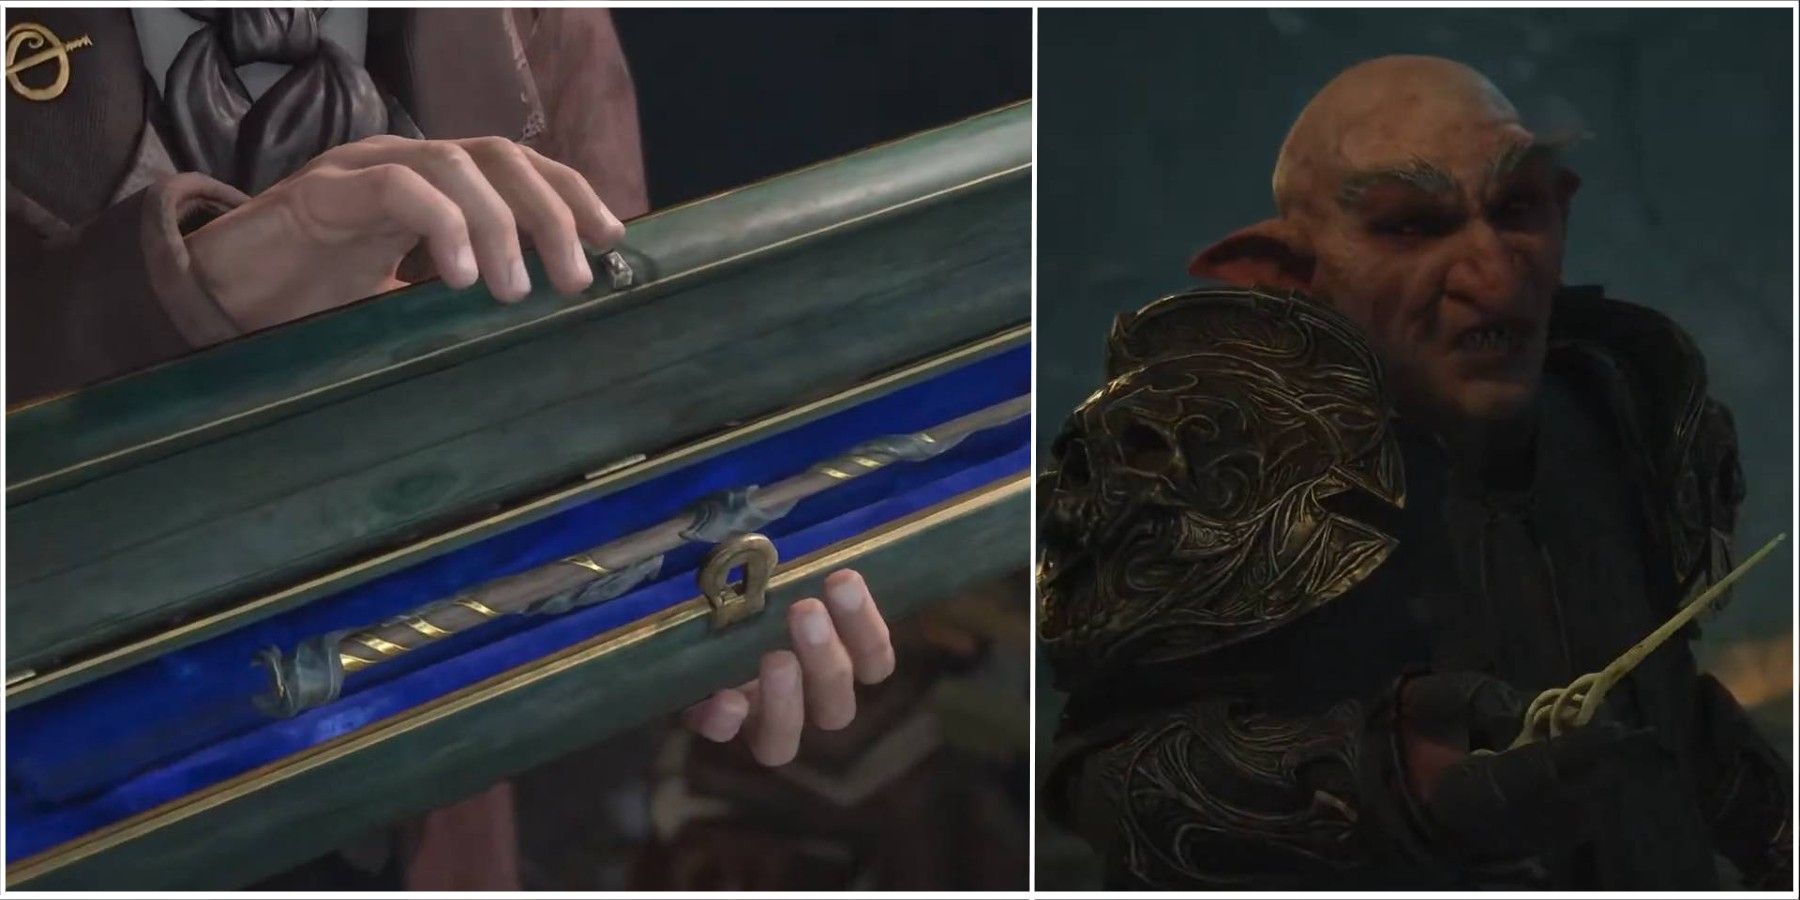
As this chapter of Hogwarts Legacy begins, players head into Hogsmeade to speak to Ollivander about making a wand from the relics. Finally, a use for the mystery relics from the trial. Ollivander is happy to help and soon emerges from the back room with a box containing the special wand, which he says will likely only be useful for "a unique purpose" and nothing else.
Wand Mastery
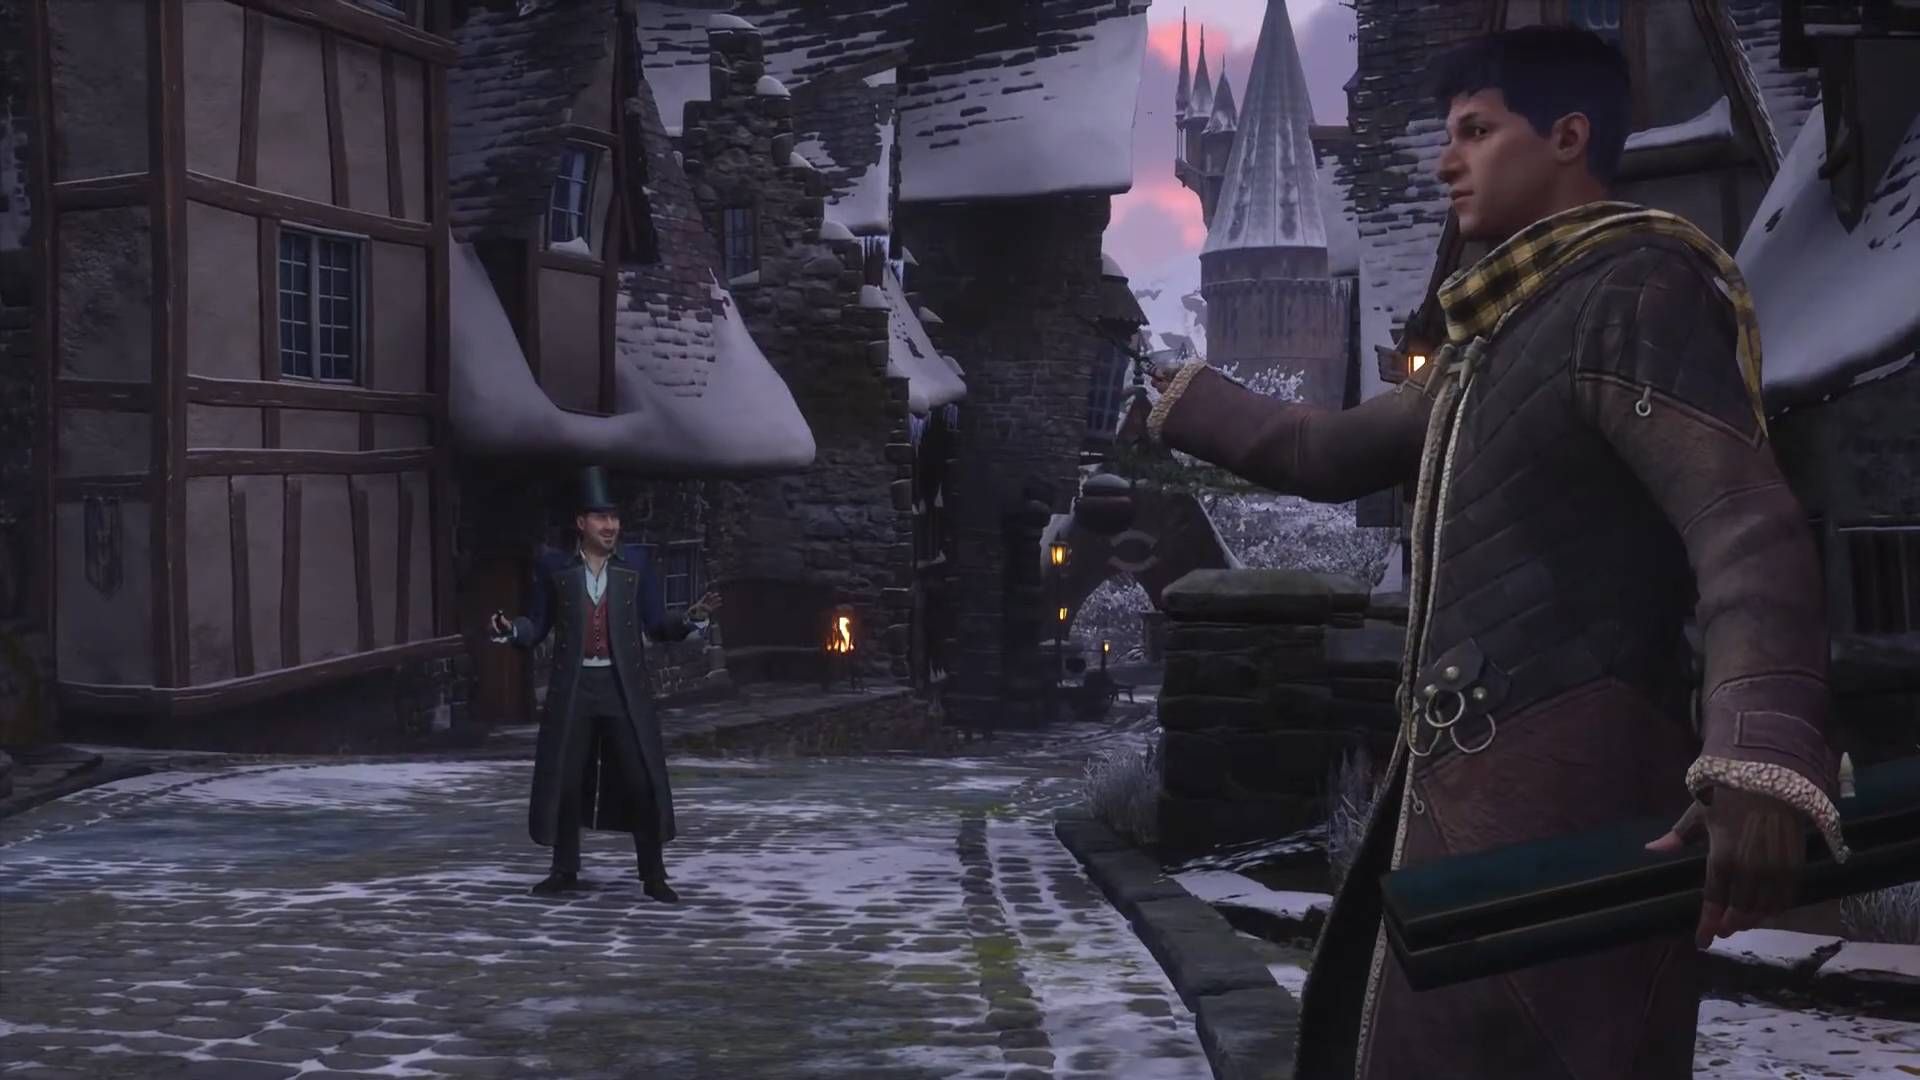
After the trip to Ollivanders and retrieving the relic wand needed to reach the repository, players will be immediately confronted by Victor Rookwood. He attempts to form an alliance, stating that Ranrok is no longer his ally and he doesn't want goblins taking "what is rightfully ours."
When the protagonist understandably doesn't trust the murderous maleficus and his offer of an alliance, he says some eerily familiar words: "Children should be seen, and not heard." An Ashwinder then grabs the player from behind and apparates them into a ruin in the wilderness.
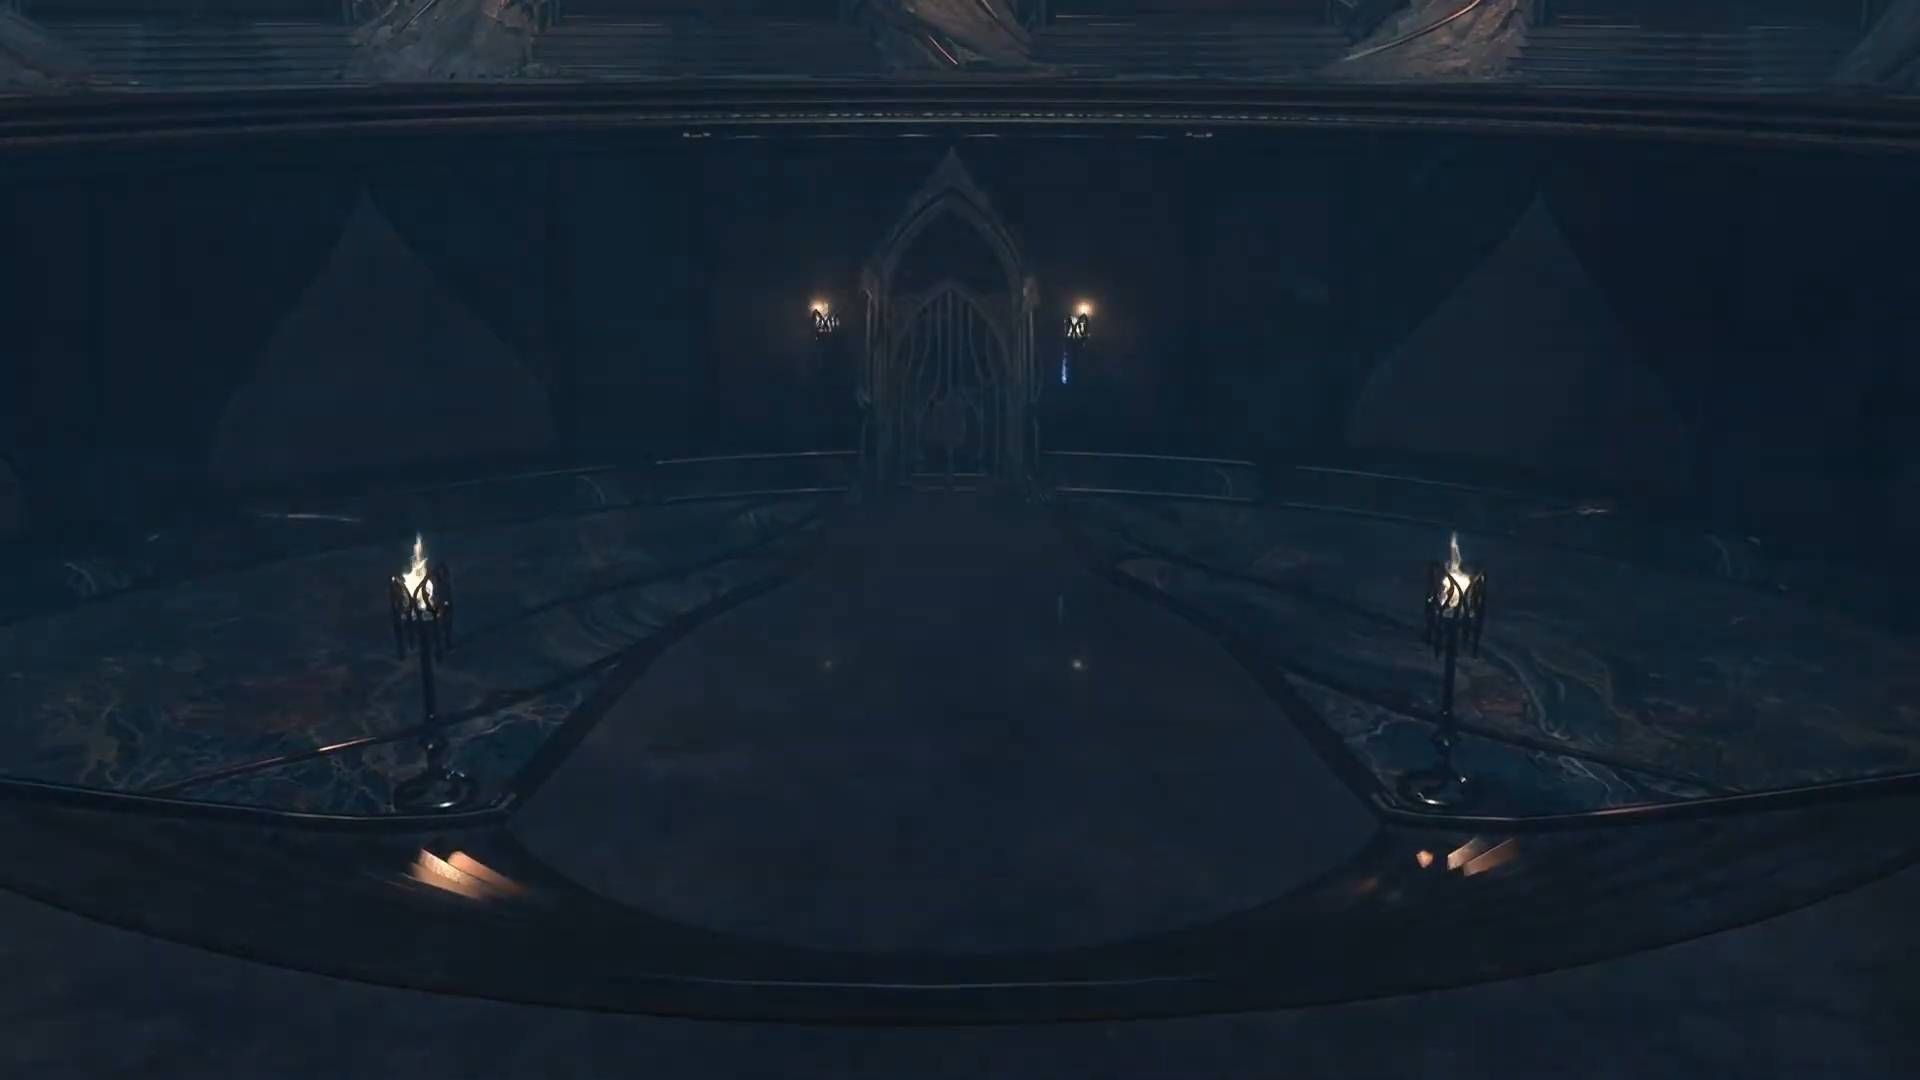
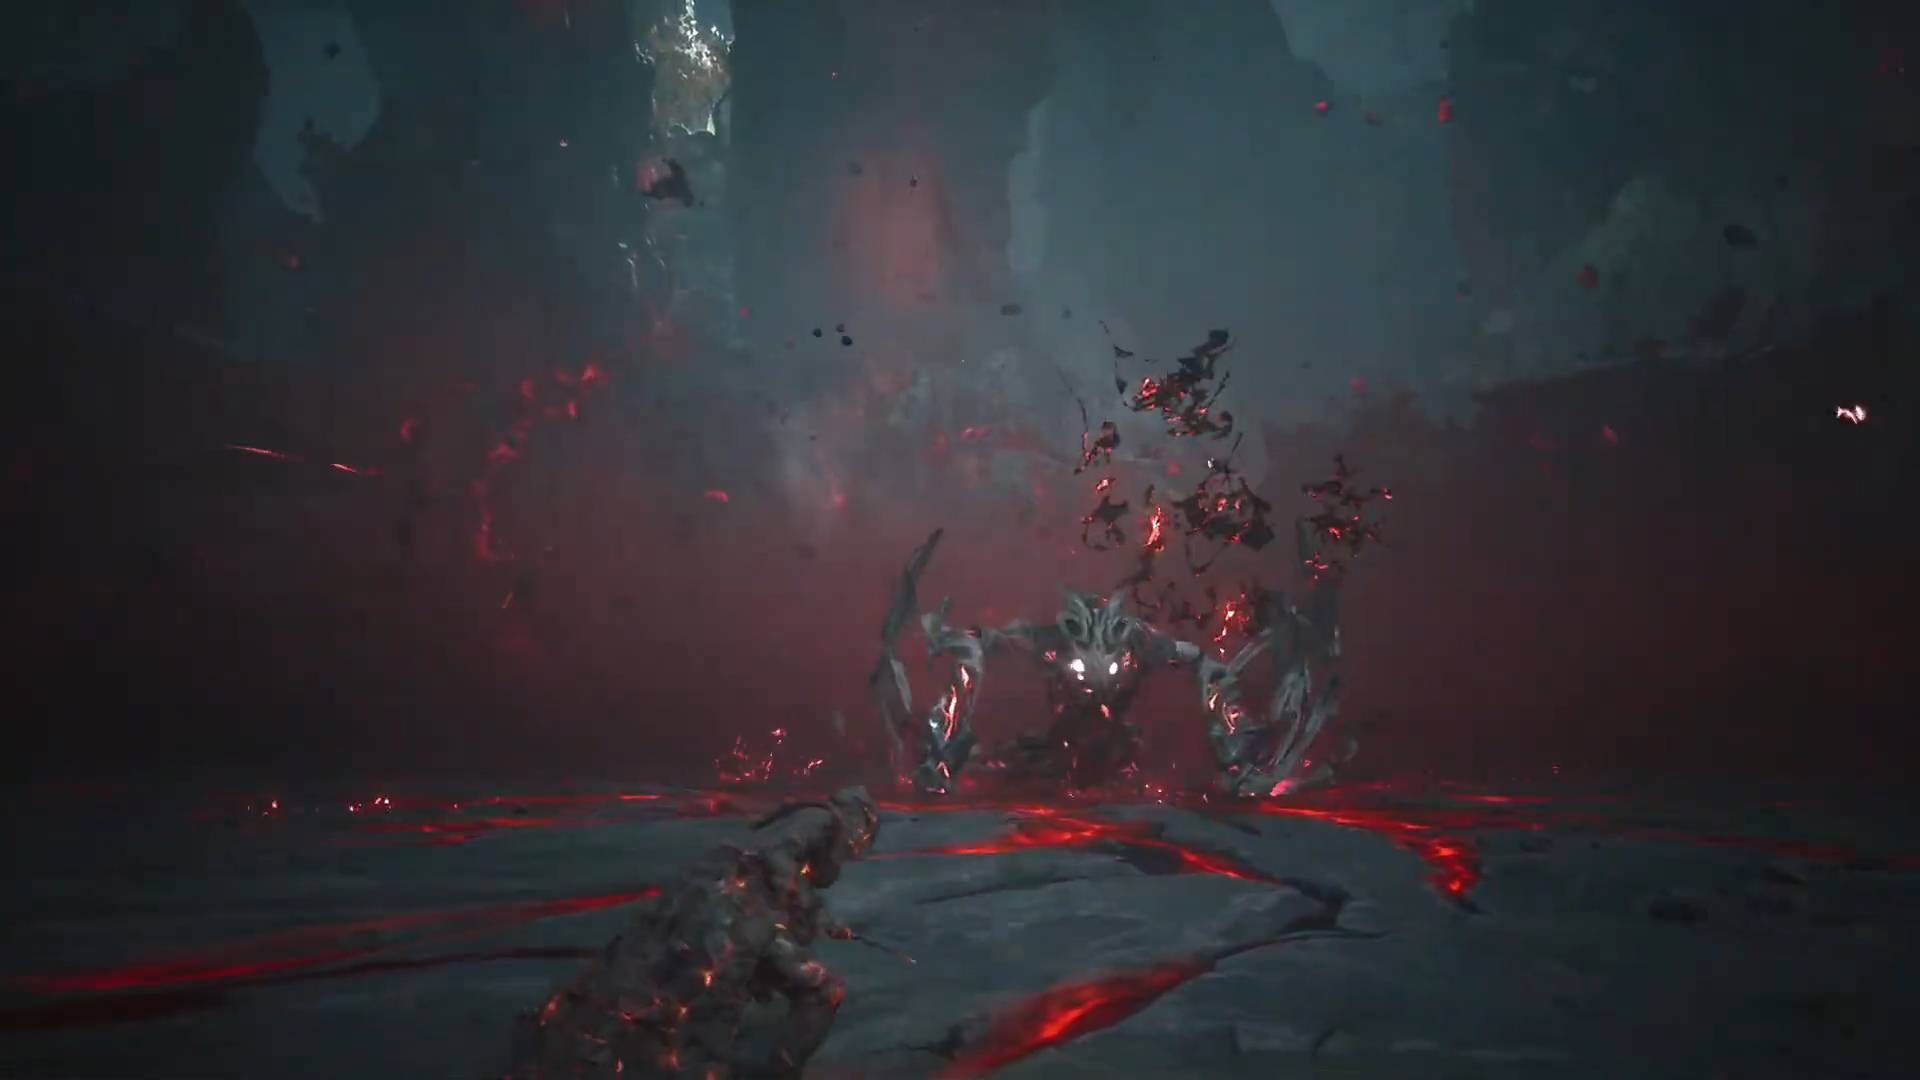
Now it's time for a boss fight, with players taking on waves of Ashwinders with interjections from Rookwood and eventually taking on Rookwood himself. Players should make use of the appropriate spells to break through enemy shields and ration out their usage of Wiggenweld potions as best as possible since this is a long fight with no opportunities to restock outside enemy drops. Use Arresto Momentum on executioners when they use their powerful lighting-calling spells to leave them open for follow-up attacks.
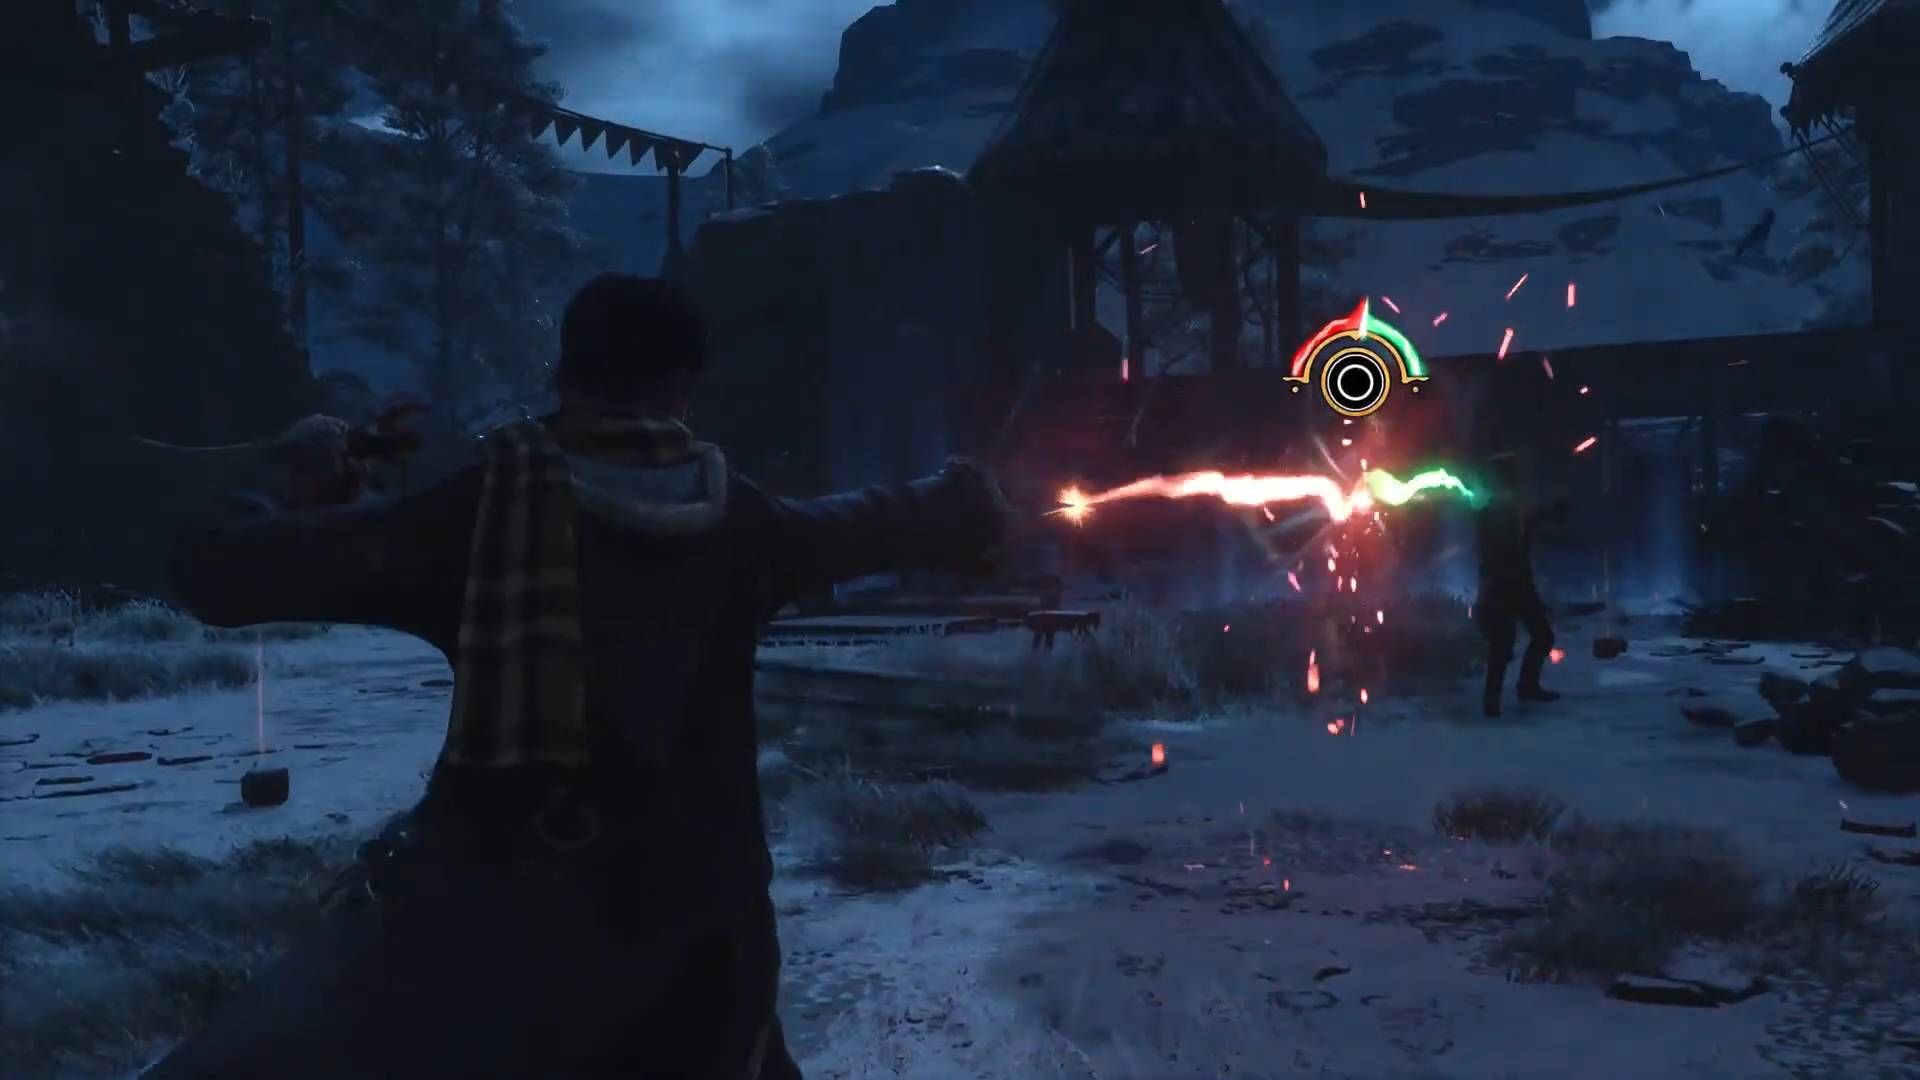
Between waves, Rookwood will apparate into the arena and clash with the player using Avada Kadavra, prompting players to mash the button on screen to push his attack back. After this, Rookwood will enter the arena properly alongside his reinforcements, using a white shield that can only be broken using ancient magic, ancient magic throw, or unforgivable curses. (The perfect guard shockwave from Protego Mastery will also break this shield)
Once Rookwood himself is out of health, he'll initiate another spell clash, and winning this clash will kill him and finish the fight. This also ends the Wand Mastery quest.
The Final Repository
Returning to the Map Chamber and revealing the events in Hogsmeade to Professor Fig, it's time to head for the Final Repository and stop Ranrok from exploiting its terrible power. Heading through the newly opened entryway, players enter the tunnels beneath Hogwarts and begin the journey to the Repository.
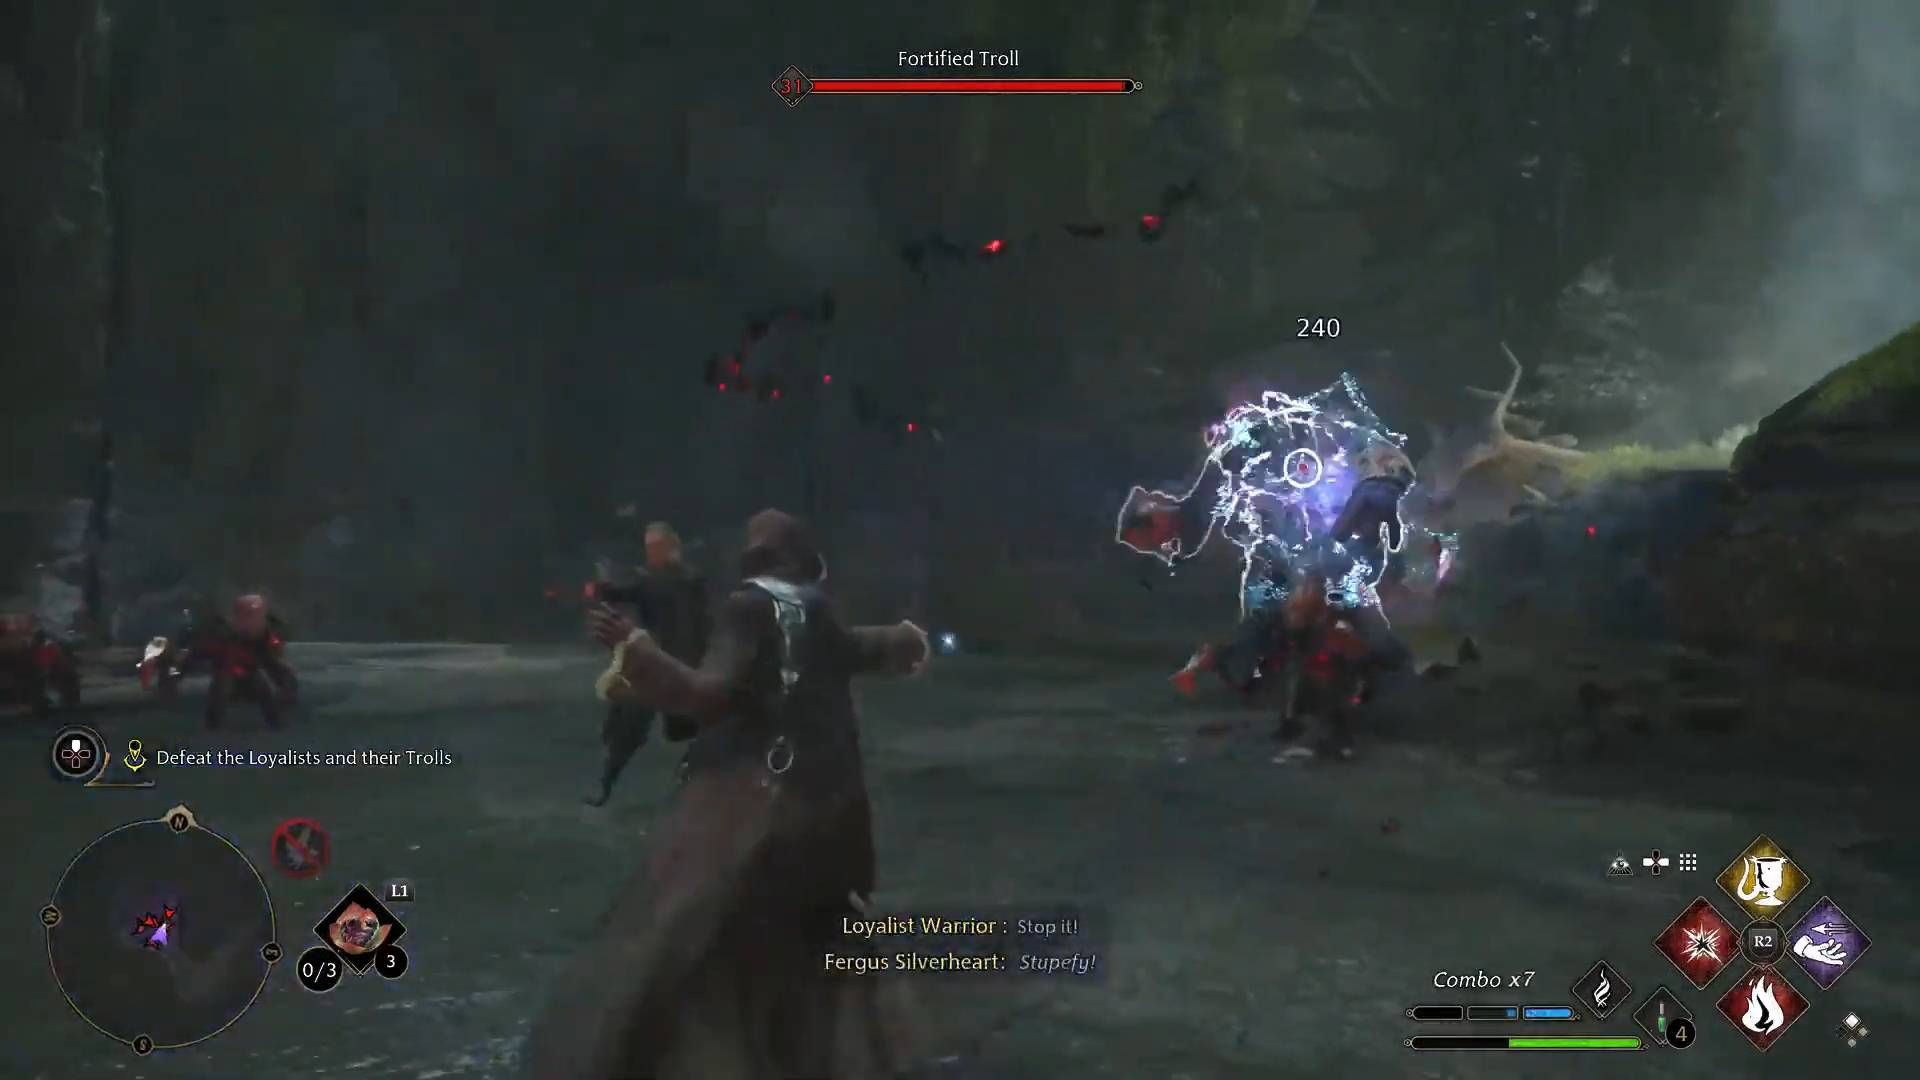
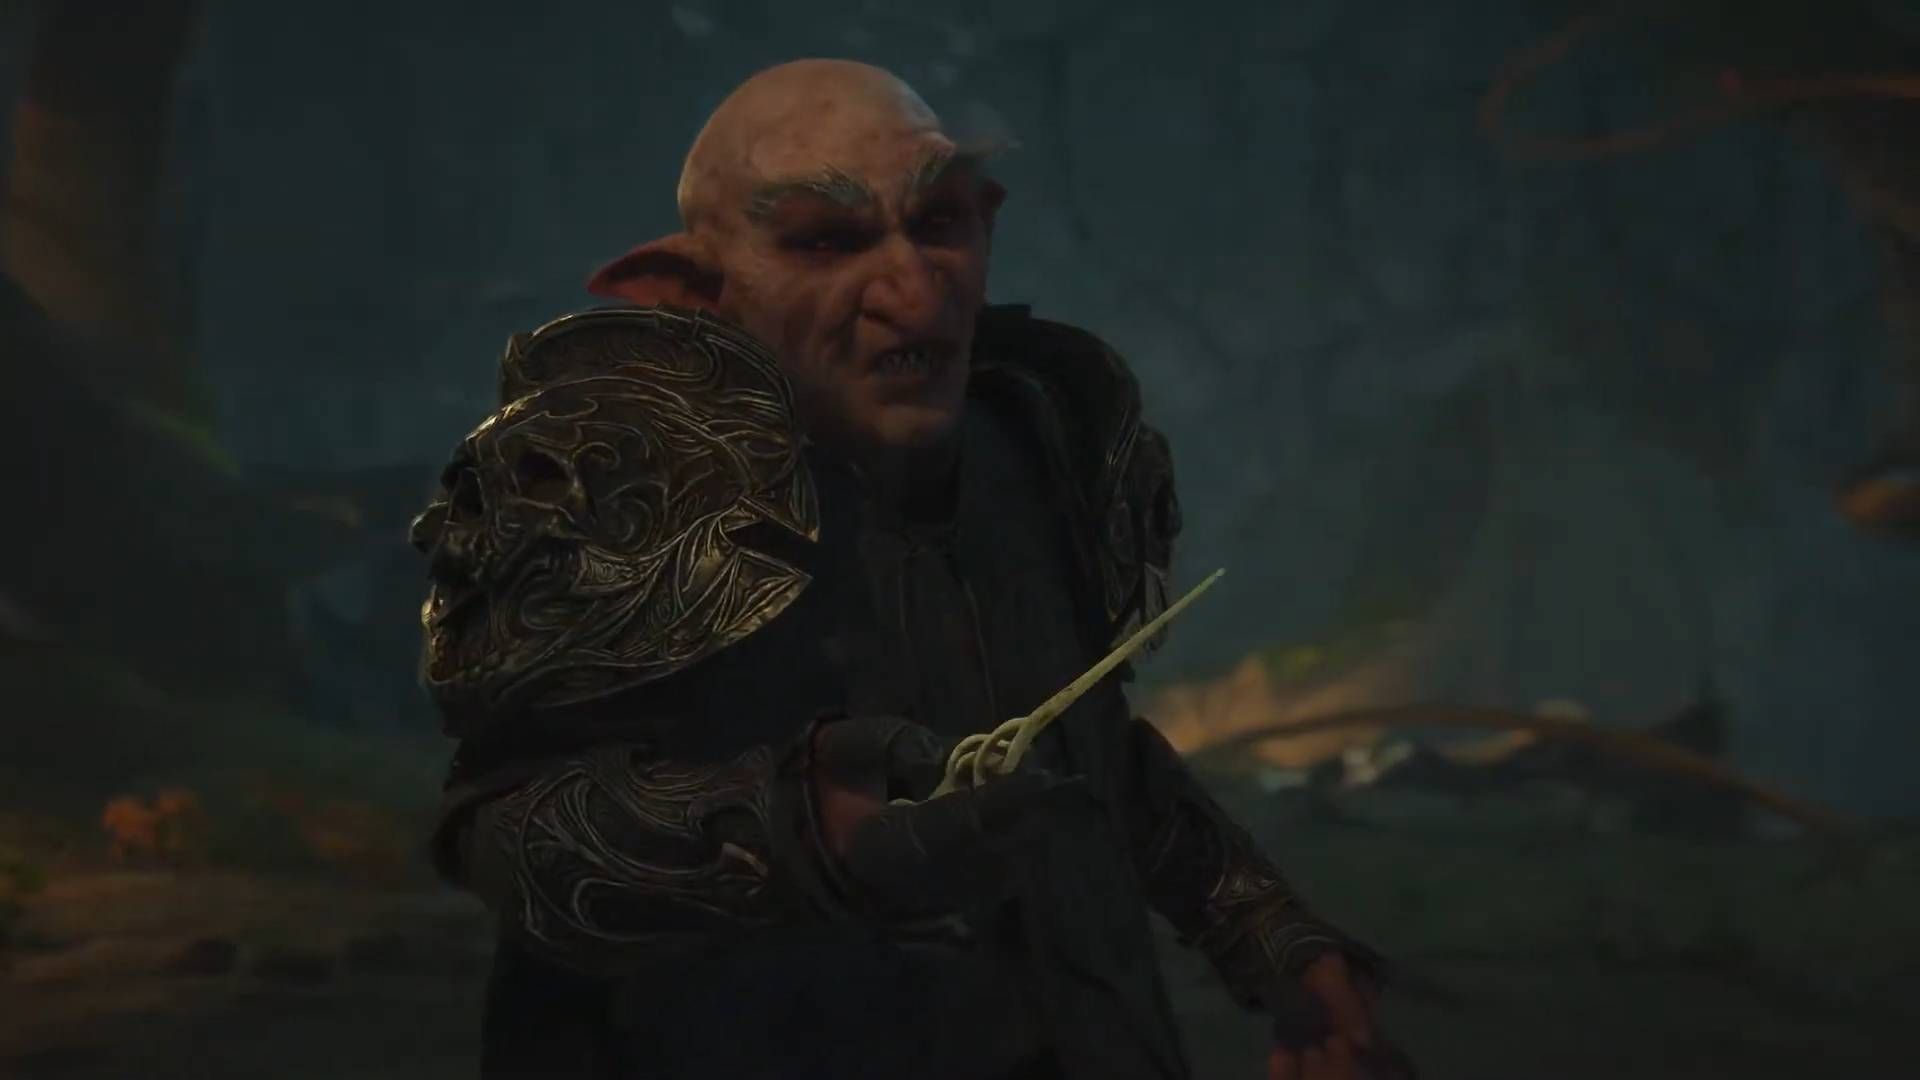
After reaching the goblin drill and blasting through the initial wave of goblins guarding it, Professor Fig demonstrates his skill with the Depulso spell by blowing the drill out of the way with a wave of his wand, and the pair head onward. Before long, players will face a pair of fortified trolls and some more goblin loyalists.
Trolls can be brutal opponents, and facing two of them can be especially difficult, but there are several tactics that can make them easier to deal with. Firstly, positioning the player so that their charge attack, once dodged, will cause them to hit a wall or other solid object will result in them getting stunned. This can provide an opening to pelt them with spells. Their rock throw can be blocked with Protego and then the rock can be thrown back at them with Ancient Magic Throw for extra damage, and their ground slam with the club can be dodged and then Flipendo'd to hit them in the face with it for massive damage.
Players using the transformation mastery skill can turn the goblin reinforcements into explosives and throw them at the trolls, which also does excellent damage. With the trolls taken down, it's time to head deeper into the caves and take on another cluster of foes. No trolls this time, and there are some explosives to ignite nearby that might be useful with good positioning. Locate the glowing crystal wall after beating them, and blast it open to reach a vast chamber.
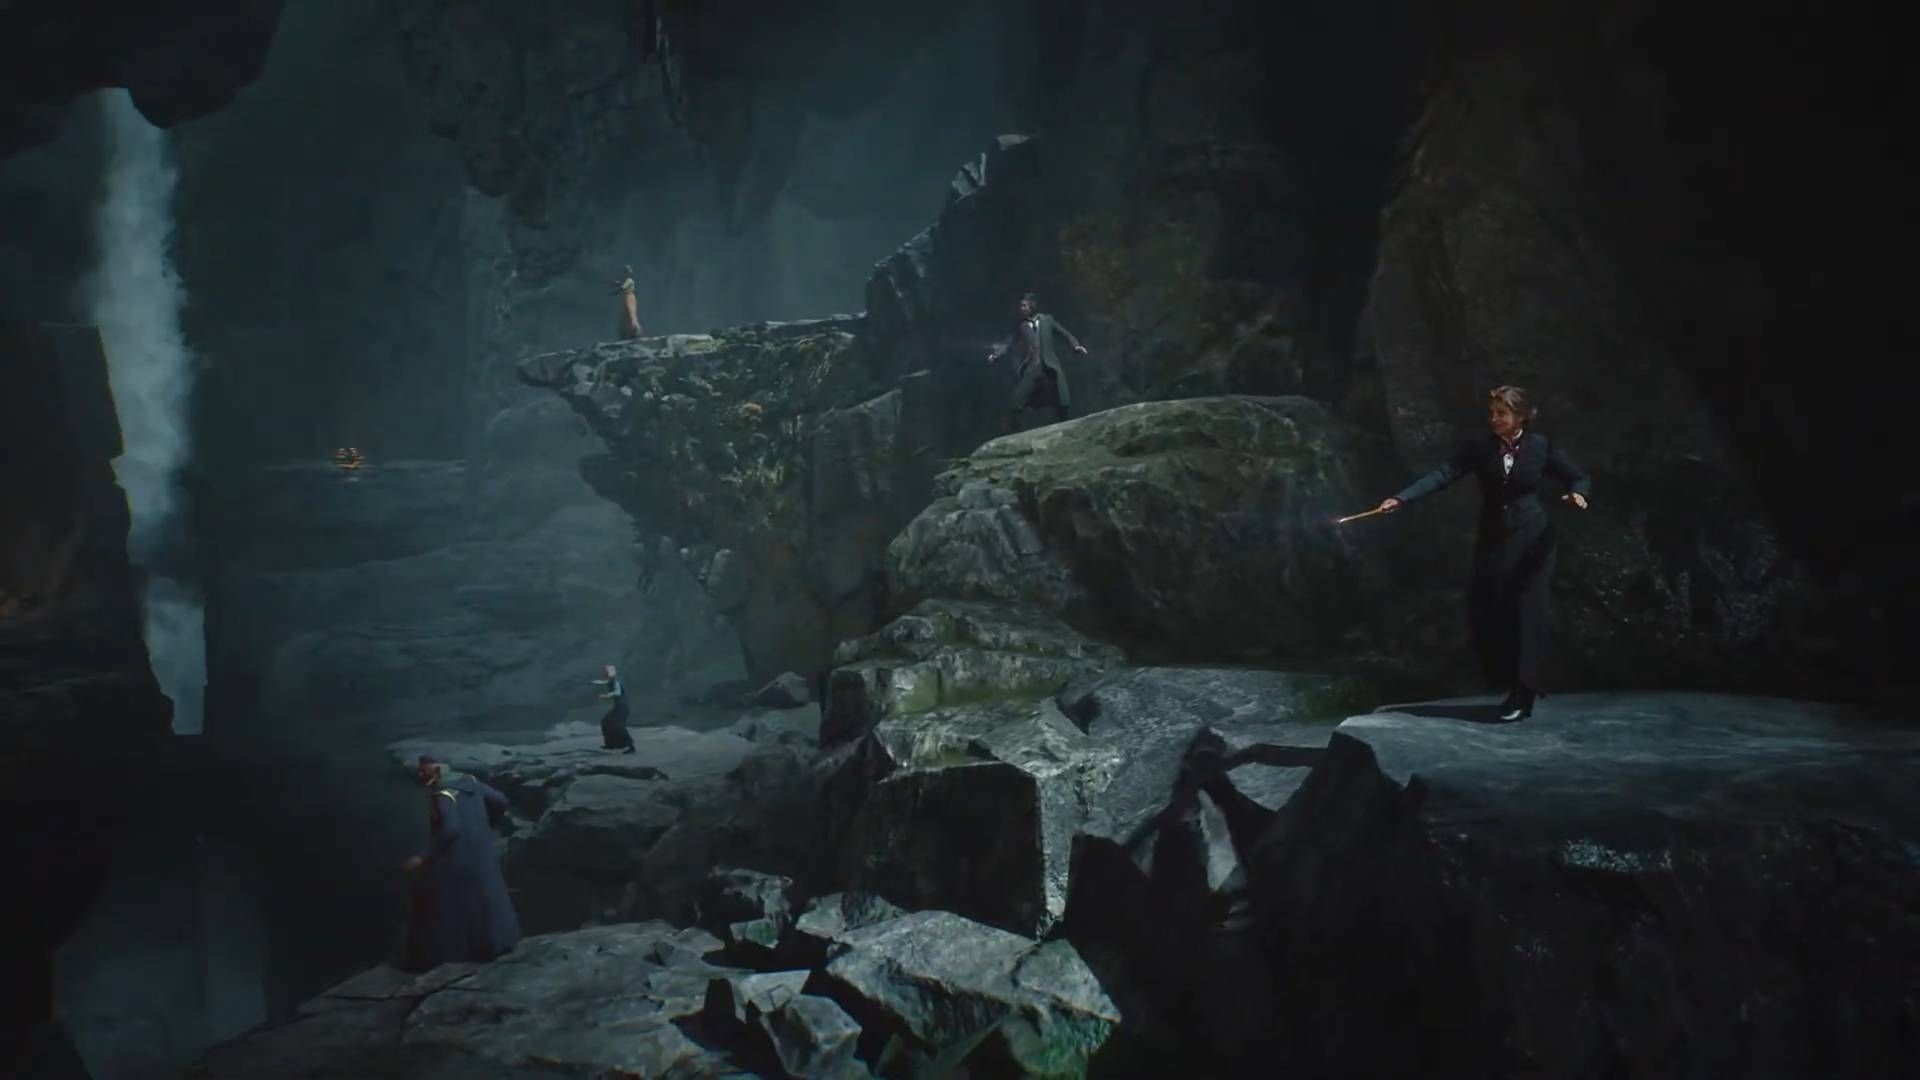
There's a veritable army of goblin loyalists here, but fortunately, the Hogwarts Professors (sans Professor Black, of course) arrive to even the odds. Traverse the battlefield until a group of goblins manages to engage the protagonist and Fig; take them out, and a Fighter Troll will break through some rubble to do what it does best.
With help from Professor Fig and Professor Sharp, this fight isn't any harder than the previous two trolls, save for having a little more health to get through. Once beaten, Professor Weasley will use a collapsing pillar to make a bridge for Fig and the player before weaponizing it to take out some goblins.
Using the relic wand, the player opens the path into the Repository, and once within, Professor Fig asks the player what they plan to do with it. This is the choice that determines which ending players get after defeating Ranrok:
Choice | Ending |
Contain the Ancient Magic | Contain the Ancient Magic and keep it hidden forever. |
Open the Repository | Wield the Ancient Magic yourself, for good or ill. |
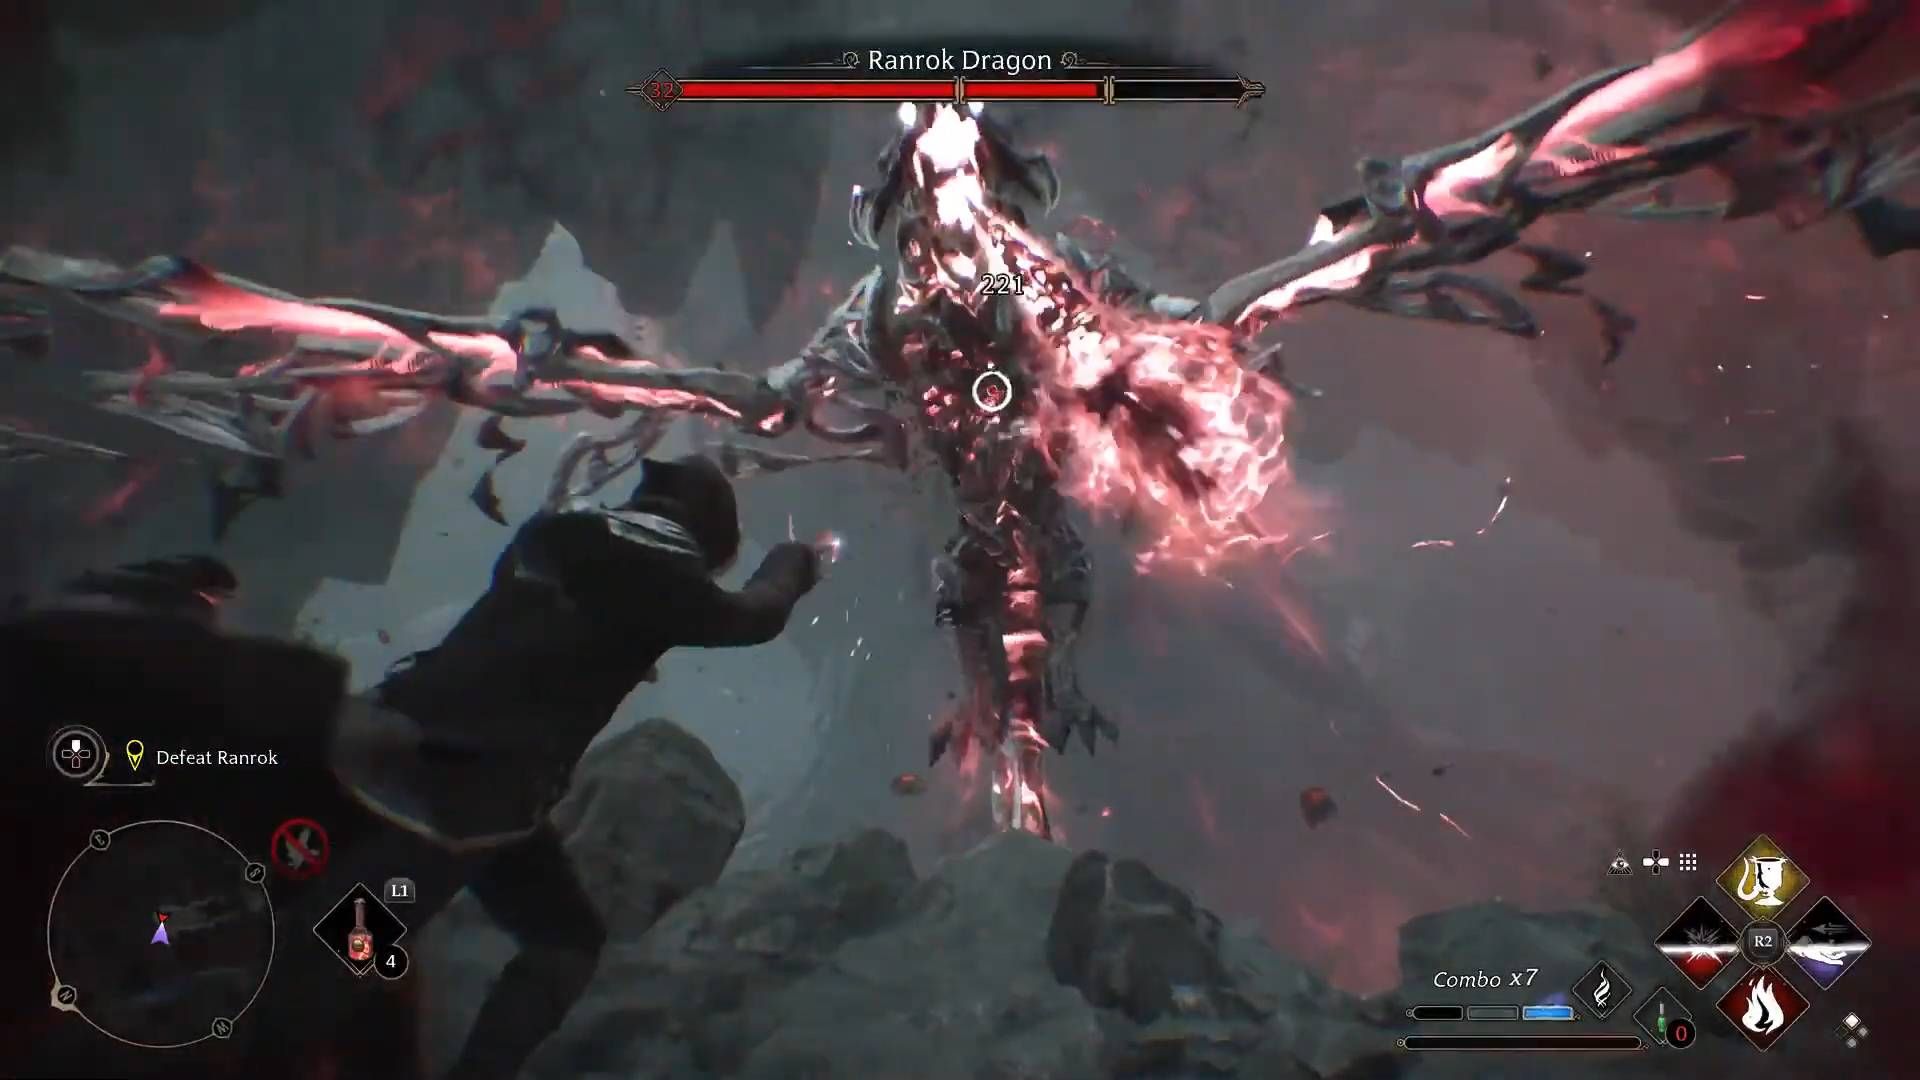
Regardless of the choice made, Ranrok then arrives, using Mirriam's Wand to draw power out of the Repository and become a giant dragon-like monster. This triggers the game's final battle.
Dragon Ranrok uses a range of deadly attacks to strike at the player from a range and is initially invulnerable, but breaking the orbs he is drawing power from by using the correct spell for the shield around each orb will render him vulnerable for a while. His red fireball can be deflected with Protego, while his black fireball must be dodged and can then be thrown back at him with Ancient Magic Throw. When the dragon rears back and breathes fire, creating a line of spikes, players should dodge to the side and avoid that line until the spikes have vanished.
He can also use a fire breath attack that sweeps across a small area, leaving a lingering damage area. This is best avoided by dodging backwards or forwards, out of the way of the flames, and avoiding the area until the damage area has faded. When he is able to take damage, players should use the best damaging spells they have available and try to build up ancient magic to use on him whenever possible. Ancient Magic, as usual, does tons of damage to him and is the fastest way to damage him.
When the first segment of his health bar is depleted, he will break open a path to a new area and fly away. While traversing the path to the new area, Ranrok pelts the protagonist with fireballs which should be dodged or blocked. Once the next arena is reached, the fight continues identically to before, but Ranrok now has an extra orb to break before he becomes vulnerable to damage.
Beat the second phase, and another path gets opened up, allowing players to jump and slide their way to a large arena for the final confrontation. Ranrok gains an extra attack here where he folds his wings and then releases a slow-moving sphere of damage that expands out from him. Players can avoid this by moving away as Ranrok starts preparing the attack and keeping their distance until it ends. Ranrok also has three orbs to break to make him vulnerable, but otherwise, there's not much new at first.
After dealing some more damage to Ranrok, he'll move to the center of the arena, and his invulnerability orbs now only appear for short periods of time. Additionally, four orbs must be broken for Ranrok to become vulnerable to damage.
Ranrok uses the same attacks he used before but adds a charging attack that he often uses after creating ground spikes to reduce the player's mobility, along with melee attacks with his wings and tail. Eventually, he begins using an attack that causes fire trails to shoot out from cracks in the arena floor too. Deplete the rest of his health bar with damaging spells and Ancient Magic (and maybe use the Edurus Potion with the talent that makes the player invincible while it is active) to end the fight.
After this, the player manages to successfully restore the Repository, whether they intend to seal it away or use it themselves, and then players can enjoy the final scenes of the main story.
Hogwarts Legacy is available now on PC, PS5, and Xbox Series X/S. PS4 and Xbox One ports are scheduled to release on April 4; the Nintendo Switch version arrives on July 25, 2023.

